[ad_1]
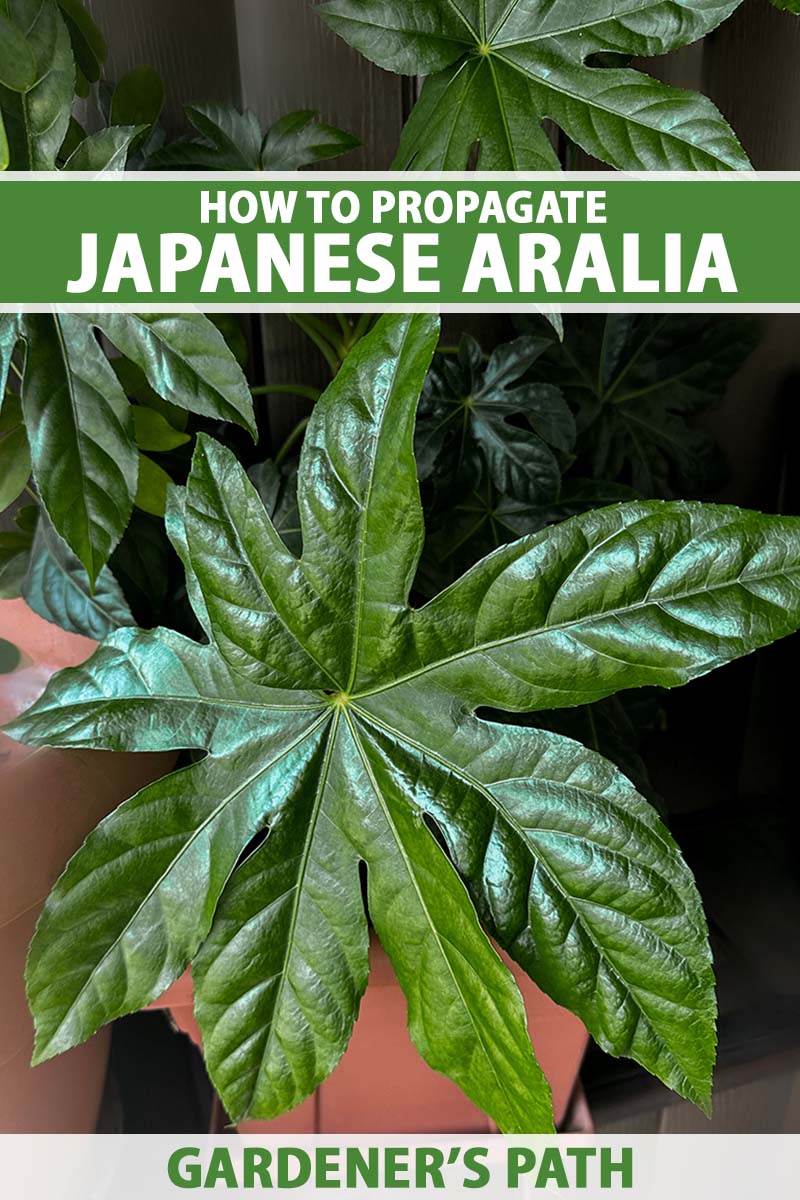
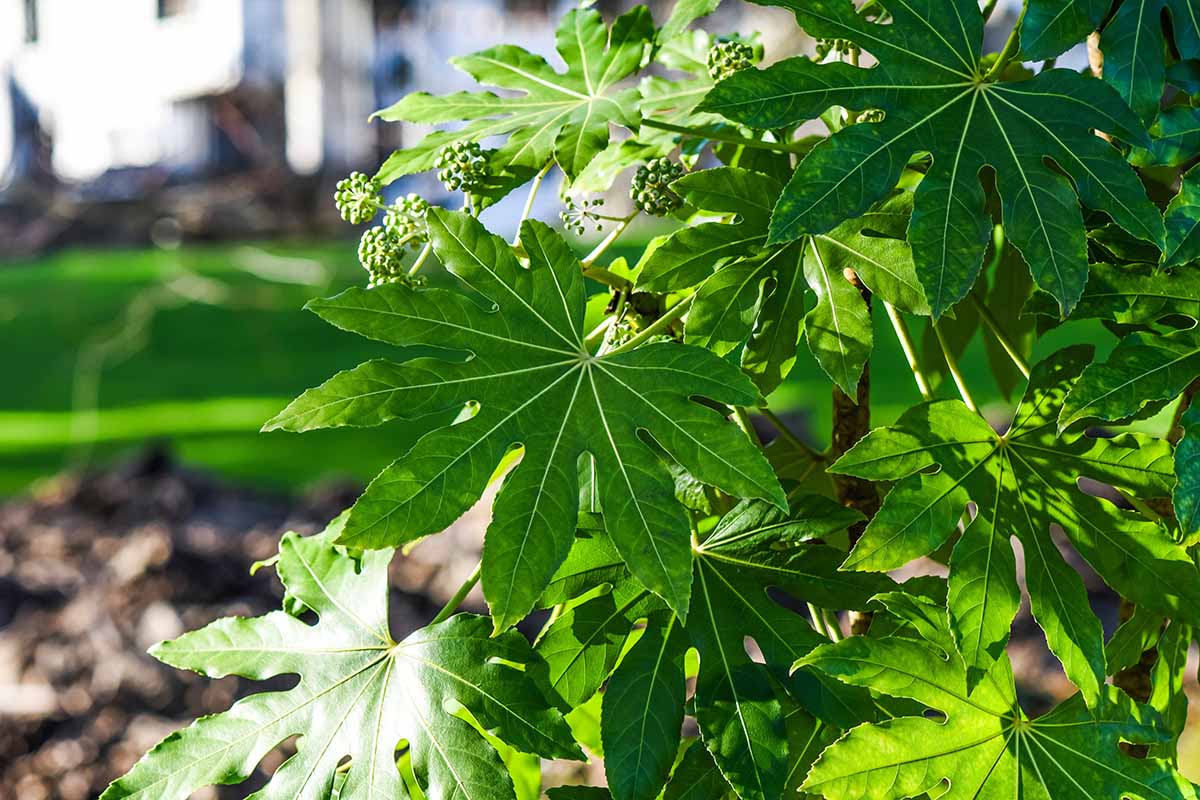
Also called Japanese aralia and paperplant, fatsias (Fatsia japonica) are well-liked houseplants and as an added bonus they’re simple to develop from seed – all you want is just a few provides and a wholesome dose of persistence!
We hyperlink to distributors that can assist you discover related merchandise. For those who purchase from considered one of our hyperlinks, we might earn a fee.
For those who’ve tried propagating Japanese aralia from seed earlier than and failed, you will have skipped some vital steps wanted for germination.
On this article, you’ll discover ways to propagate fatsia from seed in 4 simple steps.
Right here’s a sneak peek on the course of:
I like to recommend you learn by way of all the course of first, as you may have some choices as to tips on how to proceed.
And in case you want common steerage on caring for these vegetation, make sure you learn our full information to rising Japanese aralia as nicely!
1. Collect Your Provides
Propagating long-lived houseplants on this method isn’t that totally different from rising annuals indoors from seed.
In fact, the very very first thing you’ll want for this venture is to get your fingers on some Japanese aralia seeds.
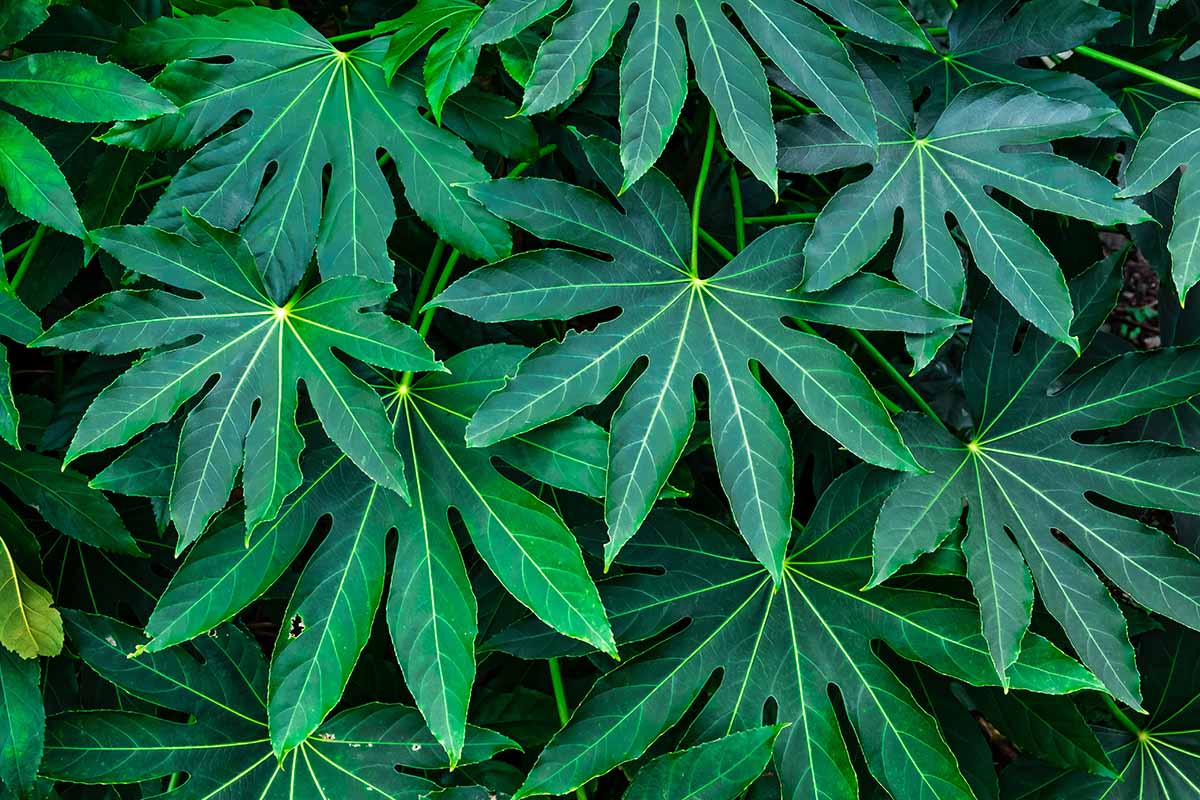
For greatest outcomes, use contemporary ones. Many individuals develop Japanese aralias as decorative shrubs of their yards, so if a buddy has one, why not ask in case you can harvest some berries?
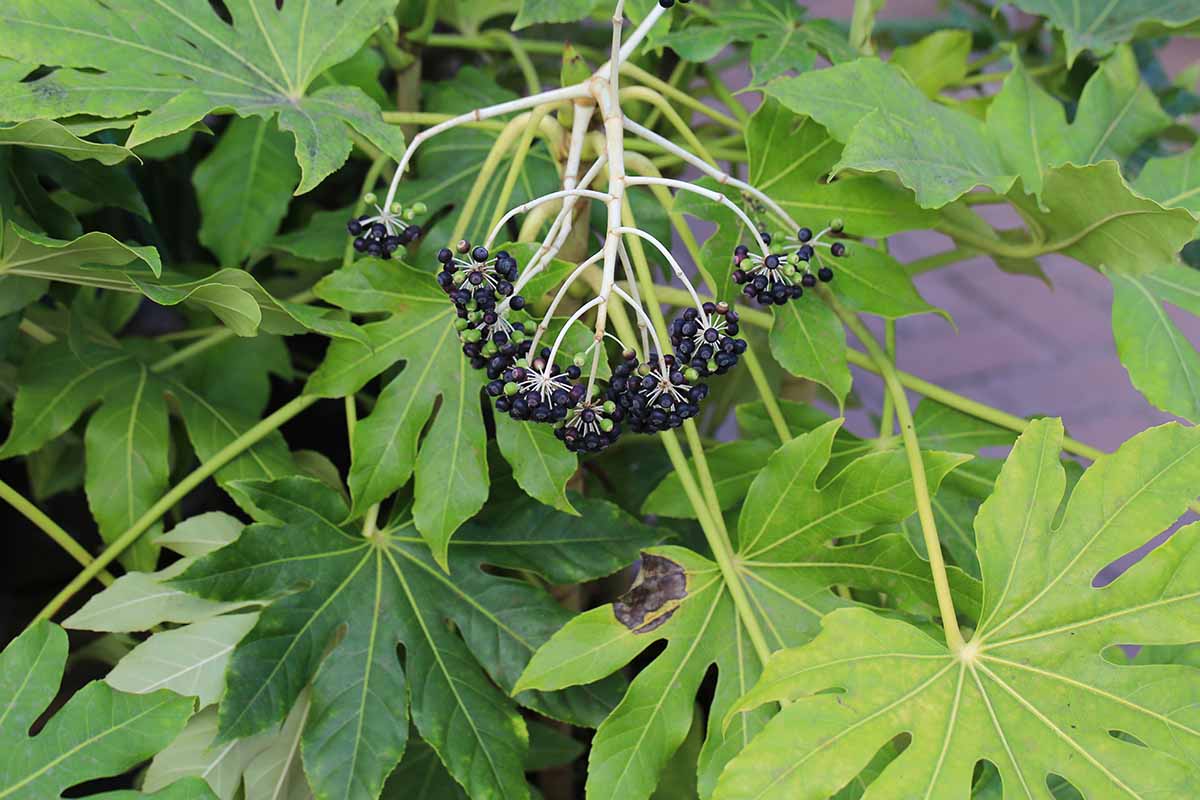
These shrubs produce flowers in fall, adopted by berries in winter.
But when the one shrub in your space is within the yard of a stranger – make certain to ask permission first earlier than choosing any of the berries!
When harvesting berries, wait till they flip darkish, virtually black to ensure the paperplant kernels inside are mature.
Once you’re able to sow, take away the pulp surrounding the seeds, by squeezing the seed out of the ripe berry.
For those who’re in a position to make use of contemporary berries for this venture, you’ll be beginning the seeds in late winter or early spring.
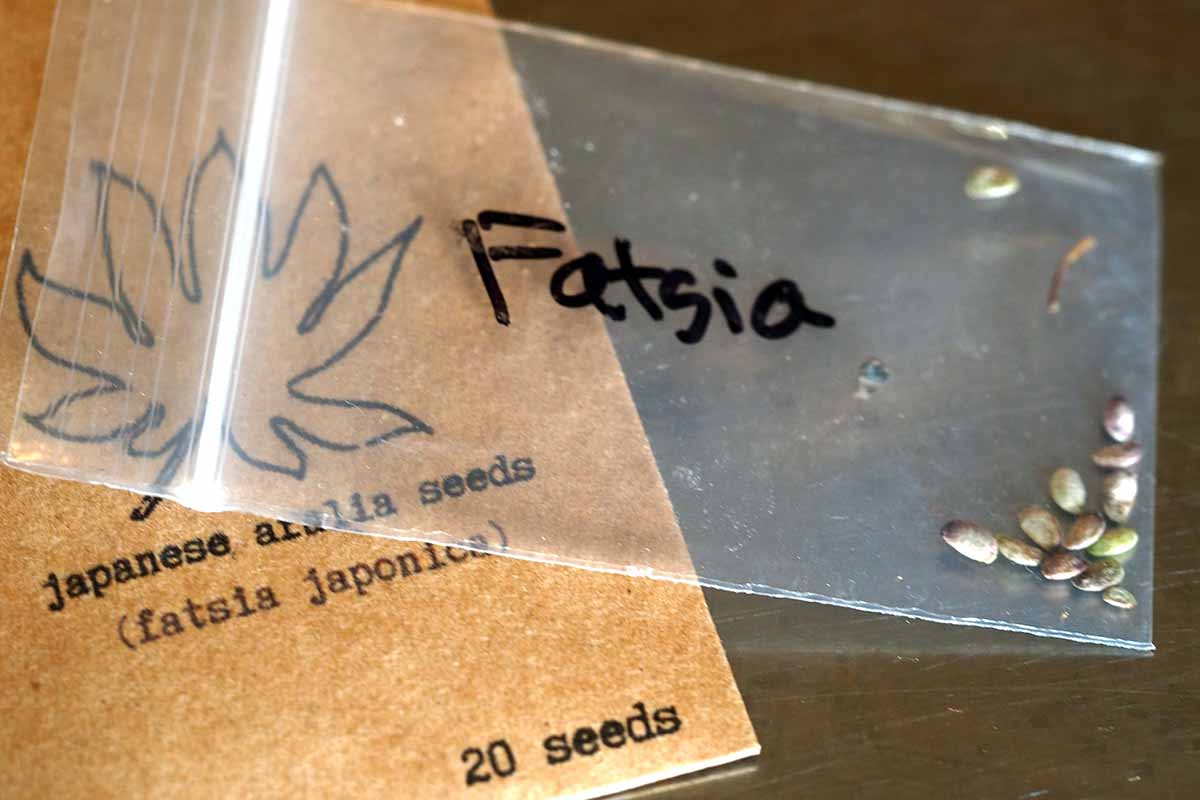
For those who don’t have a supply for contemporary berries, it’s also possible to purchase fatsia seeds on-line, and begin them at any time of the yr. Both method make sure you sow greater than you want, as a result of not all will germinate.

Packs of 20 Paperplant Seeds
You’ll discover packs of 20 Japanese aralia seeds from the CZGrain Retailer through Amazon.
For this propagation venture, you’ll additionally want some rising medium.
Slightly than utilizing your common potting soil, or – heaven forbid – unsterile soil from the bottom open air, select a seed beginning combine, equivalent to Rosy Soil’s Seedling Starter Soil Combine, obtainable in an eight-quart bag through Amazon.

Rosy Soil Seedling Starter Soil Combine
Subsequent in your provide checklist is small nursery pots – these which can be two to 4 inches are the correct dimension.
Want a suggestion for nursery pots? I’m a fan of those plastic pots, which whereas not offered as reusable, have held up for a number of years of re-use on my farm and are nonetheless going sturdy:
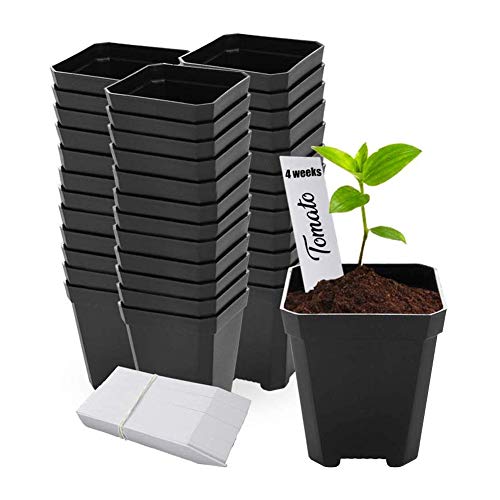
Plastic Nursery Pots
Comprised of polypropylene plastic, these 2.75-inch pots can be found in packs of 48, with or with out humidity domes, from Comfecto through Amazon.
When you have previous nursery pots you’d wish to reuse, make sure you totally wash them first, then sterilize them with hydrogen peroxide.
You’ll additionally want a twig bottle to water germinating seeds and younger Japanese aralia seedlings – watering on this method will forestall the soil from changing into waterlogged.

Clear Glass Water Bottle
You should purchase a transparent glass water bottle for seedling irrigation through Amazon.
Along with the earlier really useful provides, you might also want a warmth mat since Japanese aralia seeds want a soil temperature of round 80°F to germinate.

Leap Begin Warmth Mat
You should purchase a Leap Begin Warmth Mat in an assortment of sizes from the Hydrofarm Retailer through Amazon.
2. Soak the Seeds
Now that you’ve all of your provides gathered, we are able to get to the enjoyable half!
First issues first although. Japanese aralia seeds should be soaked previous to sowing to assist them germinate.
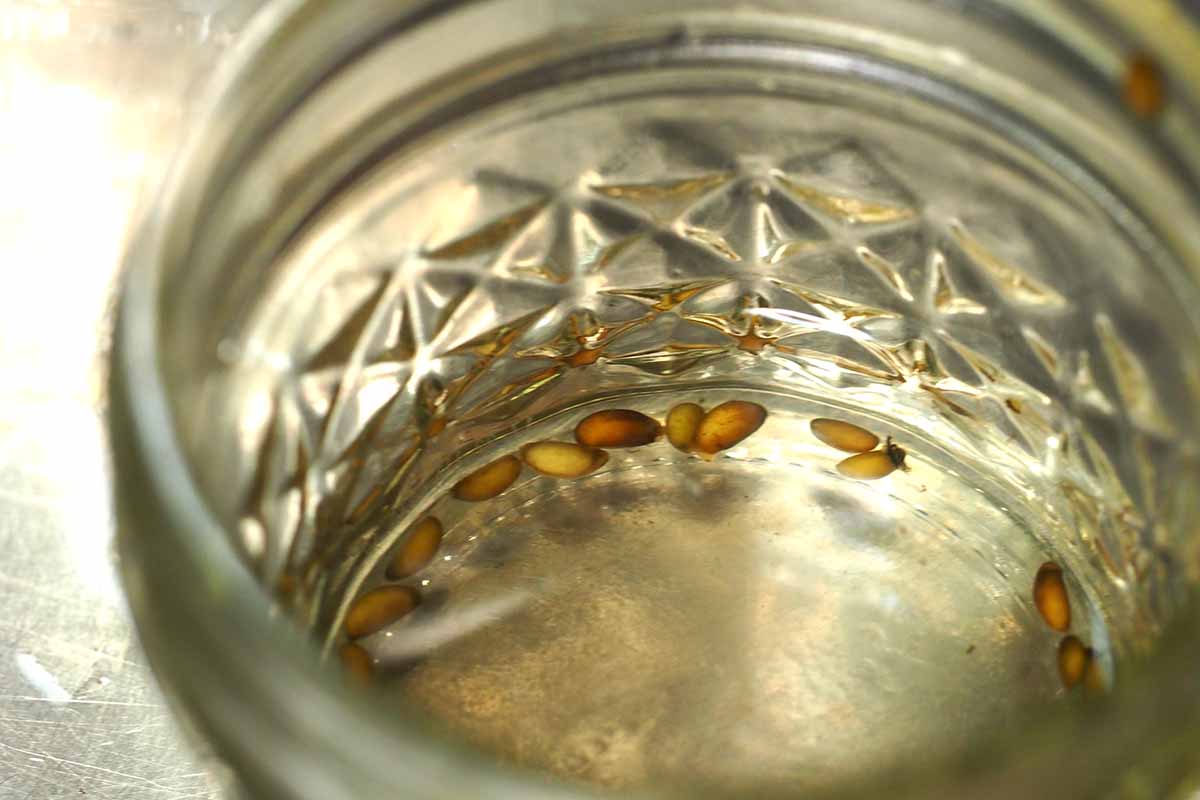
To do that, fill a small jar, bowl, or glass with a few inches of water, then add the fatsia seeds. Soak them for twenty-four hours.
After soaking, you possibly can transfer on to the subsequent step – germination.
3. Germinate
There are three totally different strategies you need to use to sprout your seeds: in paper towels, in propagation trays previous to potting, or instantly in nursery pots.
We’ll go over the main points for every of those strategies, however first, there are two issues these strategies have in frequent – all of them require backside warmth and oblique mild.
Don’t place them in direct solar, which may kill younger seedlings.
And regardless of the strategy used, you’ll should be affected person – it may well take as much as eight weeks for seeds to sprout.
In Paper Towels
For this methodology you’ll want a paper towel (or a clear, skinny cotton dish towel) and a sealable plastic bag or different sealable container.
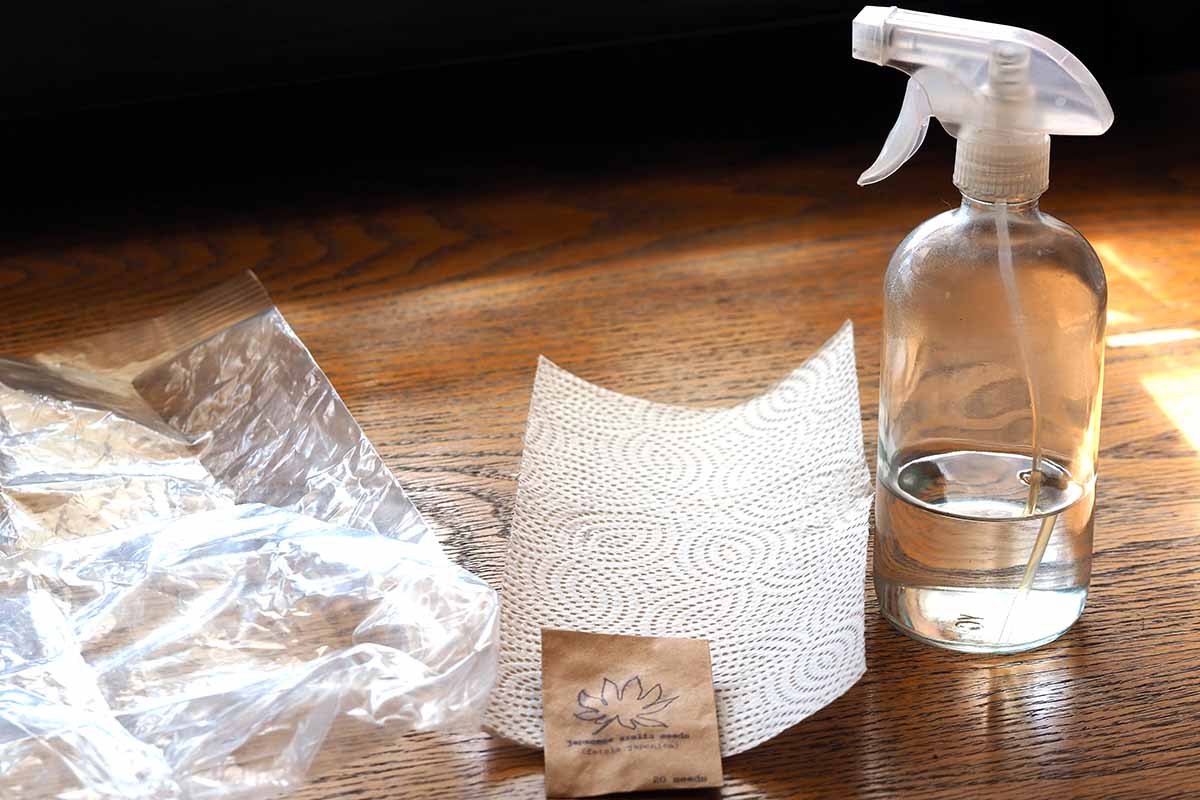
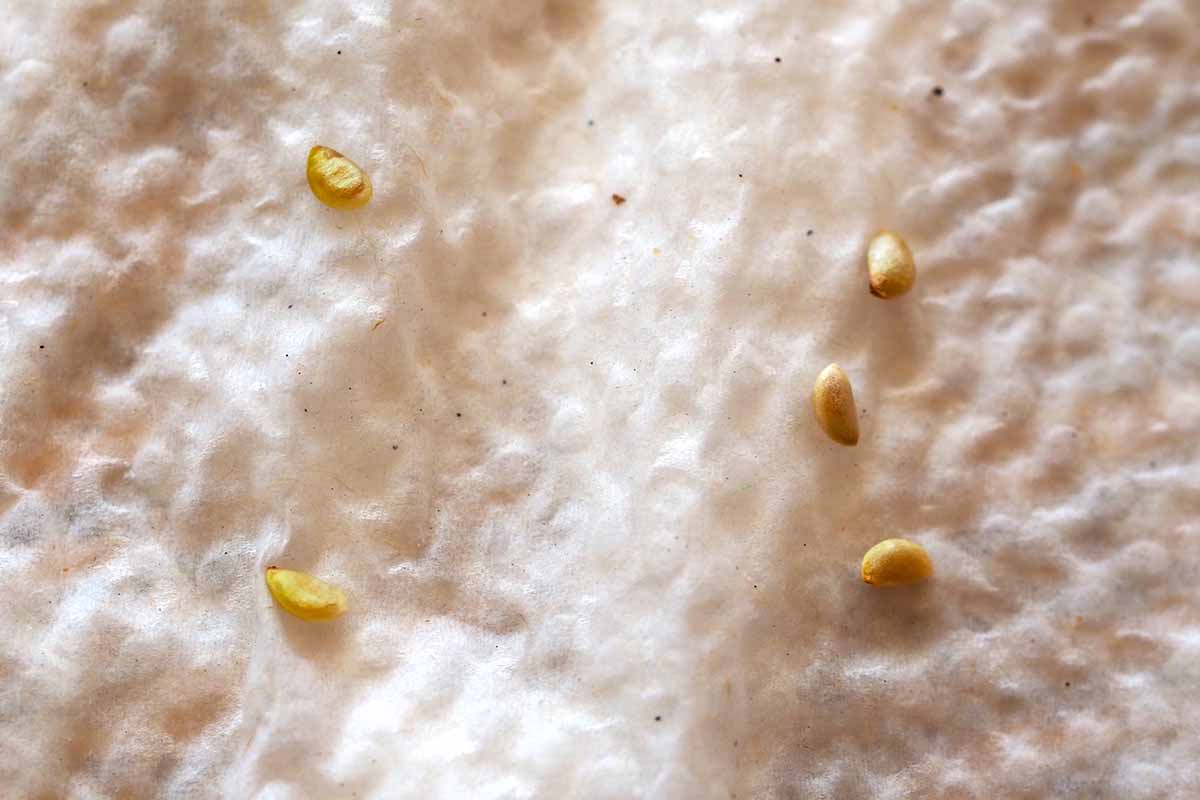
Moisten the paper towel and in a single nook, unfold out the fatsia seeds a couple of half an inch aside or extra, then fold the paper towel in half, then in half once more.
Place the paper towel into the sealable plastic bag, and place it in a heat location, equivalent to on high of a fridge, or on a warmth mat.
Test the paper towel each few days and provides it a spritz of water to maintain it moist if it begins to dry out.
Germination can happen after roughly two weeks, however some Japanese aralia seeds will likely be slower to sprout than others, so give them as much as eight weeks.
As soon as the fatsia seedlings have sprouted, transplant them into nursery pots as mentioned under.
In Trays
Some indoor gardeners wish to propagate Japanese aralia seedlings in trays and then transplant them to nursery pots.
Since most propagation trays don’t have drainage holes, take care to not make the medium too moist – it ought to really feel like a humid sponge.
Place the Japanese aralia seeds on the floor of the soil, one inch aside, then cowl with 1 / 4 of an inch of moist rising medium, and canopy the tray with a humidity dome.
Put the tray in a location with vibrant, oblique mild and backside warmth.
Test the medium each few days to ensure it’s staying moist, and count on seedlings to sprout inside two to eight weeks.
Enable the seedlings to provide a minimum of one true leaf earlier than transplanting to a nursery pot.
In Nursery Pots
Whereas some of us just like the earlier choices for germinating Japanese aralia seeds, these do contain the additional step of transplanting germinated sprouts or seedlings to small nursery pots.
However, sowing instantly into small nursery pots will save the step of transplanting sprouts or younger seedlings since seedlings can dwell in these nursery pots for a while till they outgrow them.
For this methodology you’ll want rising medium, plastic luggage or humidity domes, and small nursery pots, equivalent to those really useful above within the provides part.
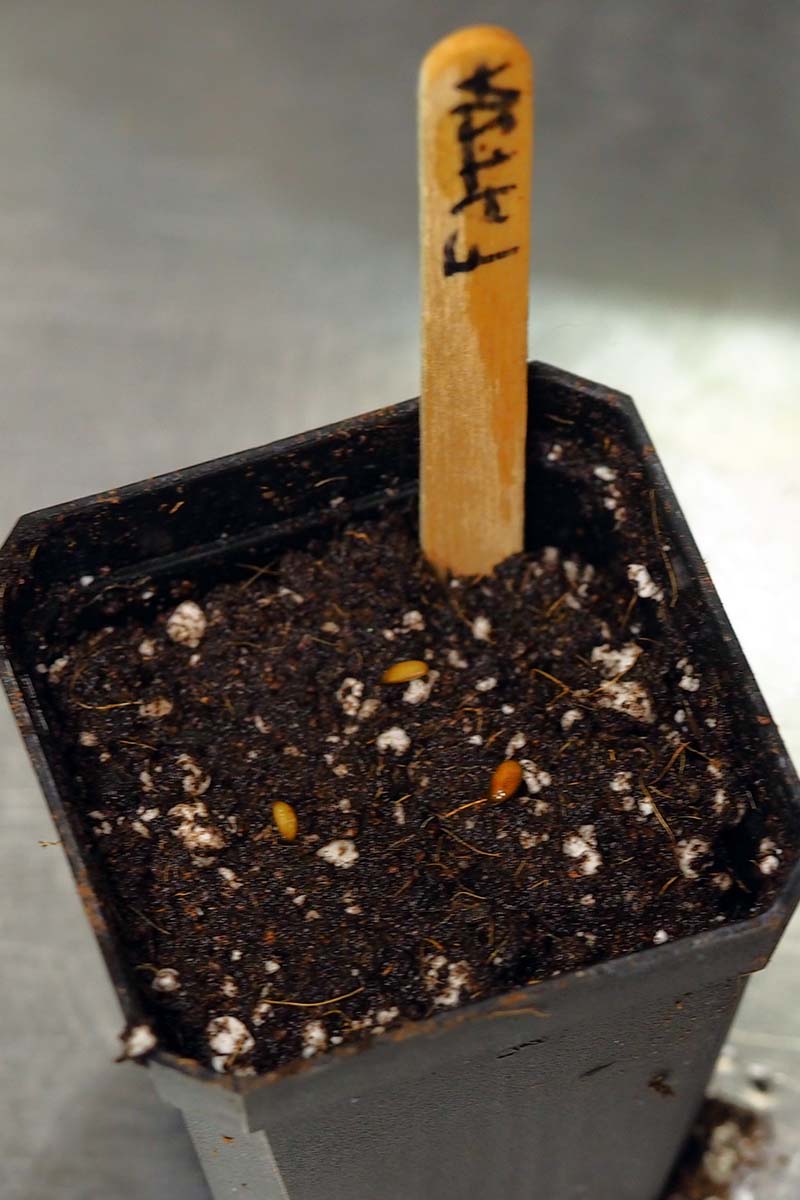
Fill the nursery pots many of the method with damp rising medium, leaving about an inch between the floor of the soil and the rim of the pot.
Place one to 3 Japanese aralia seeds on the floor of the soil, spacing them a half an inch aside. Cowl with 1 / 4 of an inch of moist rising medium.
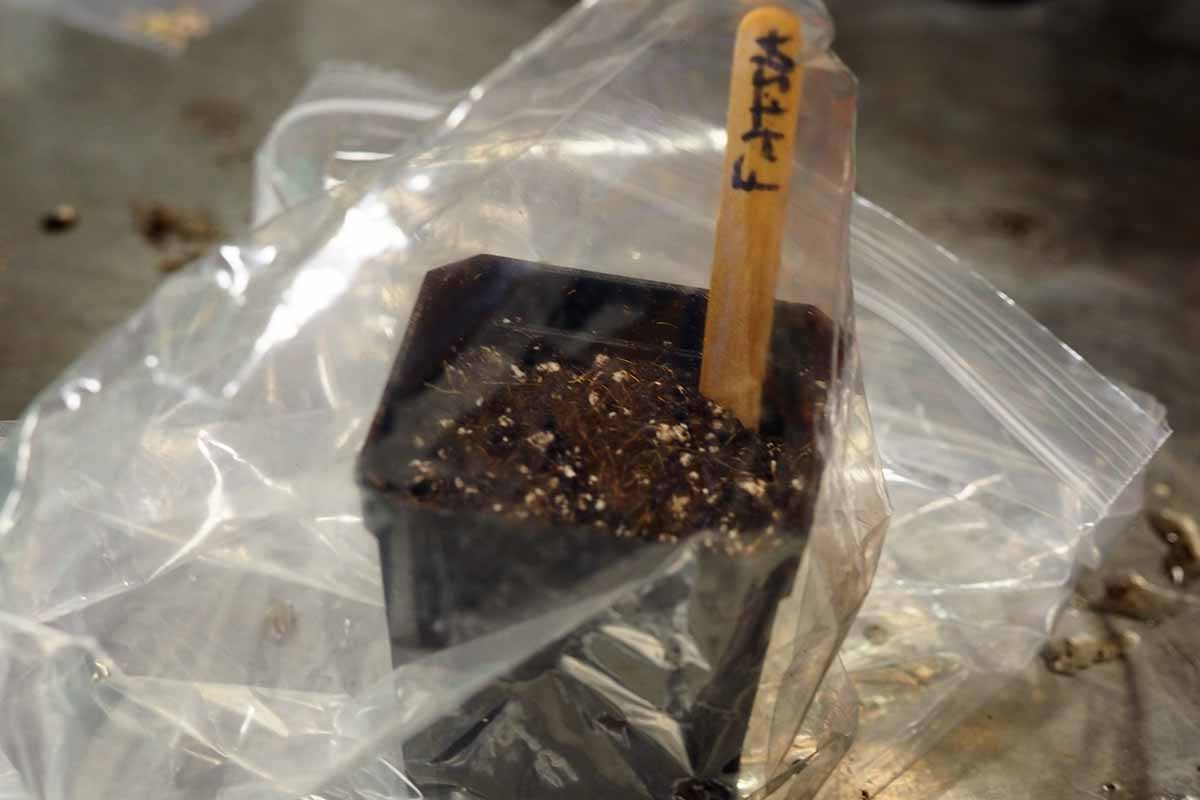
These want heat, humid circumstances – so when you’ve got one obtainable, you possibly can begin these seeds in a heated greenhouse.
For those who don’t have a greenhouse in your yard, you possibly can create one inside your property through the use of a warmth mat together with a humidity dome. Plastic luggage can be utilized to cowl nursery pots for a similar impact.
Place nursery pots in a heat location with vibrant, oblique mild – and bear in mind to make use of a warmth mat if wanted.
Preserve the rising medium moist, watering with a twig bottle to keep away from oversaturating the soil.
Anticipate germination in roughly two to eight weeks.
After seedlings emerge, hold the soil evenly moist.
As soon as the seedlings have a few true leaves, steadily begin to habituate these younger vegetation to chillier and humid circumstances by eradicating the warmth dome for rising lengths of time every single day, and decreasing time with backside warmth.
4. Transplant
Earlier than lifting sprouts from paper towels or seedlings out of your propagation tray, put together small nursery pots by filling them with moist rising medium to inside a half inch to an inch of the rim.
Poke a gap within the rising medium within the middle of every pot.
For those who used the paper towel methodology for germination, rigorously take away germinated sprouts from the paper towels utilizing a toothpick or a pair of tweezers. It’s greatest to do that earlier than the roots of the sprout turn out to be too enmeshed within the paper towel.
Transplant one Japanese aralia sprout per pot, inserting it within the middle of the pot, within the gap you poked, then cowl the sprout with a fourth of an inch of rising medium.
If the sprout already has lengthy roots and is beginning to develop a stem, bury the roots with soil, however hold the stem uncovered.
Water gently with the spray bottle, then cowl with a plastic bag and place the pots on a warmth mat.
As for seedlings began in trays, permit them to provide a minimum of one true leaf earlier than gently transplanting them. You possibly can elevate them from their trays with the assistance of a small spoon.
Use the spoon to dig below the seedling far sufficient so that you don’t harm its roots, then switch to the nursery pot.
Seedlings relocated from propagation trays needs to be planted on the identical degree as they have been beforehand rising, so take care to not bury the stem with soil.
Place these nursery pots in a heat location with oblique mild and hold the rising medium moist, watering with the spray bottle.
As soon as the Japanese aralia seedlings have a few true leaves, you possibly can steadily take away the humidity dome and backside warmth, and begin watering with a devoted houseplant watering can.
Japanese aralias wish to have a moist rising medium, so make sure you examine these younger vegetation a minimum of twice per week – they could should be watered extra typically with out their humidity domes.
Younger Japanese aralia vegetation can proceed dwelling of their small nursery pots till they outgrow them and at that time you possibly can switch them to bigger containers.
You’ll realize it’s time to repot when it’s important to water greater than twice per week to stop them from drying out or in case you discover roots rising from the drainage holes or the highest of the rising medium.
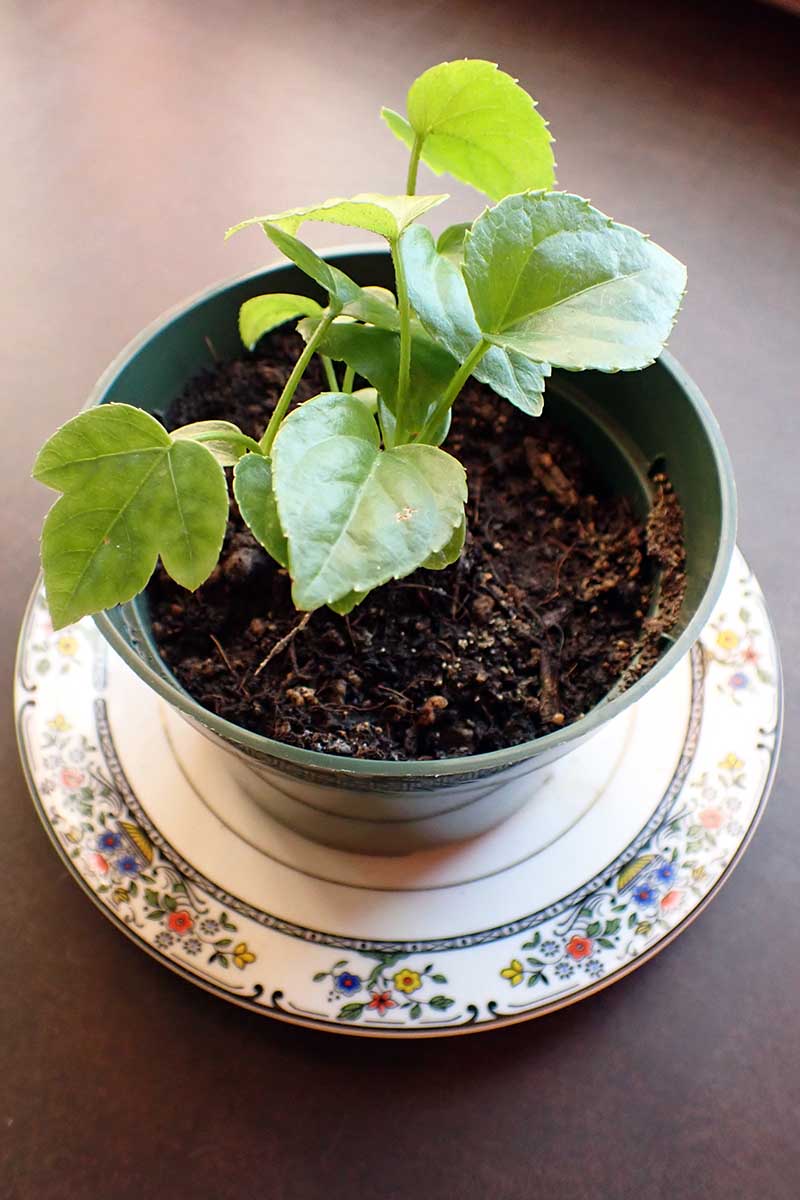
Get Prepared for the Huge Reveal
Congratulations, it’s a plant! It took some persistence however now you may have a brand new inexperienced child fatsia or two so as to add to your houseplant assortment.
Did you observe these 4 steps to propagate new fatsia specimens from seed? How did it go? Tell us within the feedback part under! And make sure you exhibit pictures of your Japanese aralia infants in case you’d like!
If propagating houseplants makes you squeal with delight, listed below are just a few extra guides you would possibly wish to take a look at too:
[ad_2]
Source link
