[ad_1]
Are you trying to spruce up your lounge with out breaking the financial institution? Repainting an previous facet desk can breathe new life into your area whereas providing you with the satisfaction of a DIY challenge accomplished. With a little bit of creativity and elbow grease, you possibly can obtain a professional-looking end with out spending a fortune. Let’s dive into the step-by-step strategy of revamping your previous facet desk.

Step 1: Preparation is Key
Earlier than diving into the portray course of, it’s essential to arrange your facet desk correctly. Begin by cleansing the floor totally to take away any mud, filth, or grime. Sand down any tough patches or previous paint to make sure a clean floor for the brand new coat of paint. Don’t neglect to take away any {hardware} reminiscent of knobs or handles that might get in the way in which of your portray course of.
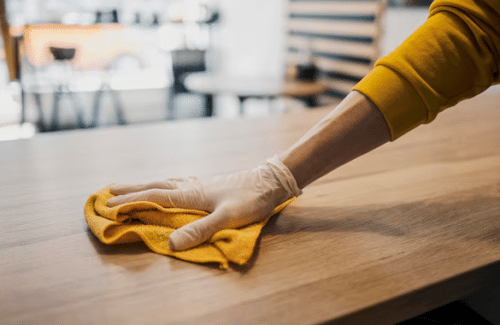
Tip: Use a tack fabric to wipe down the desk after sanding to take away any lingering mud particles.
Step 2: Prime for Success
Priming your facet desk is crucial for reaching knowledgeable end and guaranteeing the paint adheres correctly. Select a high-quality primer appropriate in your desk’s materials, whether or not it’s wooden, metallic, or laminate. Apply the primer evenly utilizing a brush or curler, ensuring to cowl the complete floor. Permit the primer to dry fully earlier than transferring on to the following step. I desire utilizing a twig primer for this step, it’s sooner and ensures an excellent coat. I at all times use Rust-oleum model.
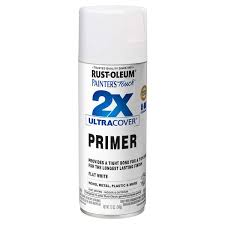
Tip: Go for a primer with built-in stain-blocking properties to stop any previous stains from bleeding via your new paint.
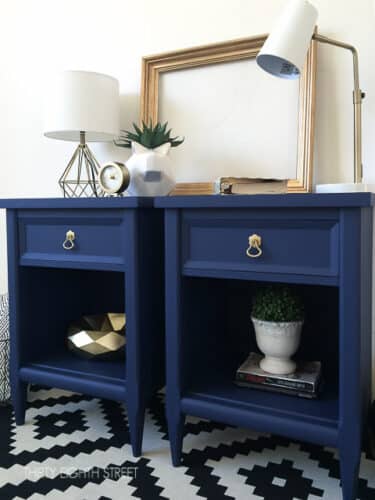
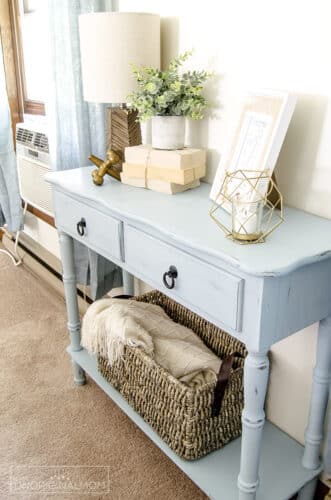
Step 3: Paint with Precision
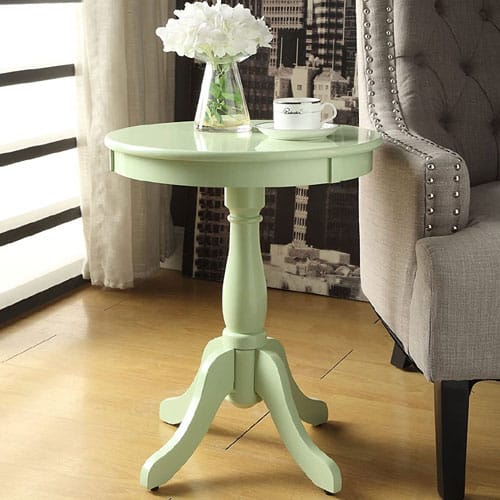
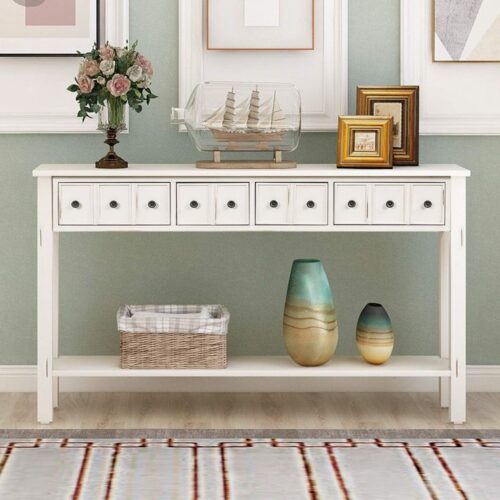
Now comes the enjoyable half – portray your facet desk! Choose a paint coloration that enhances your present decor and private type. Whether or not you favor daring and vibrant hues or delicate neutrals, the selection is yours. Apply the paint evenly in skinny coats, permitting every coat to dry fully earlier than including one other layer. Don’t neglect to color the edges and legs of the desk for a cohesive look. Use foam rollers to realize clean, streak-free outcomes. I like these colours don’t you?
Step 4: Add a Private Contact
As soon as the paint has dried fully, contemplate including an ornamental contact to your facet desk to make it really distinctive. You can stencil a geometrical sample, apply a decal, and even hand-paint a design of your personal creation. Get artistic and let your creativeness run wild – that is your likelihood to showcase your private type and aptitude.
Tip: Seal the paint with a transparent topcoat or varnish to guard it from scratches and put on over time.
Step 5: Reassemble and Take pleasure in
After permitting ample time for the paint and any further elaborations to dry, it’s time to reassemble your facet desk. Reattach any {hardware} that you just eliminated earlier, reminiscent of knobs or handles, and provides the desk one remaining inspection to make sure every thing appears to be like excellent. Then, proudly place your revamped facet desk in its designated spot and bask within the satisfaction of a job effectively completed.
Tip: Don’t be afraid to experiment with totally different portray strategies or coloration mixtures to realize the look you want.
With a bit time, effort, and creativity, you possibly can remodel your previous facet desk into a surprising point of interest in your room. Embrace the DIY spirit, and benefit from the sense of accomplishment that comes with giving new life to previous furnishings. So seize your paintbrushes and get began – your superbly revamped facet desk awaits!
[ad_2]
Source link
