[ad_1]
Y’all, this has been an extended street, however the cupboards within the workplace space of my studio are nearly completed! There are nonetheless some ending touches that must be completed, however I can’t do these issues till different tasks are completed. I’ll clarify that later on this submit. However I’ve gotten these cupboards as completed as they are often for now.
Earlier than I present you, let’s return and bear in mind how these began out. I began with primary IKEA Sektion cupboards with Veddinge doorways and drawer fronts. After I put in the cupboard packing containers, they appeared like this…
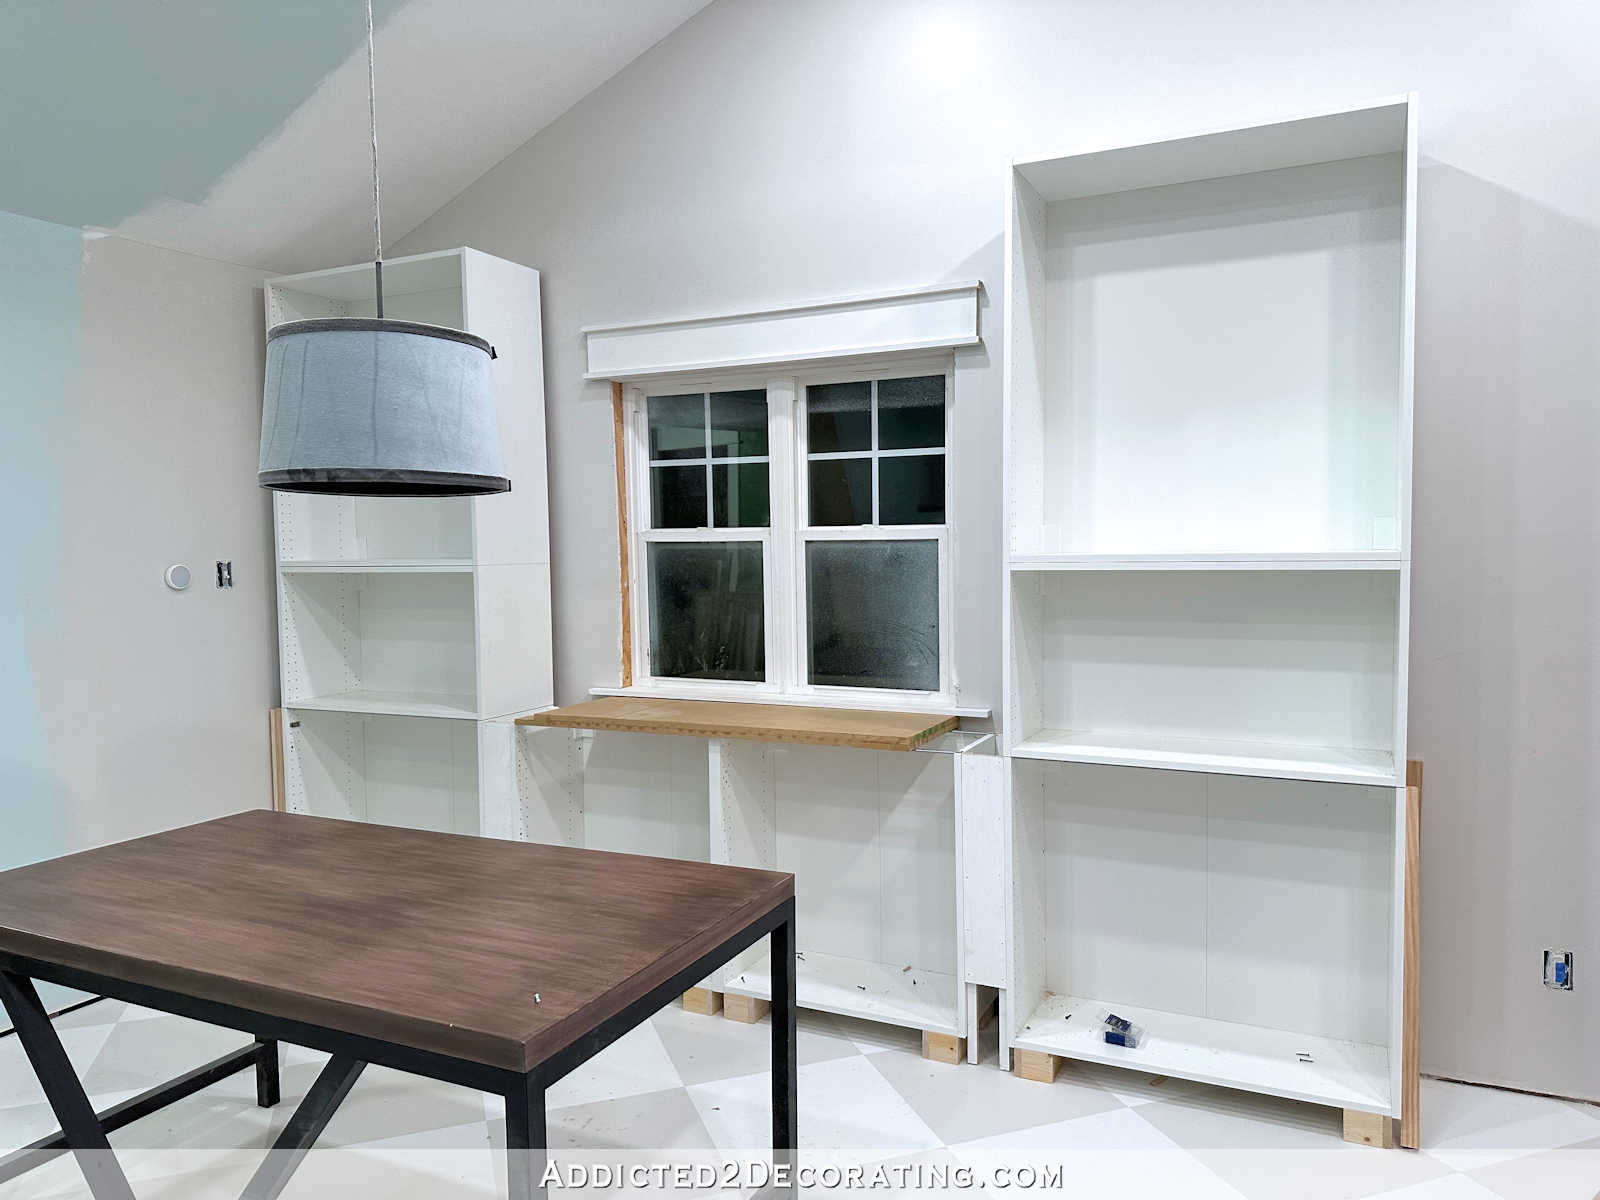
And the Veddinge doorways and drawer fronts appeared like this…

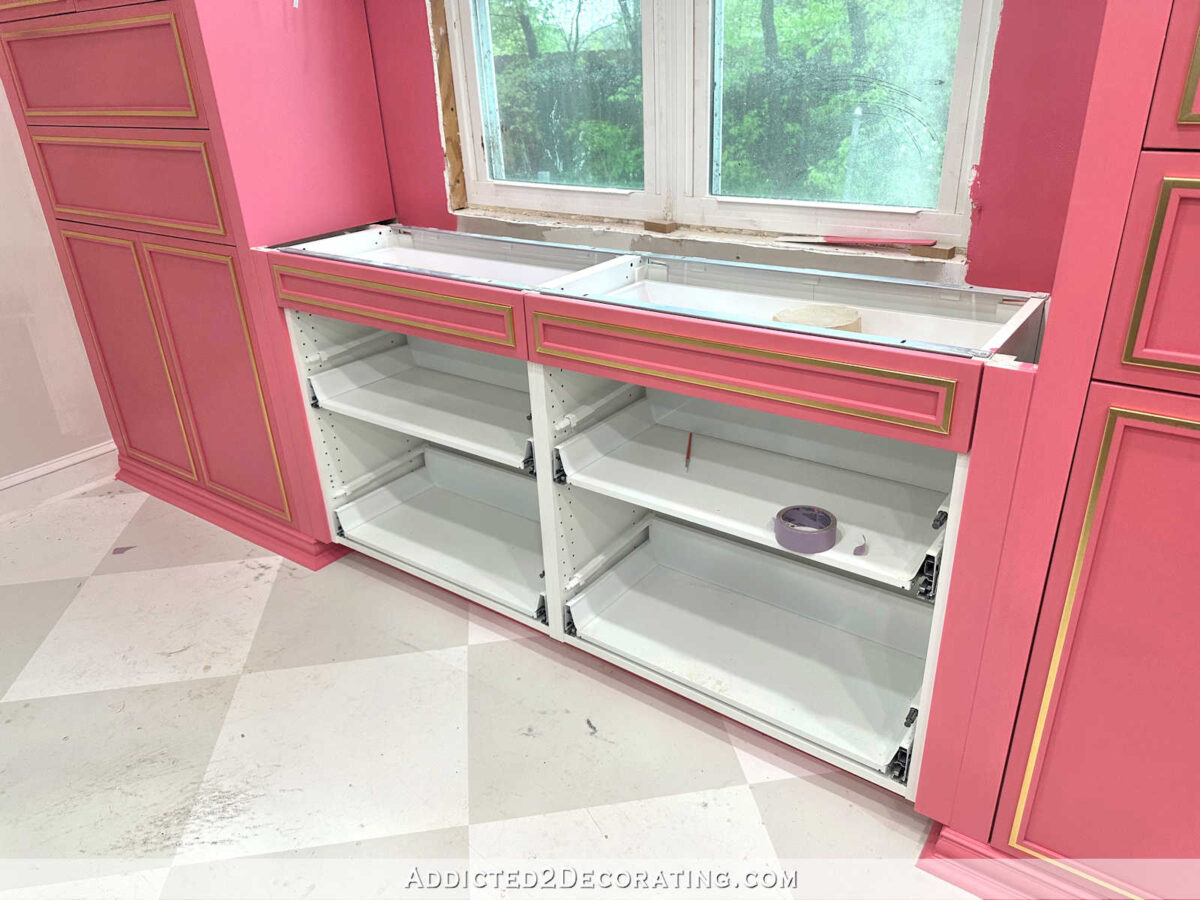
And after including my customizations, the progress appears to be like like this…

So let me clarify the obvious unfinished half — the lacking drawer fronts. These 4 drawer fronts are painted, gold foiled, and able to be connected. I had excessive hopes that I might get that completed, however the instruction handbook displaying how you can assemble and fix these drawer fronts is buried someplace within the depths of my very messy studio.
I rapidly looked for it this morning, however couldn’t discover it. So I attempted to seek out it on-line with no success. I assumed I might determine it out with out the instruction handbook, however in the event you’ve ever assembled IKEA Sektion cupboards with drawers, you understand that the brackets must be connected in a sure means relying on the precise drawer association you could have on your explicit cupboard.
I lastly discovered the small drawers with out the instruction handbook, however not after attempting at the least six completely different (mistaken) methods of attaching the brackets. I lastly obtained it on concerning the sixth or seventh try. And these little drawers solely use one type of bracket.
The larger drawer fronts use two various kinds of brackets with in all probability 16 completely different doable configurations, so there was no means I used to be going to attempt to guess. I do know I tucked that instruction handbook away in a secure spot in order that I wouldn’t lose it. However now I can’t bear in mind the place that secure spot is. ? As quickly as I discover it (or discover the directions on-line), I’ll connect these final 4 drawer fronts.
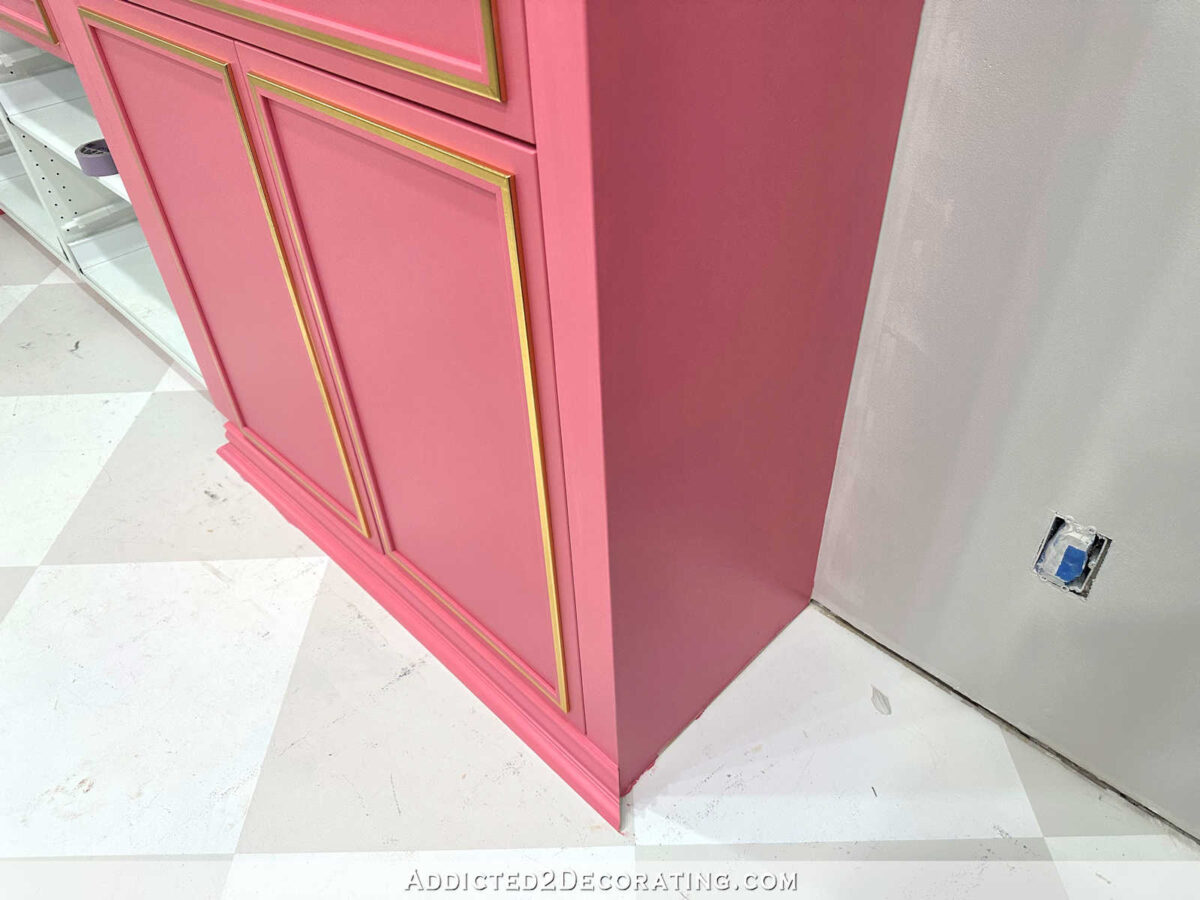
I additionally nonetheless want to do that piece of trim on the ground on this one cupboard, however I can’t try this till the baseboard is put in, and I can’t set up the baseboard till that exterior door simply to the appropriate of those cupboards is trimmed out.
I even have a few faulty elements, which shocked me. This cupboard door isn’t even put in correctly as a result of the a part of the hinge that attaches inside the cupboard is flawed. They’re all imagined to be three-way adjustable, however I can’t get that one to regulate in any respect, so it pulls the door down too low in order that it gained’t shut. I’ll must get a substitute for that. I even have a drawer slide with a faulty mushy shut on it. The drawer gained’t shut until I push it closed all the best way.
This space the place the cupboards meet the wall will want some small trim to cowl these cracks. I used to be tempted to make use of caulk to fill them, however with as a lot as our home strikes and shifts all year long, I feel the caulk would crack and must be refilled frequently. A small trim would look significantly better, however I can’t set up that till the countertop is put in.

So the cupboards are completed for essentially the most half. The entire large stuff — including trim, portray, clear coating, including the gold accents, and many others. — are completed.

My subsequent step is to make the countertop, and I’ve to confess that I’m terrified. I’ve put this off so long as I can as a result of once I made the countertop on the opposite wall, the mud from these boards prompted such painful pores and skin issues for me that actually lasted for months. It was terrible. (I shared about it right here.)
In all of my 30+ years of DIYing, I had by no means skilled any type of response to any product I’ve used, so I didn’t take any precautions to cowl my pores and skin earlier than operating the boards by means of my desk noticed. However this time, you higher consider I’ll be overlaying myself head to toe, after which showering instantly after all the items are minimize. The considered doubtlessly having to undergo that once more genuinely terrifies me.
Fortunately, it’s a small countertop and ought to be a comparatively fast undertaking. As soon as that’s completed, I can set up the window casing, add that little trim the place the cupboards meet the wall, after which end the sconces and get them put in. Oh! And I nonetheless want so as to add the cupboard door and drawer pulls! Cupboards want jewellery, too!
I’m so extremely excited to have the majority of this large undertaking completed. The remaining ought to be a breeze! And by the best way, as quickly as I discover that instruction handbook and get these final for drawer fronts on, I’ll add an image to this submit. I’m hoping that might be later immediately! I simply want to recollect the place that spot is the place I tucked that instruction handbook away for secure maintaining. ?
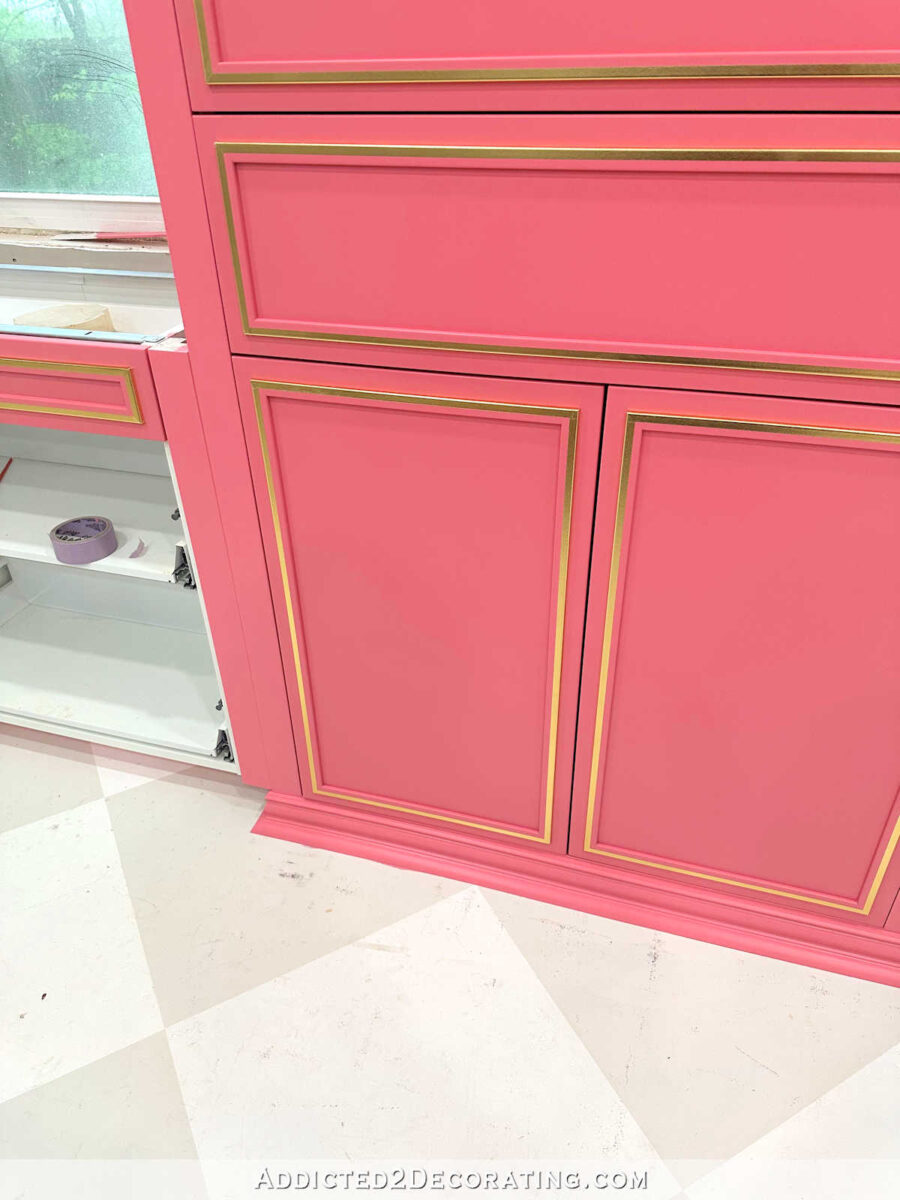
UPDATE! I discovered it! About ten seconds after I hit the “publish” button on this submit, I remembered the place I put that instruction handbook, so listed here are the cupboards with the remainder of the drawer fronts connected.

I can’t wait to get this space completed!! It’s been a very long time coming, and I’m so excited to lastly see it change into actuality.

FYI, the reflections on the gold accents generally trigger an optical phantasm the place it appears to be like just like the trim is curved. That’s one thing that solely occurs in footage. In particular person, there isn’t any such optical phantasm. However relaxation assured, all the trim and gold foil accents are completely straight on my cupboards, and none of my cupboard doorways or drawers are bowed. ?

Addicted 2 Adorning is the place I share my DIY and adorning journey as I rework and embellish the 1948 fixer higher that my husband, Matt, and I purchased in 2013. Matt has M.S. and is unable to do bodily work, so I do nearly all of the work on the home on my own. You may be taught extra about me right here.
[ad_2]
Source link
