[ad_1]
I vividly keep in mind the day I turned a brand new houseplant mother or father.
After all, I’d grown up with flora in the home – together with brown shag carpeting, darkish wooden wall paneling, and loads of macrame. It was the late 70s and early 80s in any case.
However by means of school and my mid-20s I used to be too busy touring round and transferring home to consider conserving a plant alive within the fleeting moments between adventures.
So once I lastly settled down lengthy sufficient to present one other residing being (moreover myself) consideration, it was a momentous event.
A good friend of mine was splitting up overgrown specimens of their indoor jungle and earlier than I knew it, they’d thrust a freshly potted child spider plant into my arms.
We hyperlink to distributors that will help you discover related merchandise. In the event you purchase from one among our hyperlinks, we could earn a fee.
To discerning, uncommon plant collectors, that scraggly little ragamuffin wasn’t the prettiest specimen on the planet. However to me this ugly duckling was probably the most beautiful creature I’d ever laid eyes upon.
That first houseplant was only the start of my love story with crops.
I’ve realized an terrible lot about being a plant mother or father since then, and I do know a factor or two about spider crops particularly. Fortunate for you, I’m right here to go on my information, from one spider ivy mother or father to a different.
Spider crops could be propagated in numerous methods and shared with household and buddies, as my good friend shared with me.
And in the identical method my good friend did, these houseplants could be divided, or cut up. However how will you recognize when you ought to divide your specimen? And when is one of the best time to do that?
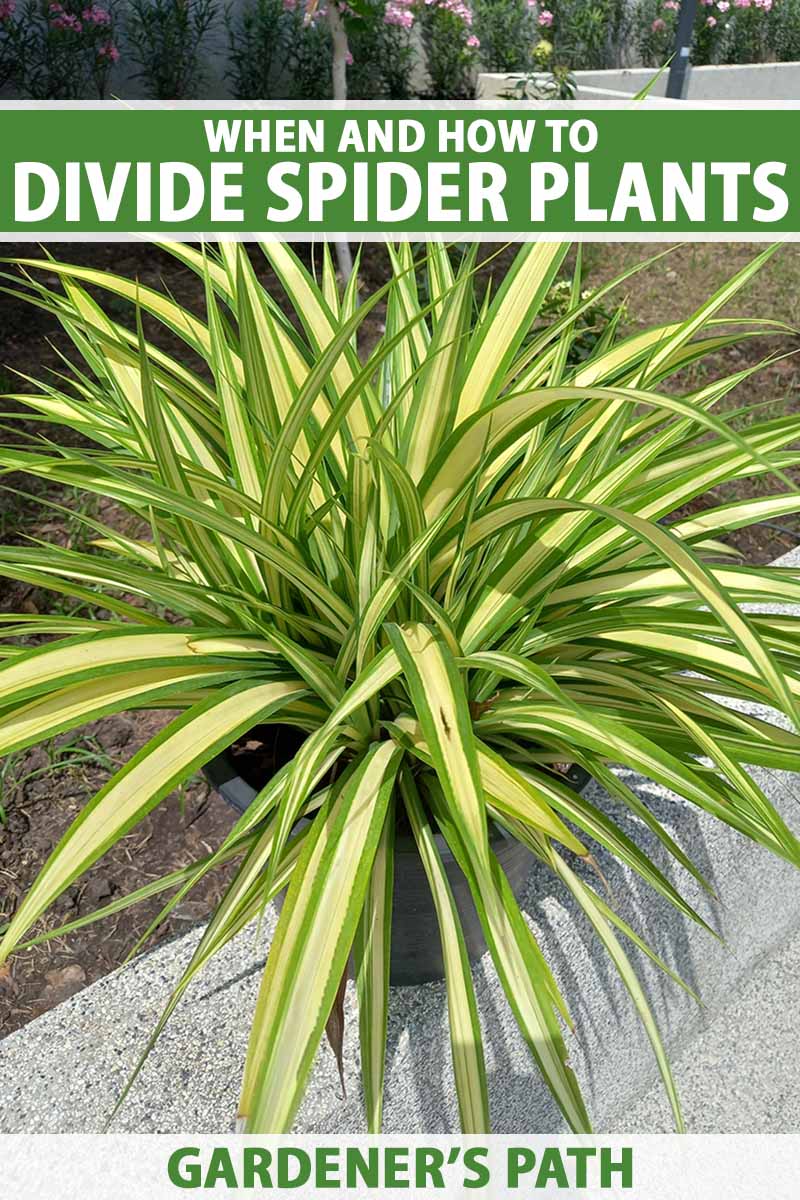
This text will particularly handle dividing spider ivy – why, when, and do it.
For the entire story on caring for these houseplants, learn our complete spider plant rising information.
Right here’s what’s forward:
Let’s get cracking!
Why Break up Spider Crops?
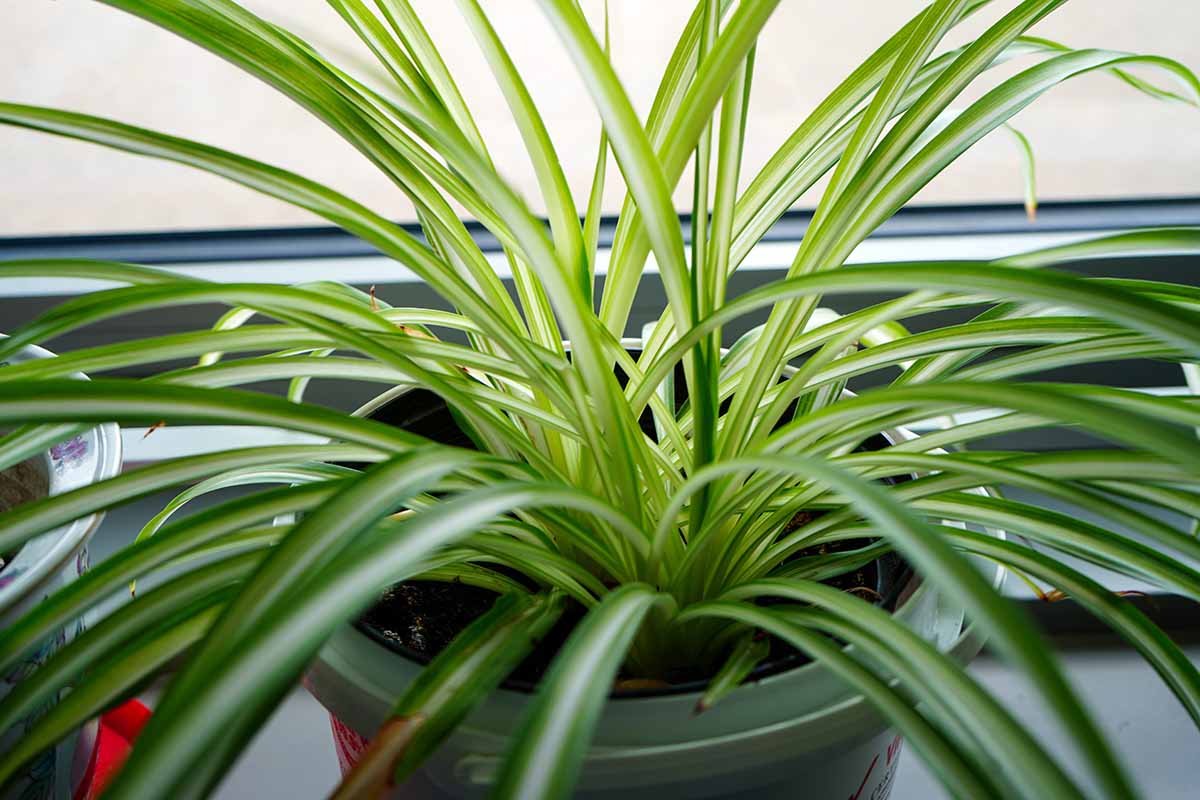
There are three good causes to divide spider crops: to handle the scale of an overgrown specimen, to encourage wholesome progress, and to propagate new crops to share or add to your assortment.
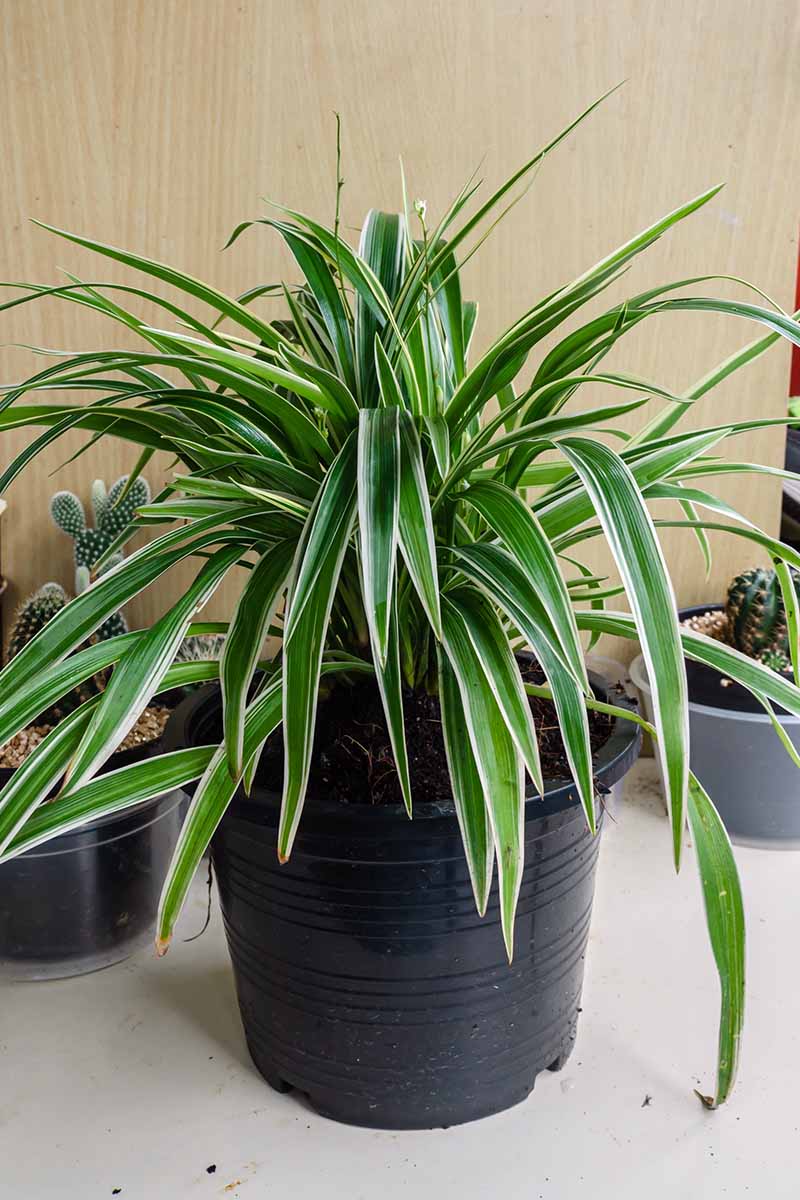
If given sufficient room, mature spider crops can develop greater than two ft extensive! And the thick, fleshy tuberous roots and rhizomes of those houseplants develop rapidly.
Though they like to be barely pot sure, the roots can finally develop into too crowded, so dividing and repotting will maintain them wholesome, comfortable, and looking out their finest.
If the roots and rhizomes get too cramped and crowded, the central, inside part of the basis ball can develop into broken. You might discover indicators of stress like leaf yellowing or browning, withering, and poor well being usually.
Splitting the roots and potting up the divisions rejuvenates the plant and retains it at a manageable measurement, so that you don’t must maintain repotting into bigger containers because it grows.
In the event you’re a thrifty or beneficiant houseplant mother or father, you recognize that propagating at house is the easiest way to fill extra pots with new specimens to inexperienced up your area and to share the love with household and buddies.
That is the best way I turned a plant fanatic, in any case. Why not pay it ahead to another person?
When to Divide
Spider crops could be divided at any time of the yr. In the event you discover the rhizomes pushing up out of the soil, or if the roots have stuffed the pot, it’s time to repot into a bigger container or divide the specimen.
This may very well be each one to 5 years, relying on the scale of your specimen, the scale of its unique pot, and your plant’s circumstances and progress charge.
In the event you want recommendation on repot your spider plant, take a look at our information.
These houseplants do finest after they’re comfortable of their pots. However it could possibly appear to be a high-quality line between “comfortable,” or comfortably pot sure, and too darned cramped.
In case your specimen seems wholesome and it has some room in its present area to develop, there’s no must disturb it – until, after all, you resolve to propagate new crops!
So in case your spider ivy is busting out of its pot, or if you wish to make some child crops, learn on to learn to divide your spider plant.
Learn how to Divide
Earlier than you start, collect up the objects you’ll want. It’s finest to plan forward, so that you’re not scrambling round on the lookout for the appropriate instruments while you’re in the midst of performing surgical procedure.
You’ll want a pointy, clear knife for chopping by means of powerful roots, a trowel or scoop, and a pair of backyard pruners.
You’ll additionally want some recent potting soil.
One thing like this Natural Potting Combine from Gardener’s Provide Firm, out there in 20-quart baggage, could be ultimate.
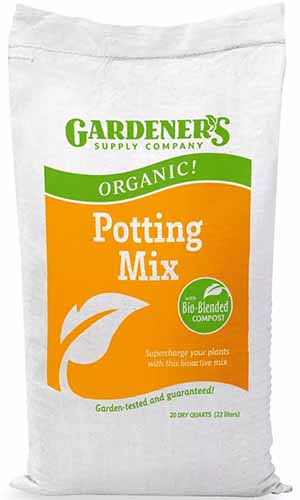
Natural Potting Combine
It’s blended with compost and particularly formulated for container rising.
It doesn’t hassle me to stroll round with soil beneath my nails, but when it bothers you, seize your gloves. In the event you don’t have a pair, learn our information to one of the best gardening gloves for suggestions.
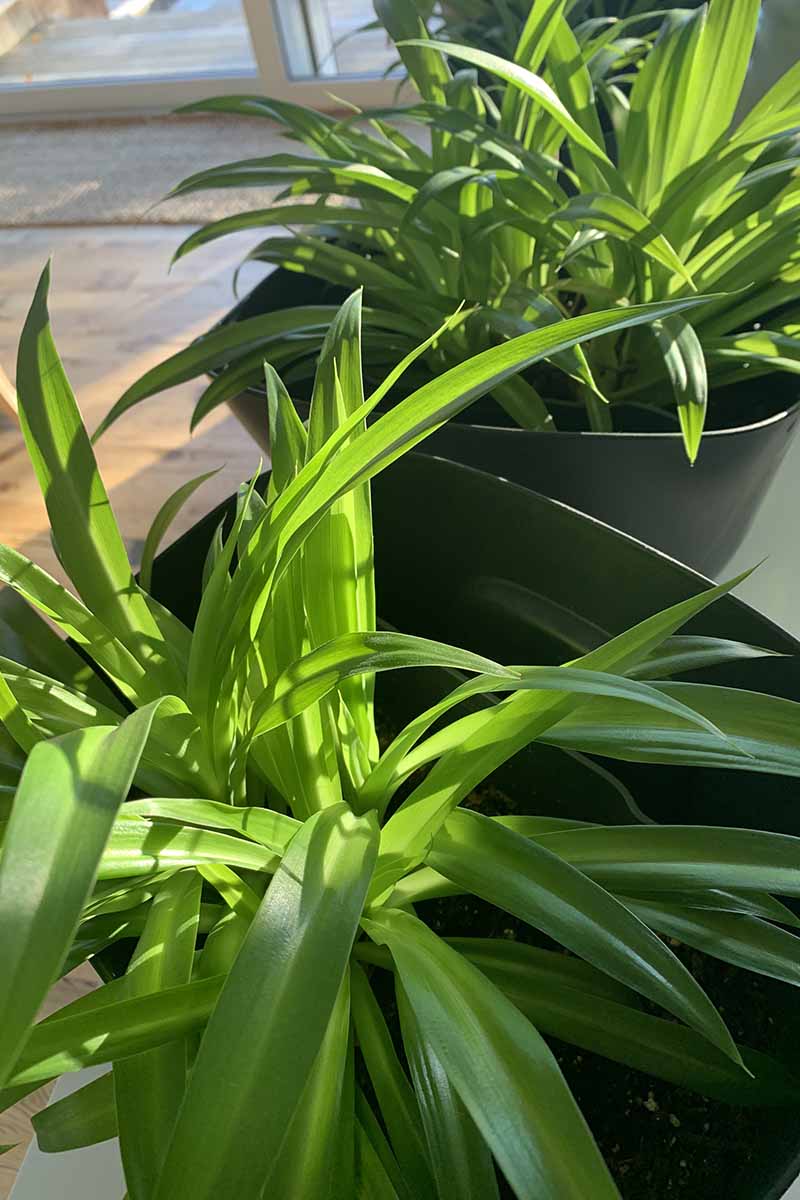
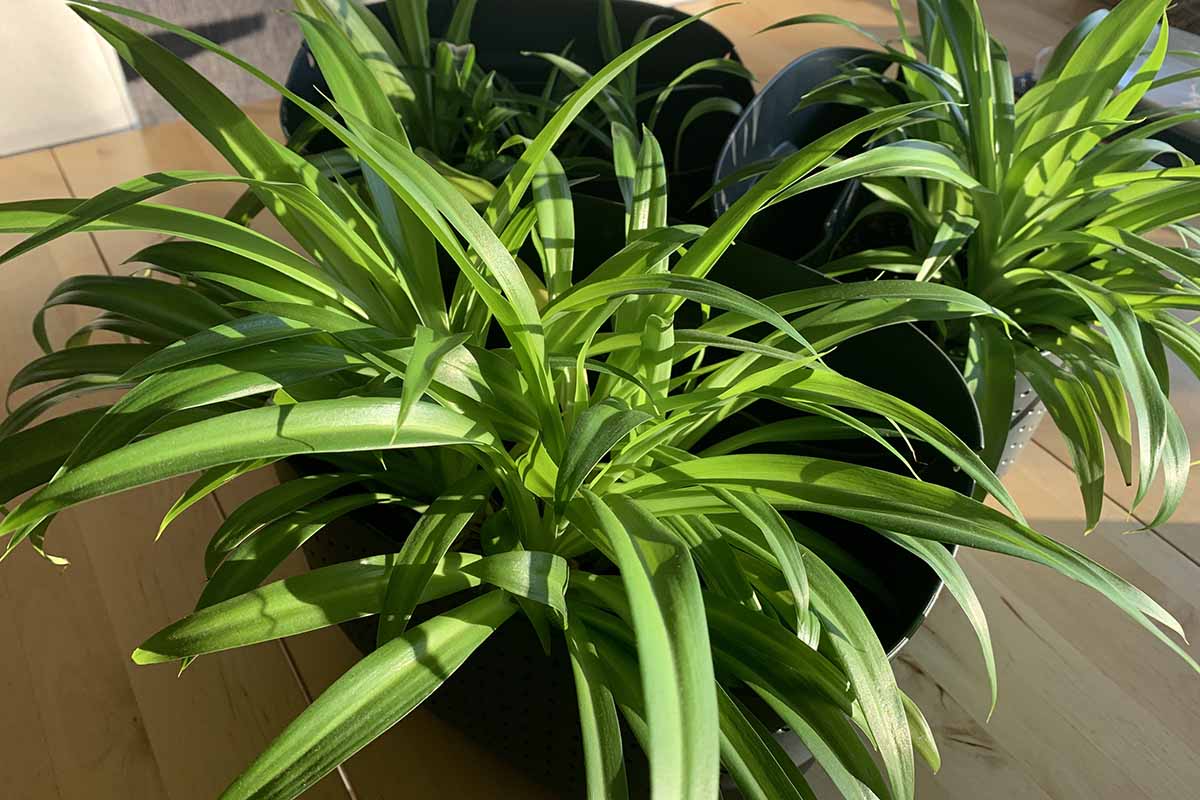
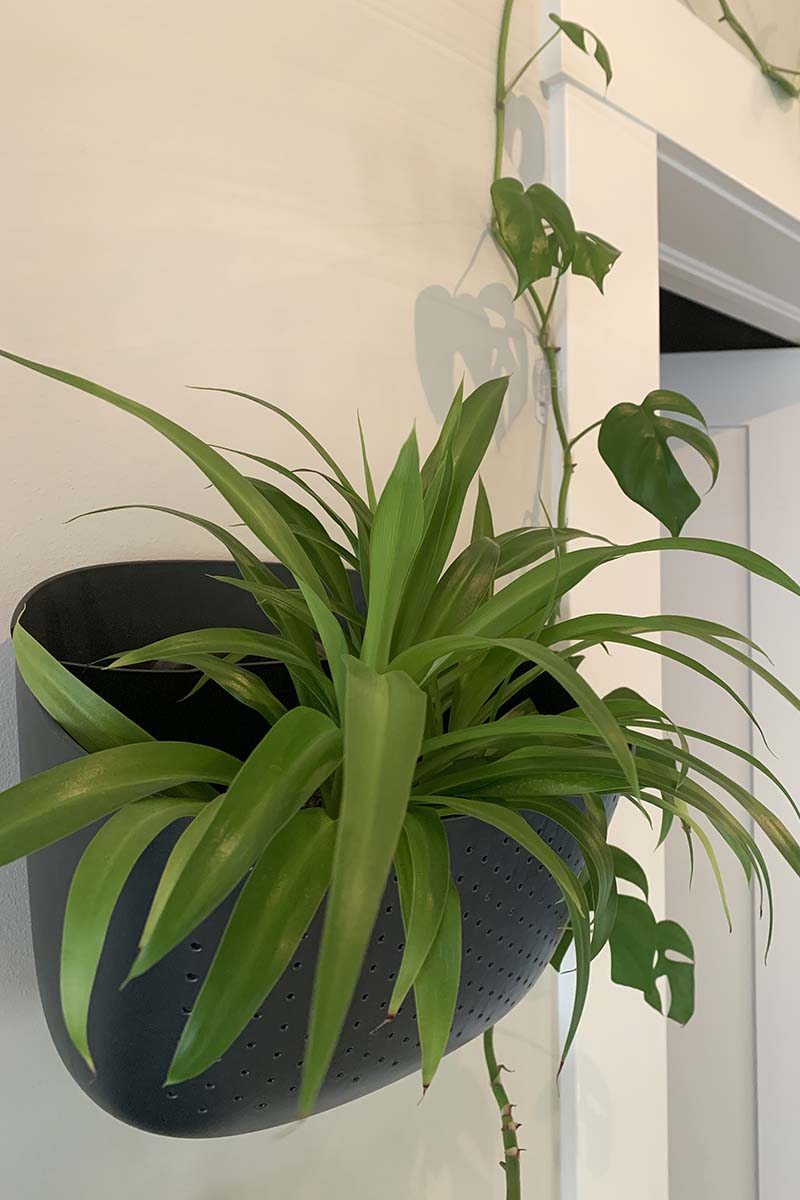
You’ll additionally want additional containers for the divisions. The selection of container is as much as you, however I feel they give the impression of being nice in hanging baskets and planters. I’ve acquired mine in containers which can be designed to mount on a wall.
Check out these Manhattan Wall Planters made by Ecopots.
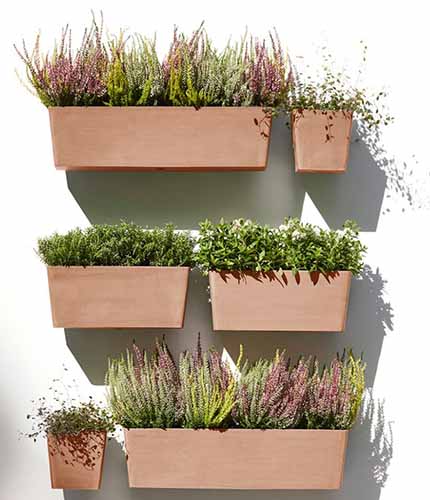
Ecopots Manhattan Wall Planters
They arrive in three totally different sizes, and some tasteful, impartial coloration choices.
They’ve a hidden mounting system for a clear and fashionable look, and so they’re constructed from 80 % recycled supplies. Good when you admire Scandinavian decor like I do!
The brand new containers must be a minimal of three to 4 inches extensive, or bigger, relying on the scale of the divisions – and do not forget that spider crops wish to be just a little comfortable of their pots, so maintain this in thoughts when making your picks.
And no matter containers you select, be sure they’ve enough drainage holes.
When you will have every thing you want, put together an area the place you don’t thoughts getting issues just a little messy. I wish to work at my kitchen desk, however a counter or the ground works too.
Within the basement, or within the storage, wherever you resolve to work, set your self up for a easy and environment friendly workspace.
Put down some previous newspapers or discover a tray to work over to make cleanup just a little simpler. Or, when you don’t thoughts just a little grime, simply go for it! That’s what brooms and vacuums are for.
Now you simply must rustle up your plant and also you’re able to go. I don’t find out about you, however I speak to my houseplants. I inform them how lovely they’re and the way a lot I like them.
I additionally wish to maintain them knowledgeable. This might be time to clarify what you’re about to do and reassure your spider plant that every thing will likely be okay. As a result of it’s going to. You bought this!
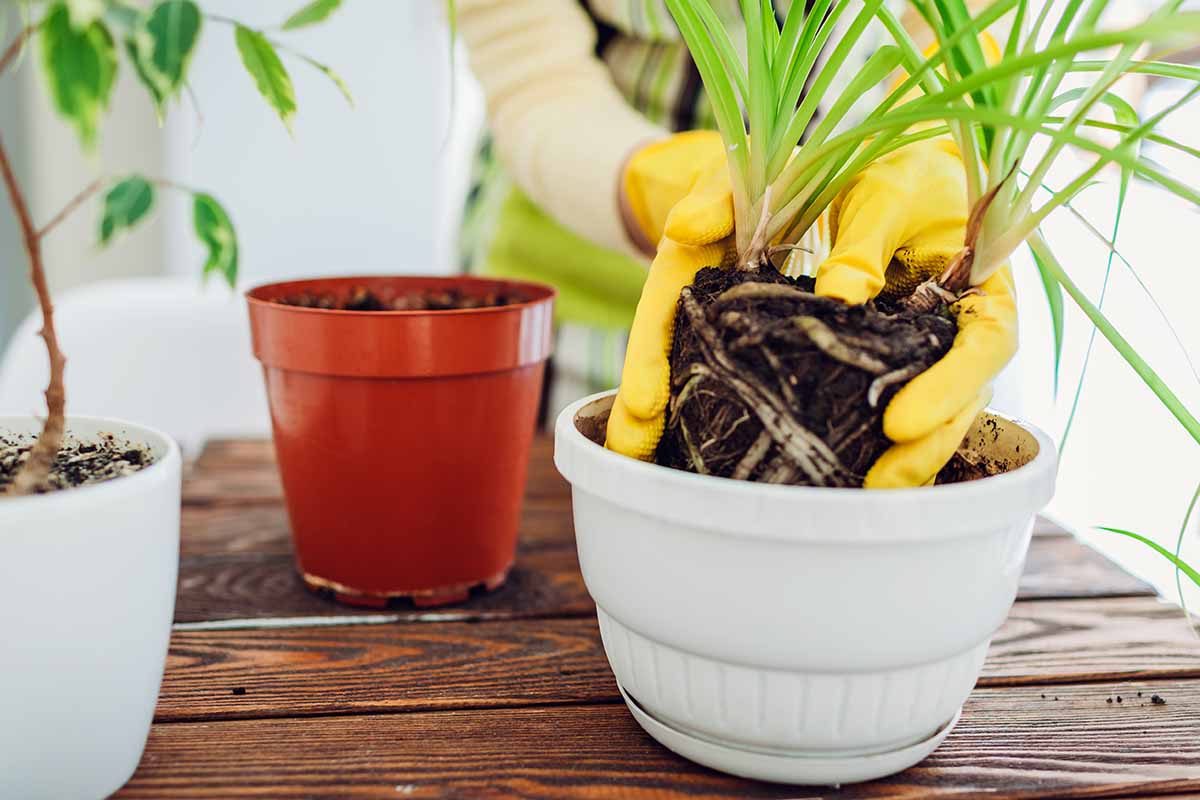
Begin by eradicating your spider plant from its pot.
Squeeze the edges of the pot to loosen it, then whereas supporting the plant on the base of the foliage close to the roots, gently wiggle it out of the container.
Strive to not harm the roots. Set the spider plant on its aspect so you possibly can examine the basis ball.
Subsequent, utilizing your fingers, shake out a lot of the soil from across the roots so you possibly can see what you’re working with. Trim off any broken or useless roots.
Relying on the scale of the specimen you will have, and the scale of the divisions you’re aiming for, resolve the way you’ll cut up it up.
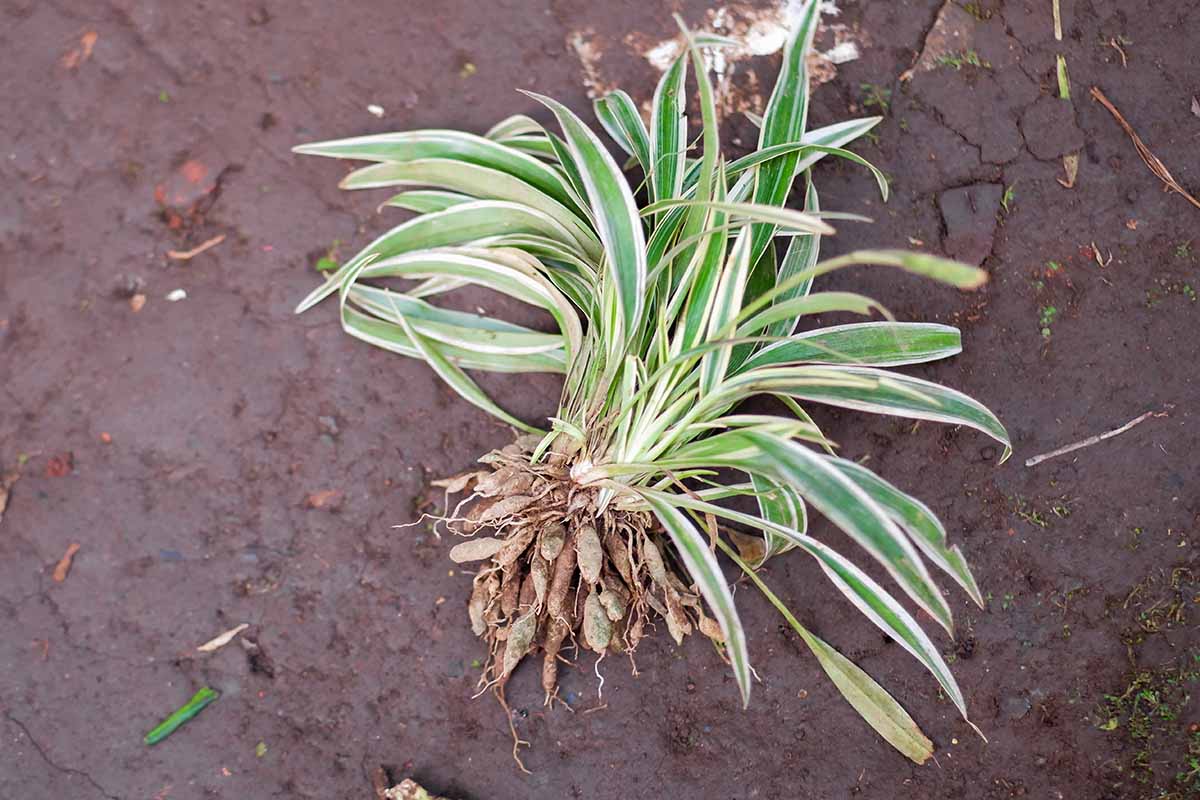
It’s vital to not make your divisions too small. If the brand new root balls are too small, it’s going to take longer for the spider crops to get well and placed on new progress.
If you’re prepared, use your fingers to separate the roots into sections. If the roots are powerful or dense, use your knife to chop them. Every part ought to have quantity of wholesome foliage and rhizomes.
If you’ve acquired your new divisions cut up and able to pot, put together the containers. Scoop some recent soil into the bottoms of every pot. Set the brand new division within the pot, and assist it whereas fastidiously including soil across the roots and gently firming it into place.
The highest of the soil ought to find yourself being about an inch from the highest fringe of your pot, and simply protecting the roots and rhizomes, leaving a little bit of the crown uncovered. Regulate the plant’s place if needed and add extra soil.

If you’re glad along with your work, give your divisions some water.
This can settle the soil across the roots. If it settles fairly a bit, and the roots are uncovered, add some extra soil after which water it just a little extra. Repeat the potting course of with all your divisions.
That’s it! You probably did it! Congratulate your self and reassure your new divisions with a number of delicate phrases of encouragement.
Keep away from fertilizing for at the very least a month to permit your little spider crops time to root of their new containers and get well from any stress.
Make and Share Recollections
Spider crops are forgiving and simple to handle for learners. The truth that they’re completely cute makes them a favourite for skilled houseplant mother and father as effectively.
Dividing your spider plant when it has outgrown its container or while you’re in a giving temper will maintain your specimen comfortable and wholesome.
Share the love by gifting a spider plant division. You by no means know – you would possibly simply be creating memorable moments for another person too.
Do you keep in mind your first houseplant expertise? Share your recollections and drop your story within the feedback under. I’d love to listen to from you!
And to be taught extra about spider crops and take care of them, take a look at our different articles subsequent:
[ad_2]
Source link
