[ad_1]
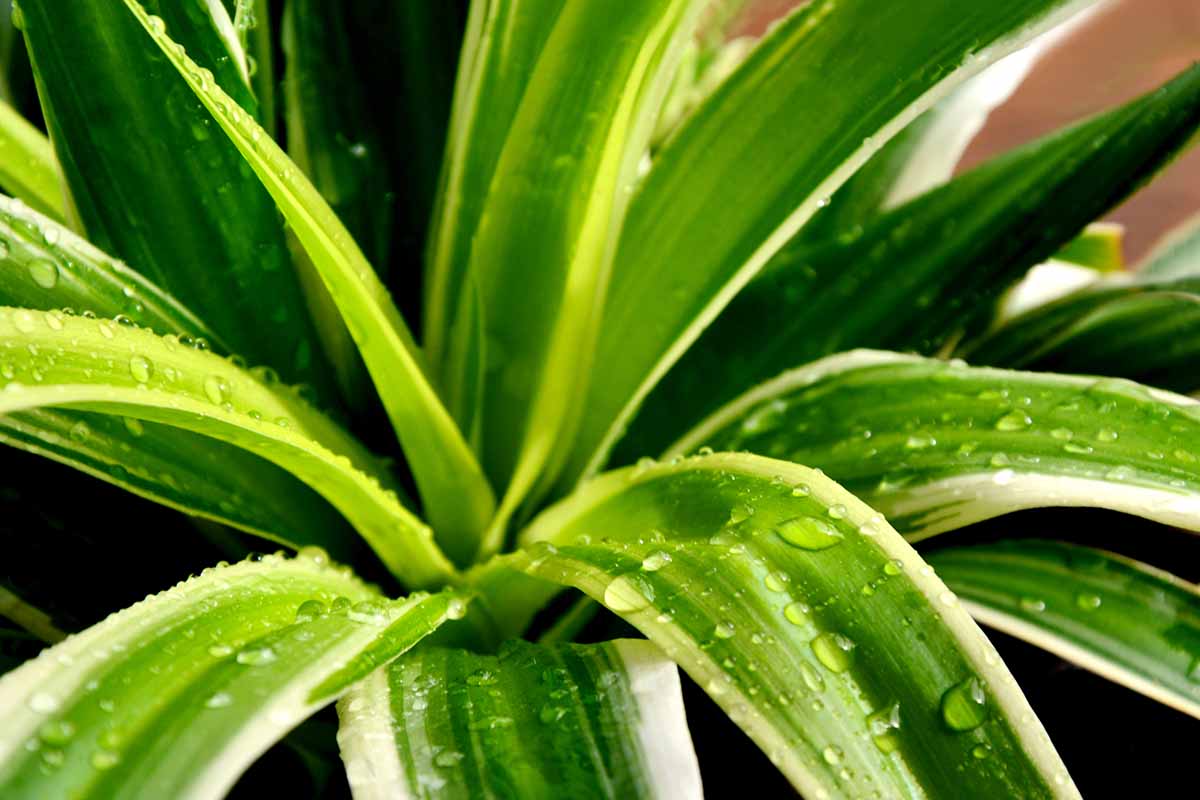
Spider crops (Chlorophytum comosum) are dependable, simple to look after houseplants that want little upkeep.
Nonetheless, as quick growers, these crops do require repotting each one to 2 years. And if you repot a spider plant, you’ll need to ensure you do it proper!
We hyperlink to distributors that will help you discover related merchandise. In the event you purchase from one in every of our hyperlinks, we might earn a fee.
Repotting this easygoing houseplant, also referred to as “spider ivy,” “ribbon plant,” “airplane plant,” and “St. Bernard’s lily,” isn’t troublesome, however you might need some questions as you’re employed via this indoor gardening process.
This text will give you step-by-step steerage, answering generally requested questions alongside the best way.
Right here’s a sneak peek of what I’ll cowl:
On this article we’re going to cowl the method of repotting spider ivies to totally different containers.
In the event you’d prefer to know extra about caring for these houseplants, learn our article for a full information to rising spider crops.
1. Make Positive You Have to Repot
When was the final time your spider ivy was repotted? Typically it’s a good suggestion to repot small specimens yearly, and bigger ones each two years.
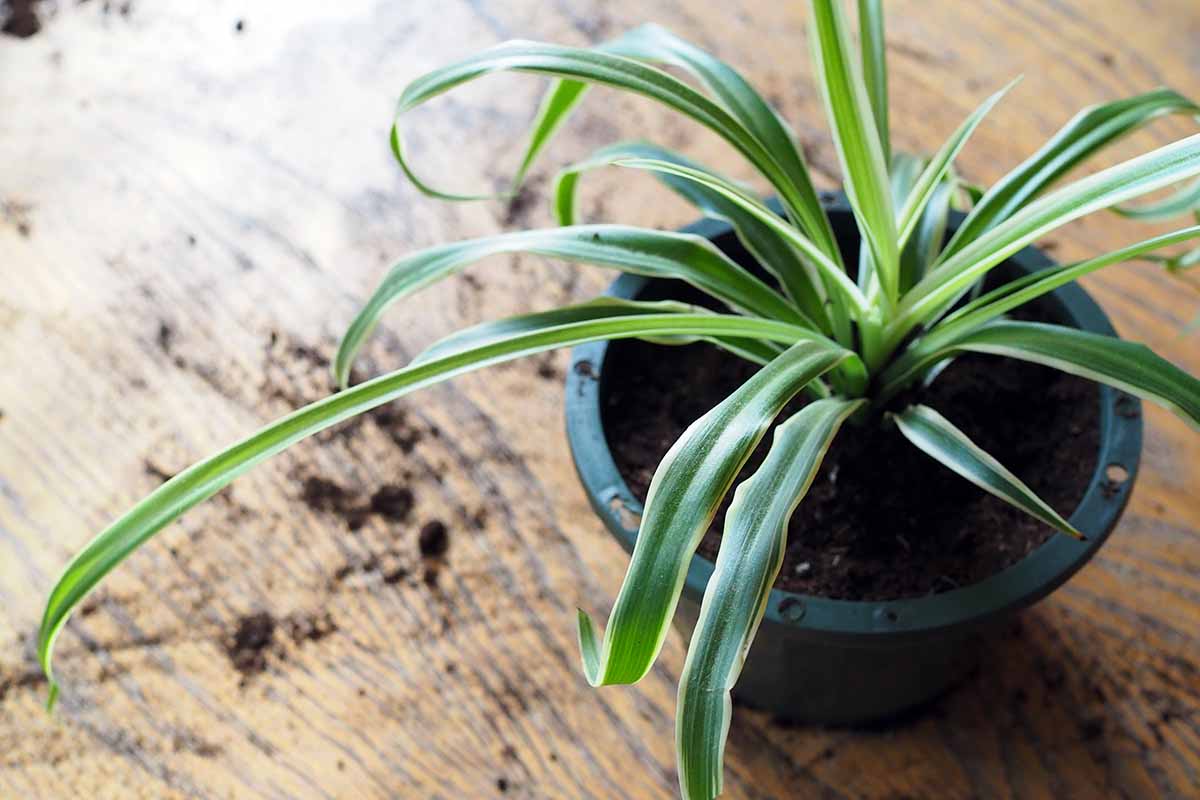
Nonetheless, earlier than you transplant your houseplant into a brand new container, just remember to do certainly have to repot. A method you are able to do that is by inspecting the specimen’s root ball.
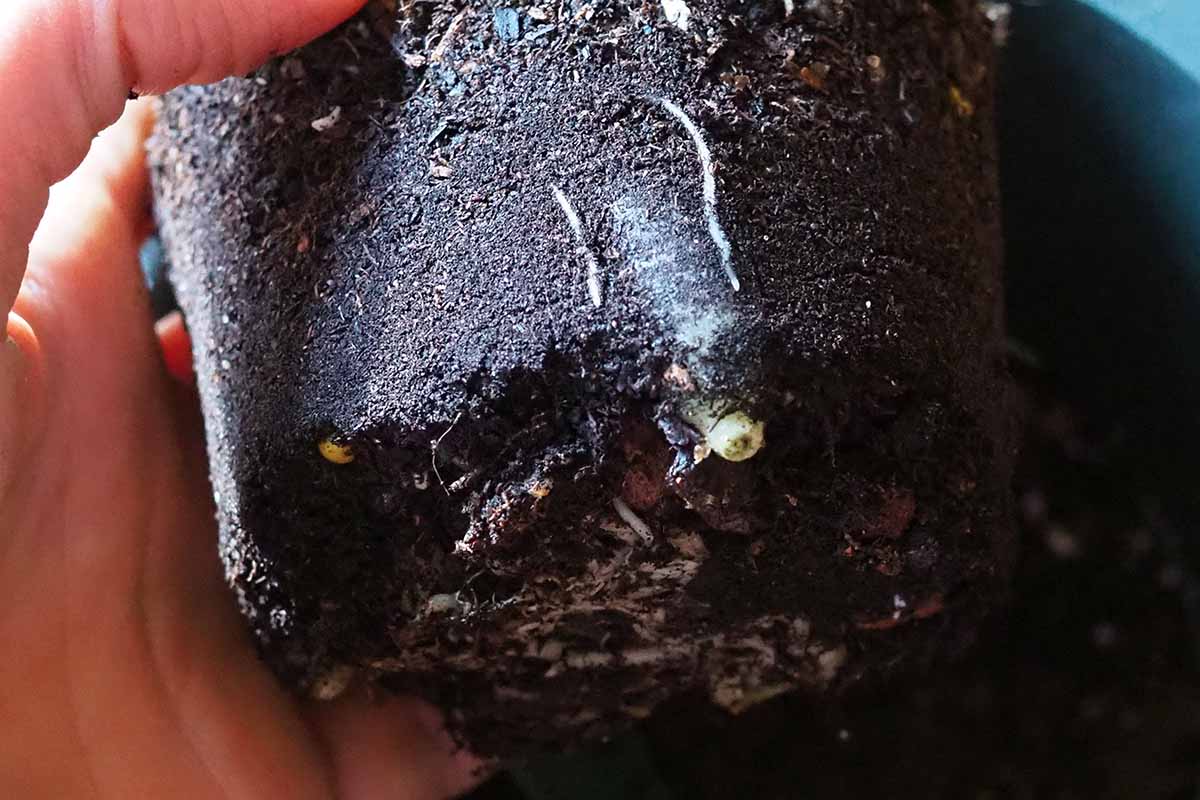
Specimens with out a lot sub-soil development, the place there may be extra rising medium than there are roots within the pot, nonetheless have loads of room to increase of their present containers.
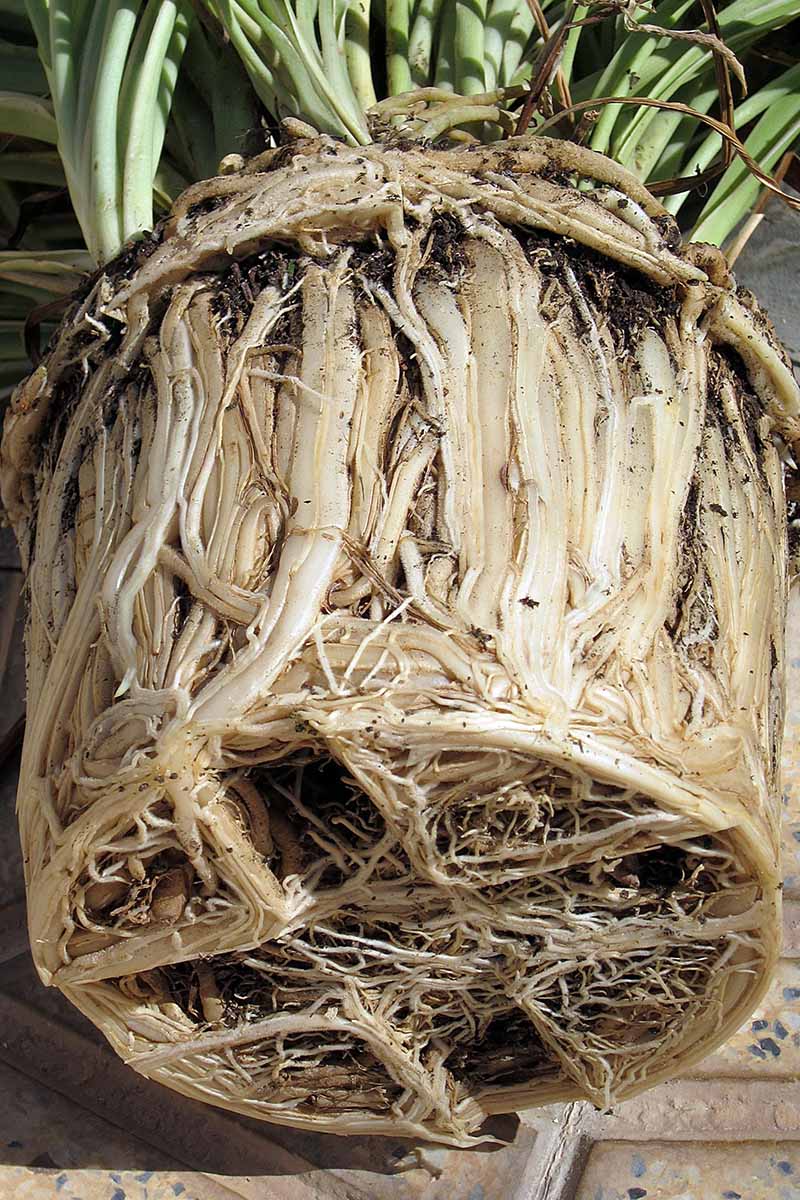
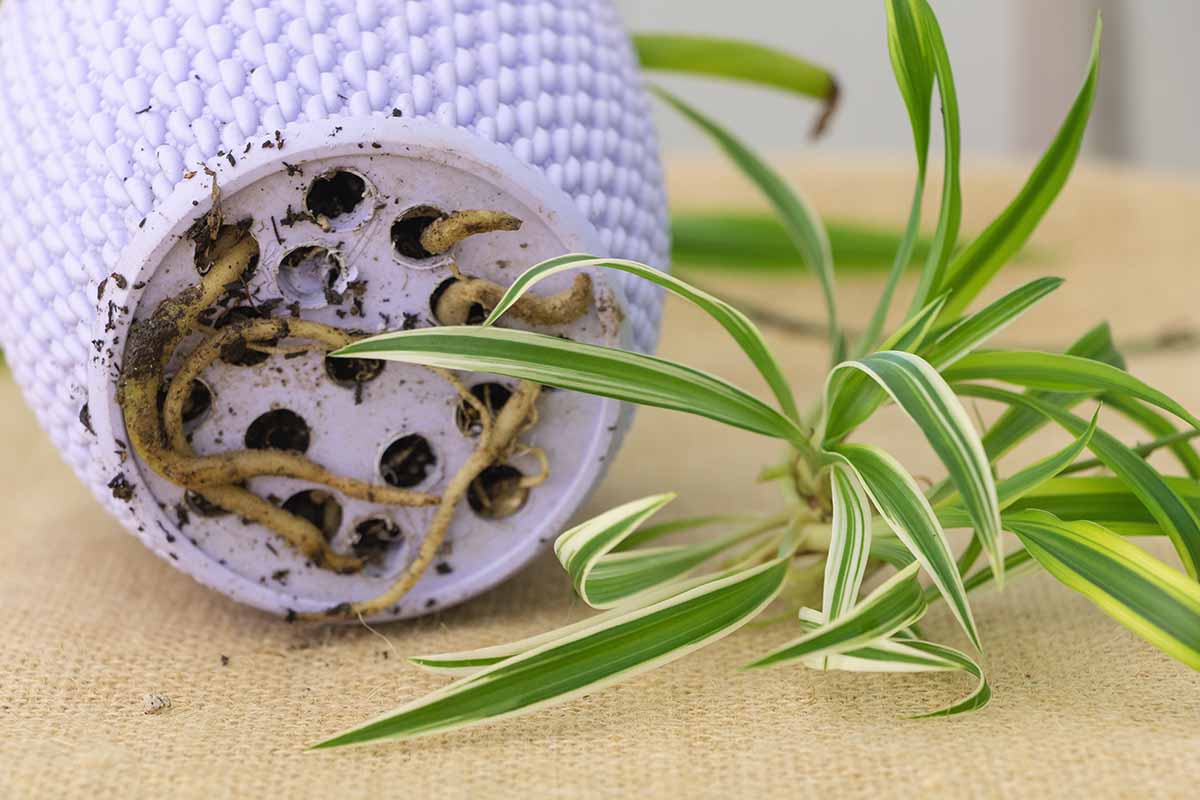
However, if roots are rising from both the highest of the soil or out of the drainage holes, or if the plant is potbound – when the basis system fills up many of the house within the container – then it’s time to repot.
Making it exceedingly clear {that a} change of container is so as, some ribbon crops will even burst their pots as they develop!
Past root concerns, the perfect time to repot a spider ivy is within the spring, at first of an energetic interval of development, so in case your specimen hasn’t but cracked its container, attempt to wait till then in case you can.
Lastly, there are a couple of different conditions if you would possibly need to repot into the identical sized – or an excellent smaller – container irrespective of the time of 12 months:
In case your specimen is rising in a container with no drainage holes, this constitutes a houseplant emergency – replant it asap!
One other trigger for rapid motion is that if it’s planted in an outsized pot – similar to a two-inch specimen transplanted into an eight-inch container.

The rising medium in outsized containers will take a very long time to dry out between waterings. It is a scenario that may make your houseplant weak to the illness generally known as “root rot.”
In case your specimen is in an outsized pot, go forward and repot to at least one that may be a tighter match – there ought to solely be about an inch of rising medium between the sting of the rootball and the sting of the container.
Lastly, if overwatering, poorly draining rising medium, or an outsized container have prompted root rot, attempt to salvage the houseplant by transplanting it to the identical sized or smaller container, with contemporary rising medium, after trimming off any rotting roots.
2. Collect Your Provides
The record of provides you’ll want for this mission is pretty brief: a brand new pot and houseplant rising medium. In case your specimen is sort of root certain you may additionally want a butter knife, which can be utilized to assist pry the plant out of its container.
Moreover, you’ll want a pair of sterilized scissors or backyard pruners if there are any roots rising from the drainage holes.
As for rising mediums, my private favourite for spider ivy, in addition to for a lot of of my different houseplants, is De La Tank’s from Tank’s Inexperienced Stuff.
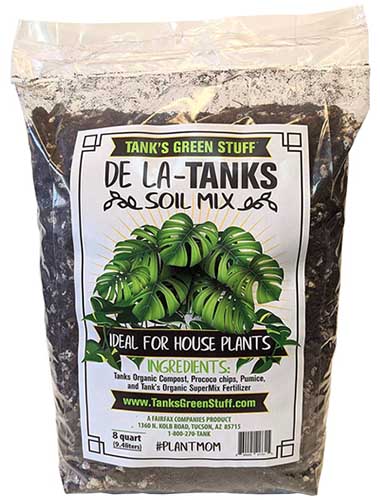
De La Tank’s Home Plant Combine
This rising medium incorporates pumice, compost, and coconut coir, and is peat-free. It’s obtainable in a selection of bag sizes from Tank’s Inexperienced Stuff by way of Arbico Organics.
You may additionally need to use a repotting mat for this mission, to assist maintain your work floor clear.

Massive Inexperienced Repotting Mat
This massive, inexperienced, plastic repotting mat folds up for straightforward storage. It unfolds to a measurement of 39.5 inches by 31.5 inches, and is obtainable by way of Amazon.
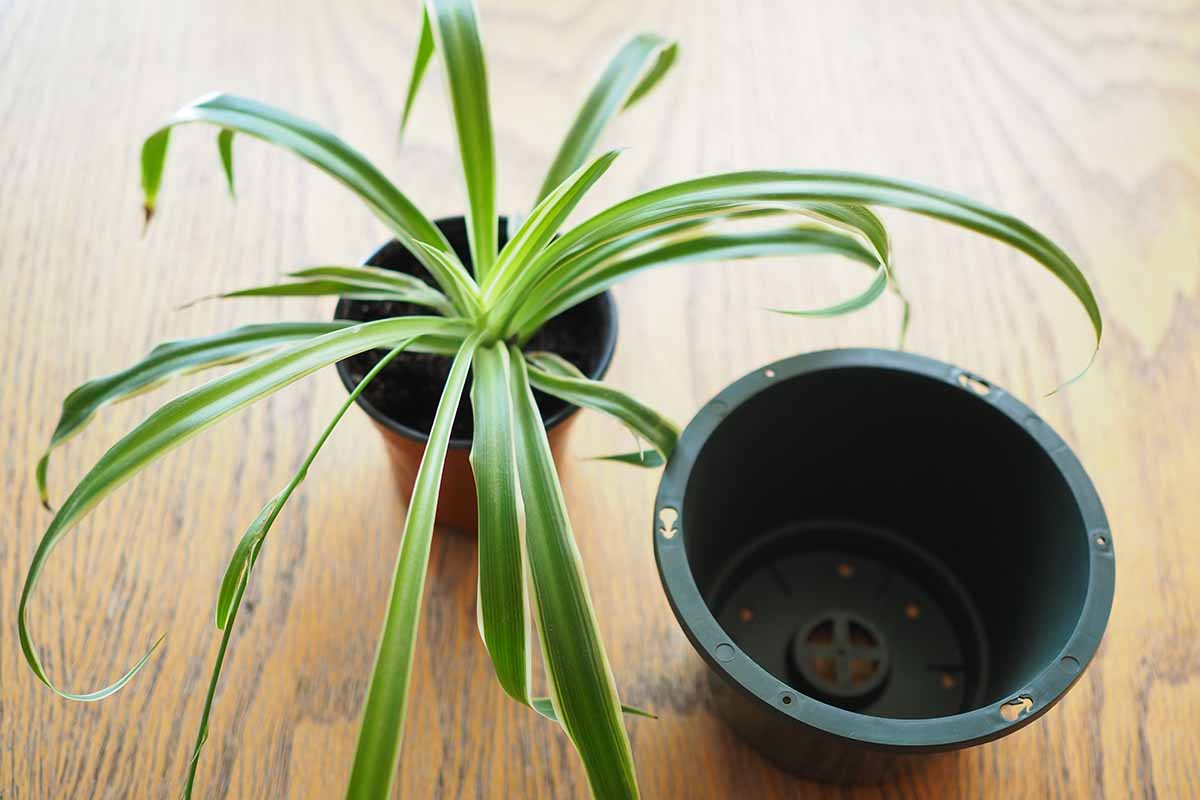
3. Select a New Container
Now let’s speak about selecting the perfect containers for these houseplants.
There are two most important options you’ll need to search for when selecting a brand new pot.
Whether or not you’re on the lookout for an ornamental possibility, or are advantageous utilizing a easy plastic nursery pot, the primary requirement is that the brand new container will need to have drainage holes.
If you have already got a plastic container you’d like to make use of, however it doesn’t have drainage holes, or it has insufficient drainage holes, you might be able to drill holes within the backside.
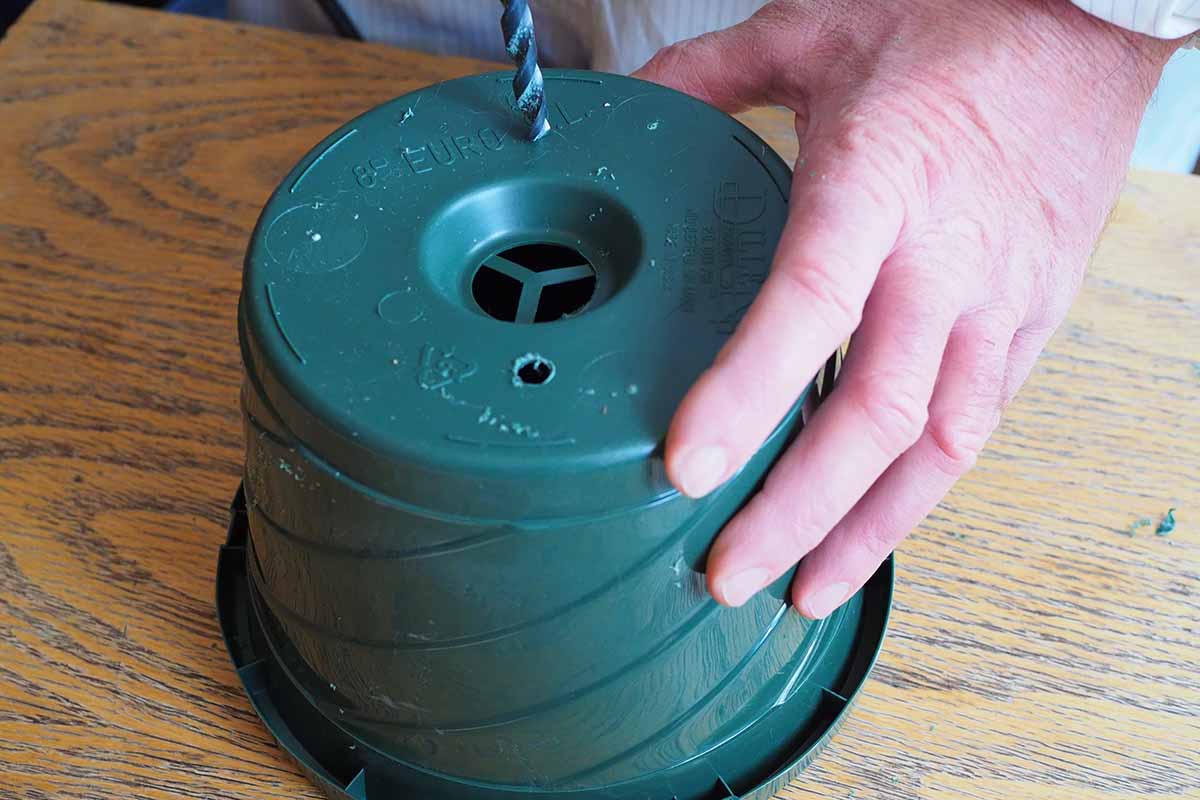
Make sure to put on security goggles and to deal with energy instruments with warning!
Whilst you can additionally use a drill so as to add holes to ceramic and terra cotta containers, this requires a masonry drill bit. Go slowly, drilling solely briefly bursts if making an attempt this methodology, and make just one gap within the backside of the pot.
When selecting new containers for houseplants which have outgrown their pots, the second function to search for is that the brand new ones are only one measurement bigger than the previous ones.
You would possibly assume, “I’ll save myself some work and go forward and transfer my spider ivy to a a lot larger pot, giving her loads of room to develop and skipping a couple of years of repotting.”
Nicely, good friend – this isn’t such a good suggestion. That’s as a result of outsized pots usually result in root rot – an issue that may trigger a spider plant to wilt, earlier than finally killing it.
So go forward and be prudent when selecting that new container. If it’s important to select between one which’s simply just a little larger or one which’s so much larger – go along with the smaller possibility.
4. Unpot Your Plant
Now that you realize you’re transplanting on the proper time in your houseplant and you’ve got a brand new container in addition to some contemporary rising medium, it’s time to get your fingers soiled!
Nicely, okay, in case you desire you possibly can put on gardening gloves.
Unfold your repotting mat onto your work floor, in case you’re utilizing one, and seize your bag of rising medium and new pot.
Earlier than you unpot your spider ivy, get the brand new container prepared by putting about an inch of rising medium within the backside of it.
Now let’s examine the spider plant in its previous pot.
If roots are rising from the drainage holes within the backside of the pot, trim them off with scissors or backyard snips.
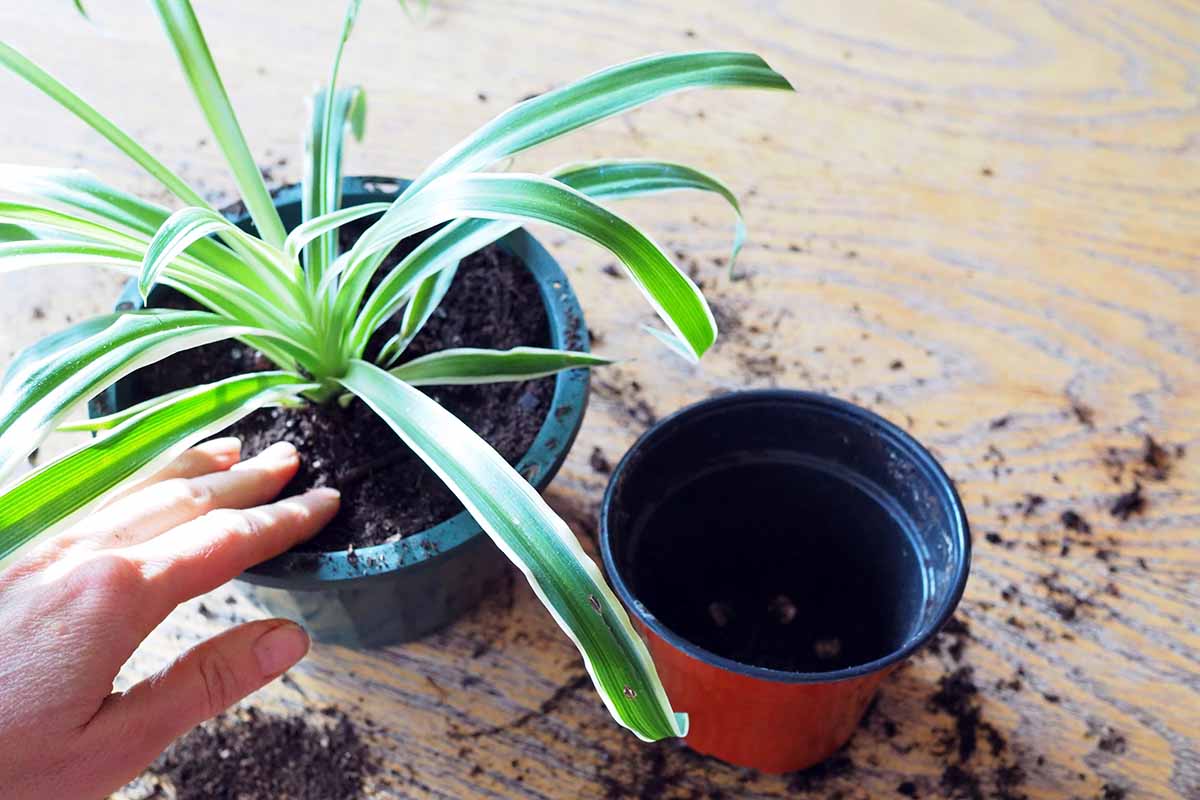
Subsequent, take away the basis ball from the container – you could want to slip a butterknife between the basis ball and the within of the container to free it and pry it out.
For very potbound crops, you could even want to interrupt the previous pot to take away the plant.
As soon as the plant is out of the previous pot, rub the edges of the basis ball to loosen the roots. This ensures they’ll be capable to develop into their new potting medium extra simply.
5. Transplant Into New Container
As soon as the spider ivy has been faraway from its previous container and its outer roots have been loosened up a bit, it’s time to situate it in its new pot.
Place the specimen into the brand new container. There must be about an inch of house between the highest of the basis ball and the rim of the pot. Regulate the quantity of soil beneath the spider plant to attain this stage.
As soon as the plant is on the proper stage, fill the edges with rising medium, then gently tamp down the highest of the soil.
After tamping down the soil, you could want so as to add a bit extra rising medium as air pockets are crammed in.
As soon as the soil is stage, go forward and water your houseplant, after which return it to its standard location in medium to shiny, oblique gentle.
Simply Sufficient Room to Develop
Voila, you’re carried out! Simply 5 easy steps and you’ve got repotted your spider plant – offering it with extra room to maintain spreading its roots and proceed producing a wonderful fountain of grass-like leaves.
Did you comply with the steps outlined right here? Use the feedback part under to let me know in case you run into any surprising hassle. And if the method was a breeze, I’d like to know that too! Or in case you simply need to gush about how a lot you like spider ivies, I’m all ears for that as properly.
Now that you know the way to relocate them from one container to the subsequent, in case you’d prefer to study extra about caring for spider crops, maintain studying proper right here:
[ad_2]
Source link
