[ad_1]
For the longest time, I endured the sight of pink tiles with grey, stained grout in my residence. The grout, as soon as a pristine white, had succumbed to numerous footprints, making cleansing a frightening chore.
A budget, reflective pink tiles clashed with my cream partitions, making the room really feel uncomfortably heat. It was evident that these had been essentially the most budget-friendly tiles the earlier householders may discover.
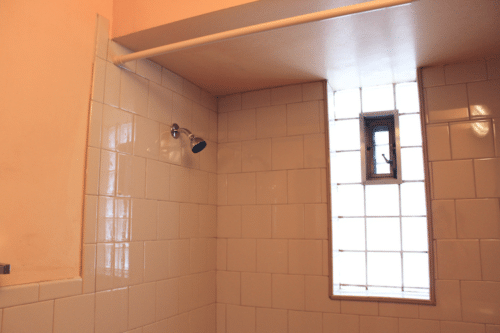
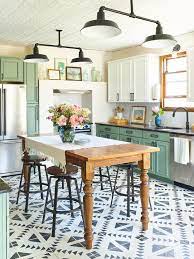
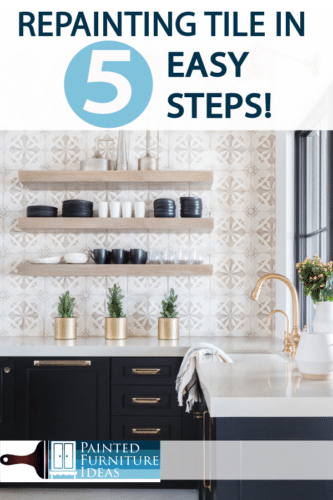
Are you dealing with an analogous tile dilemma? Maybe you despise your dated kitchen tile backsplash or cringe on the stains in your bathe wall. It’s time to bid adieu to the previous and usher within the new with this DIY tile repainting venture. Repainting shouldn’t be solely less complicated and extra reasonably priced than retiling but in addition consumes far much less time—a win-win-win state of affairs! Simply check out these unimaginable earlier than and after photographs showcasing the transformation!
Earlier than diving into the venture, collect your provides. You’ll discover every part you want at your native ironmongery store: smooth-grade paint rollers, tile or flooring paint, and sandpaper, or a hand sander. Plan to keep away from utilizing the world you’re portray for at the very least 48 hours.
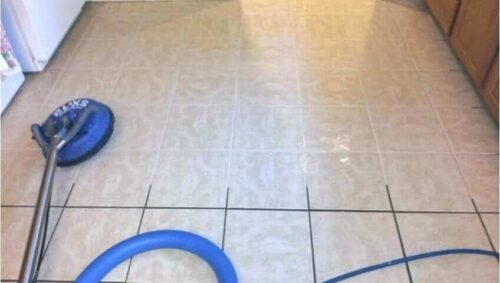
Step 1: Cleansing
Begin by totally cleansing your present tiles utilizing a easy Windex spray or heat, soapy water. Pay additional consideration to the sides and textured areas in case your tiles have any. For flooring, mop by hand as typical mops won’t suffice. Persistence and a clear slate are important to kickstart this venture successfully. Dry the tiles fully utilizing a towel.
Step 2: Sanding
Gently sand the tiles to create a textured floor for the paint to stick to. Make use of a hand sander to expedite this step. Wipe away all of the mud created by the sanding course of from the tiles. For those who’re engaged on the ground, vacuum totally.
Step 3: Taping
Take a couple of minutes to tape round bathrooms, retailers, trim, baseboards, or counter tops. This helps obtain crisp edges and prevents unintentional portray on undesirable surfaces.

Step 4: Portray
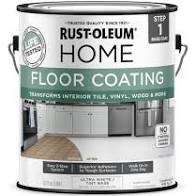
Now, the true enjoyable begins! Go for an epoxy acrylic paint, resembling Rust-Oleum’s porcelain end, perfect for a sturdy floor. If the venture includes areas with elevated moisture or warmth, take into account Rust-Oleum’s “Residence” line designed particularly for flooring.

You gained’t want a lot paint, even for a number of coats. Apply the paint thinly within the first coat, particularly on grout strains, utilizing a brush. Use a curler for the tile areas, using a back-and-forth rolling movement to stop seen strains. Let it dry for six hours and retailer the curler in a baggie to stop drying.
Apply a second coat, brushing the grout strains and utilizing the curler on the tiles.
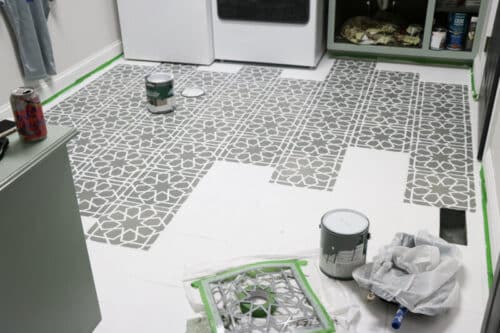
Non-obligatory Step: Stenciling
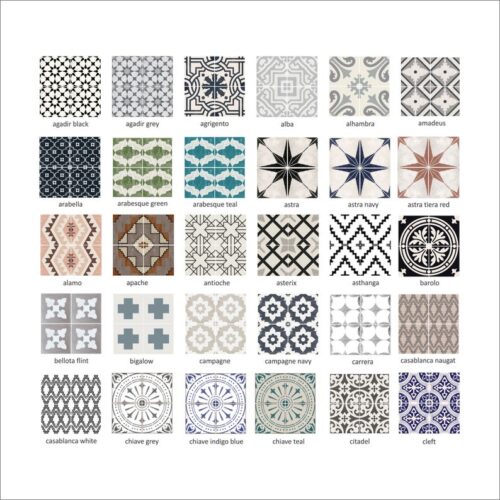
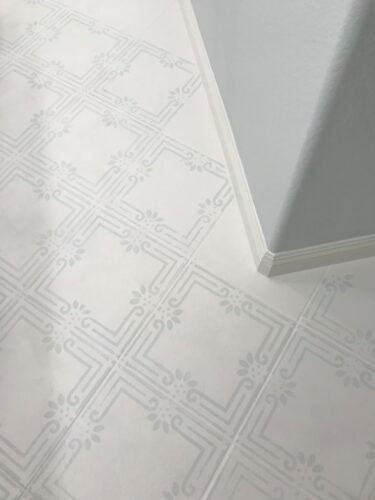
For those who want to add a stencil design to your tiles, now’s the time. Safe the stencil in place with glue dots and roll the paint over it. Carry and repeat the method. Enable two hours of drying time earlier than continuing.
By following these steps meticulously, you’ll be able to rework your outdated tile right into a recent, rejuvenated area that breathes new life into your private home. Say goodbye to the previous and welcome the revamped, all with out breaking the financial institution or spending days on laborious tiling!
For an article about repainting brick verify this text out
[ad_2]
Source link
