[ad_1]

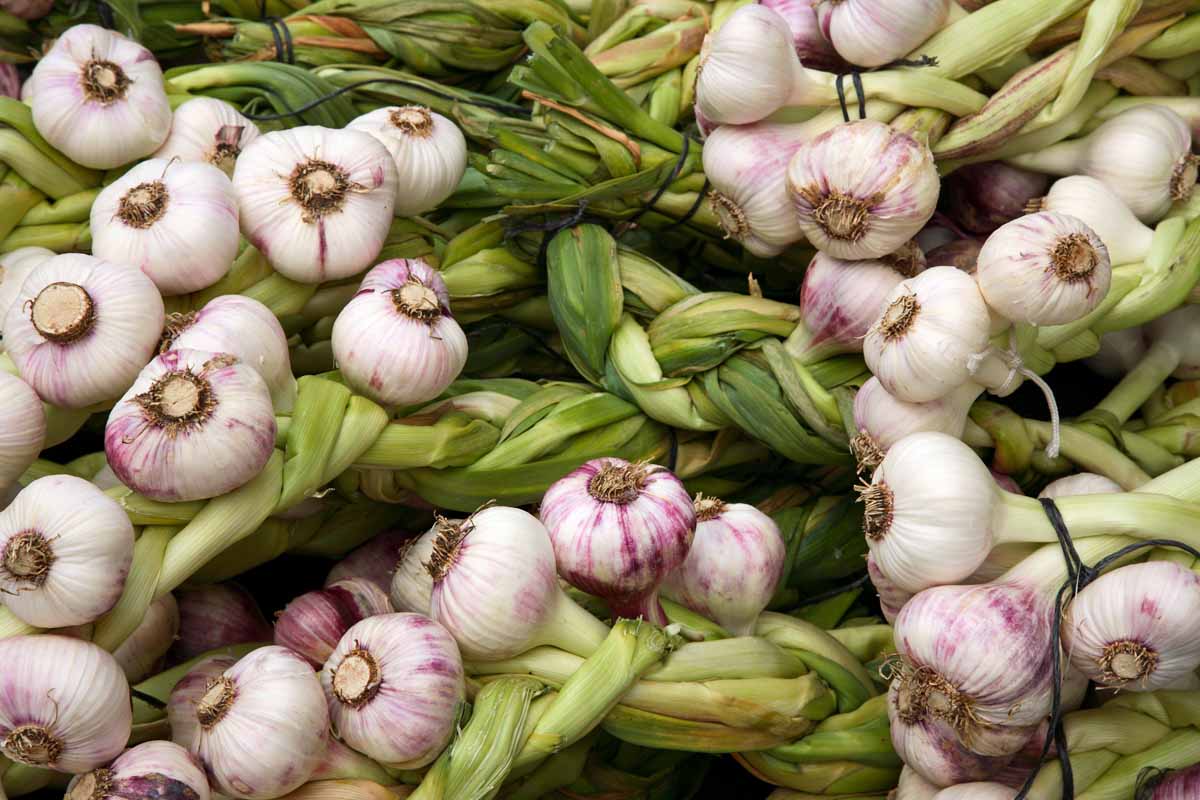
Ah, garlic. I’ve an advanced relationship with this aromatic bulb, usually known as the “stinking rose.”
Again once I was a toddler, I had extreme emetophobia. Concern of tossing my cookies, should you’ve by no means heard the time period earlier than.
I learn someplace that garlic might assist forestall the abdomen flu, so once I was twelve years outdated, I just about grew to become a strolling garlic clove.
We hyperlink to distributors that will help you discover related merchandise. If you happen to purchase from one among our hyperlinks, we could earn a fee.
I ate it uncooked, plenty of it, each single day. I shredded the stuff and put it on toast. My classmates complained that the odor was seeping from my pores.
Lastly, after a 12 months of this obsession, I ate an excessive amount of and it made me get sick.
That introduced a agency halt to my overeating of the bulb. However I nonetheless love the stuff, and love to incorporate it in my cooking.
Garlic is a vital ingredient in a few of my favourite meals: recent salsa, soups, Italian dishes, Indian delicacies (garlic naan, anybody?), and a lot extra.
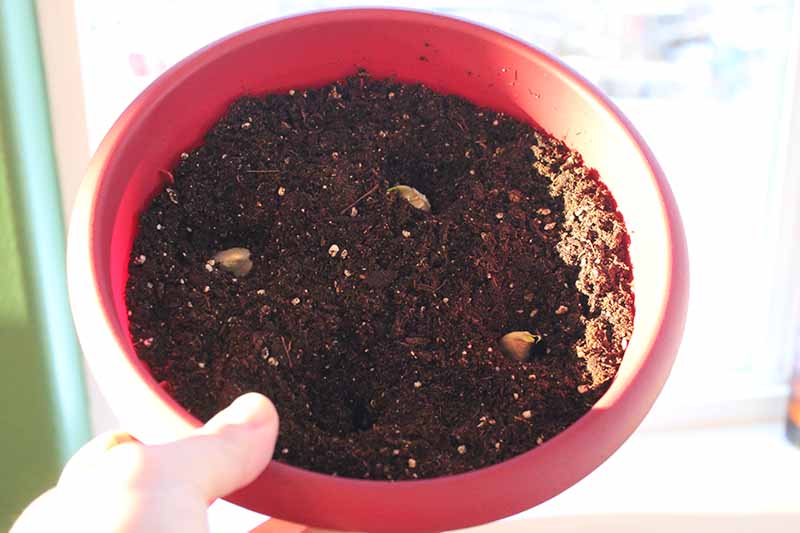
One winter at my house in Alaska, I lastly determined to start out some indoors in a container, beginning with natural bulbs I purchased on the retailer.
We cowl how to do that particular methodology of propagation in one other article. However on this one, I’ll give attention to educating you every part you must know to develop it in containers – whether or not indoors or out.
Right here’s what’s coming on this article:
All About Garlic
To get an in depth overview on the historical past of garlic, take a look at our article on easy methods to develop it in your out of doors backyard.
We’ll simply do a fast rundown right here.
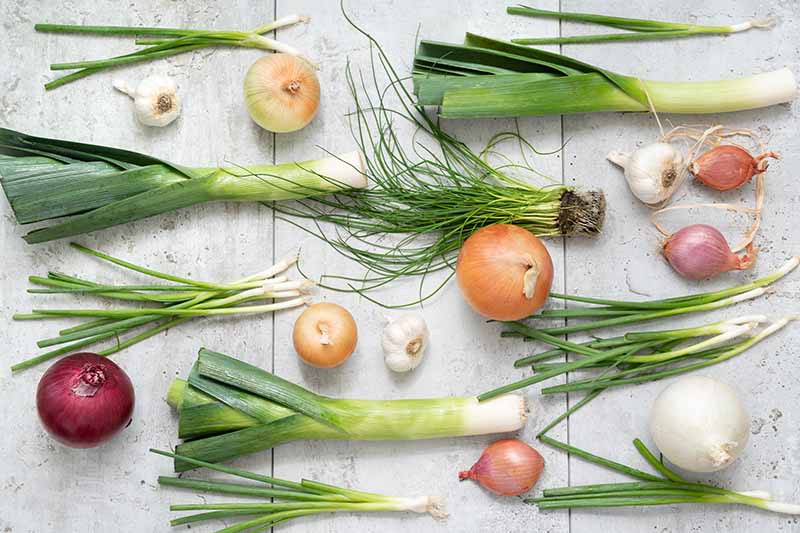
Garlic is a part of the Allium genus, a member of the Amaryllidaceae household. Different vegetation on this genus embody onions, leeks, chives, scallions, and shallots.
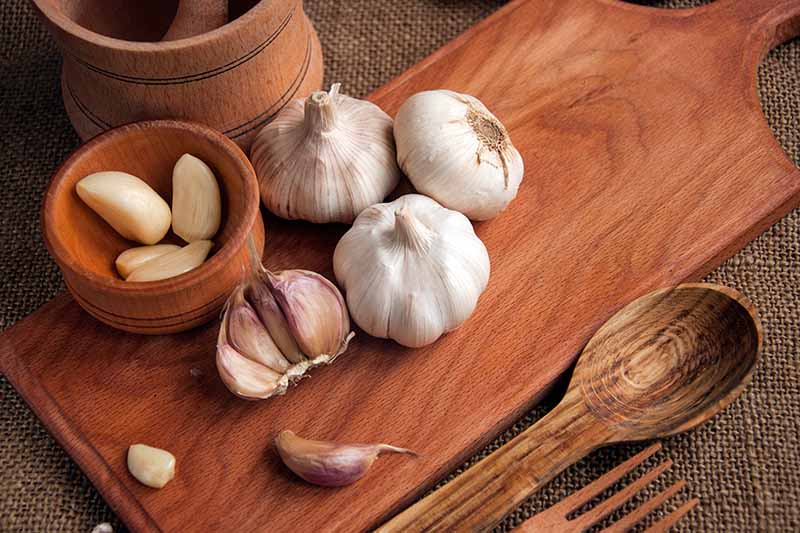
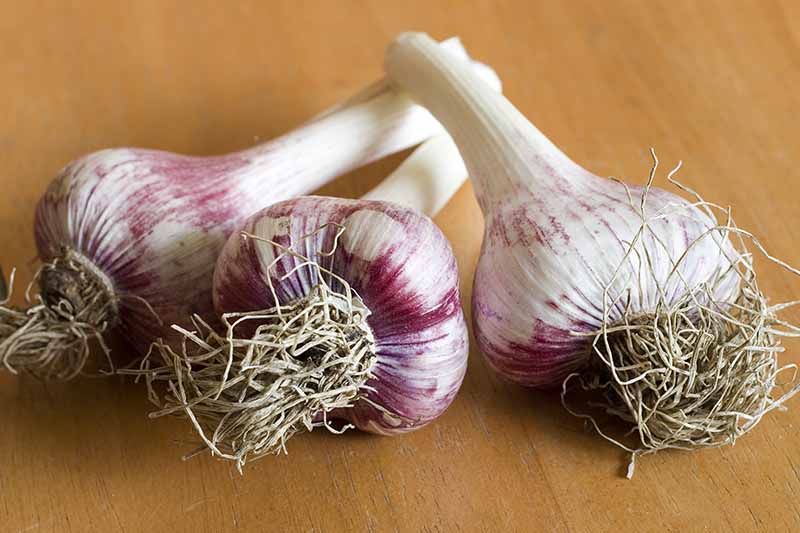
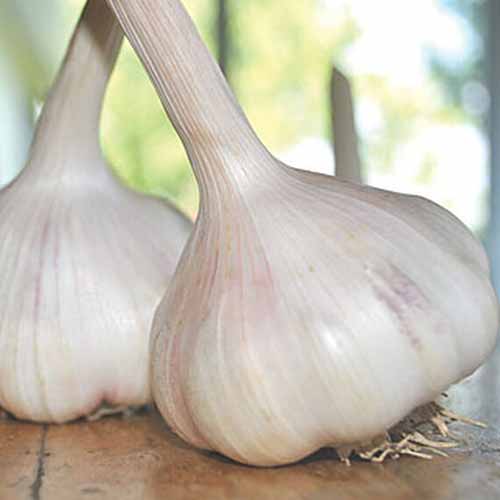
There are two foremost sorts that gardeners develop: A. sativum, or “softneck” garlic, which has a floppy stalk, or A. sativum var. ophioscorodon, the hardneck selection.
More often than not, what you see on the grocery retailer is A. sativum. It’s straightforward to develop and the mature bulbs have a protracted shelf life when cured, or dried.
The hardneck selection, A. sativum var. ophioscorodon, grows a stiff stalk that is still upright and doesn’t flop over when it’s prepared to reap.
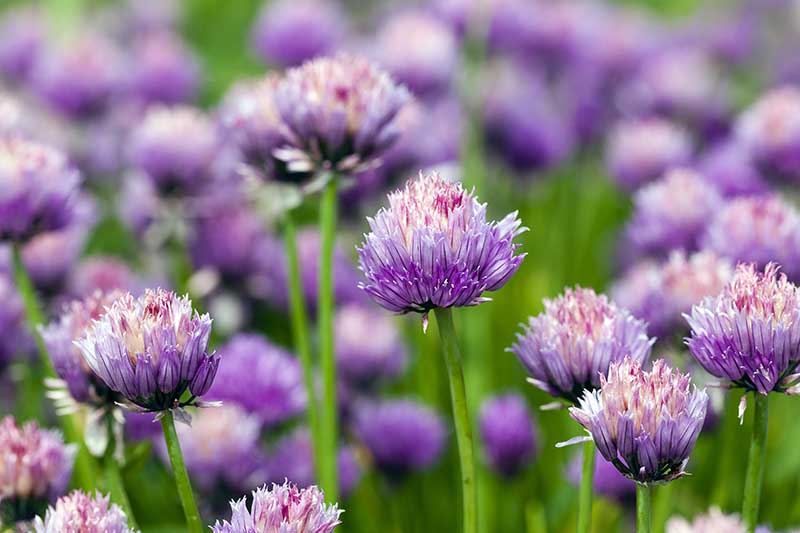
This subspecies grows edible scapes – flower stems and blooms – in addition to bulbs.
You received’t discover garlic as we all know it within the wild. It’s been cultivated for hundreds of years and used as a medicinal plant in lots of areas of the world, serving to individuals battle every part from toothaches to heart problems to excessive ldl cholesterol.
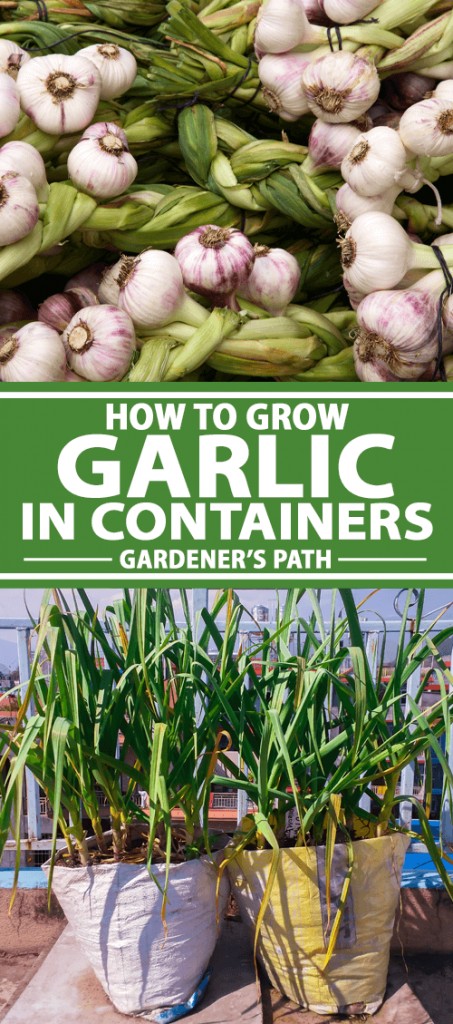
Right here’s easy methods to develop this tasty, fragrant addition to your delicacies at house in containers.
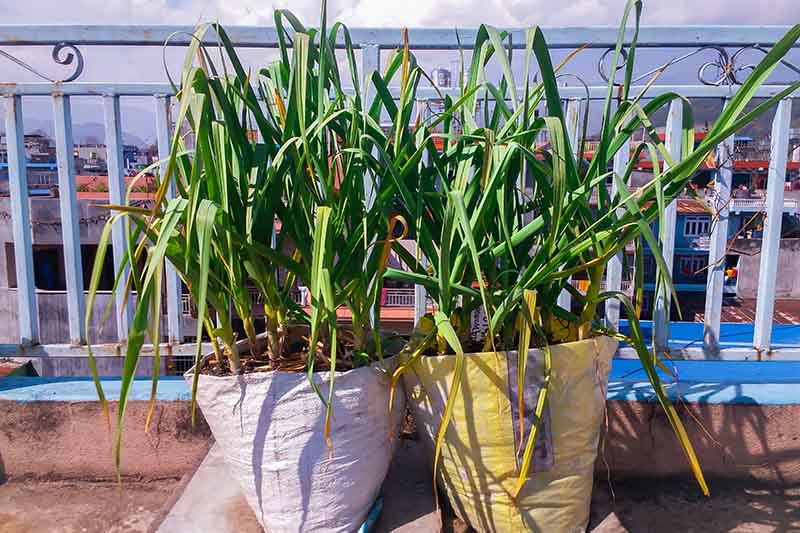
Why Select Container Rising
You may be questioning why it is best to develop garlic in containers in any respect.
Perhaps you’re like me, and also you merely like rising issues in containers. You possibly can simply transfer the pots round, develop garlic at any time of the 12 months, and save house when you have a small house or backyard.
The lengthy rising season that this plant requires earlier than it’s prepared for harvest means there’s a number of time for it to be attacked by varied pests and illness when grown within the backyard.
It’s additionally simpler to regulate the surroundings the place your plant is rising – you may simply hold the soil unfastened and moist, being cautious to not make it too moist. You possibly can even transfer your container into or out of the solar or rain.
Plus, you received’t have to fret about weeds, or marvel easy methods to hold the bottom from freezing and shifting the place of your bulbs throughout the winter.
By conserving an in depth eye in your little crop, you’ll have a higher probability of having fun with your individual recent, homegrown A. sativum in your cooking.
Choosing the Proper Container
To start out, you’ll want a container that’s not less than eight to 10 inches deep. This may give the roots sufficient house to develop comfortably.
Cloves have to be planted 4 to 6 inches aside, so hold that in thoughts once you’re choosing your container.
A 24-inch-long, eight-inch-deep container can maintain about 4 to 6 vegetation, which is able to hold you properly stocked for some time.
Or, select a number of deep however smaller containers, and plant only one or two cloves in each.
This makes essentially the most sense if you need to have the ability to transfer the containers round, or if you’re rising in a smaller house.
If you happen to like the feel and appear of a terra cotta planter, that can work properly, though bear in mind that terra cotta are likely to dry out extra rapidly than different supplies.
Or, select a sturdy plastic pot for one thing lighter.
If you happen to stay in a scorching local weather, select a light-colored pot as black ones, when positioned within the solar, could cause the soil to overheat.
Both method, be certain the container has drainage holes, and add somewhat gravel to the underside to permit water to empty away from the roots.
See our information to selecting containers for an summary of the completely different supplies they’re produced from.
Making ready Your Container
Fill your container with both of those:
- Unfastened potting soil amended with some 10-10-10 NPK fertilizer, in accordance with the directions on the bundle.
- Backyard soil, filtered with wire mesh or a sieve to take away clumps and pebbles, and amended 50-50 with well-rotted manure or compost.
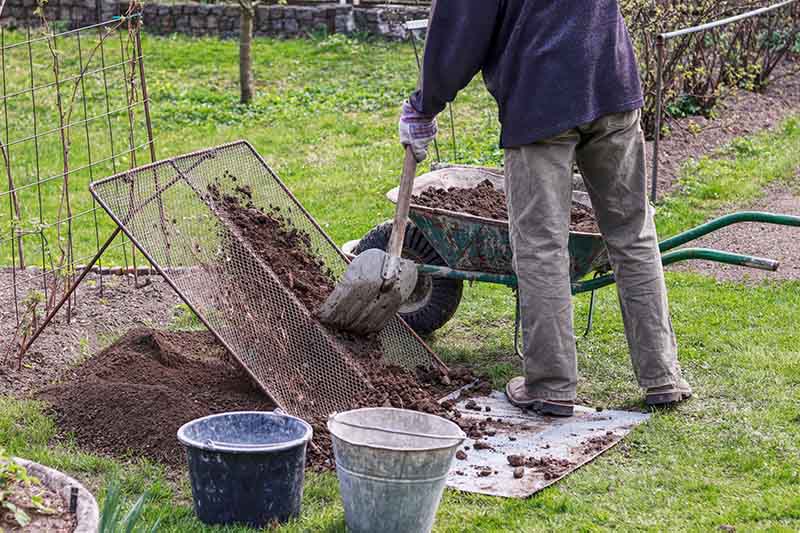
A. sativum likes unfastened, well-draining, wealthy, and loamy soil with a pH between 6.0 and seven.5.
Examine your backyard soil with a soil check to search out out if it has the correct pH to your cloves.
And be sure to don’t use soil that’s just lately been planted with different Alliums. This may assist forestall pests and fungi which are interested in Alliums from thriving close to your newly planted cloves. A few of the fungi can stay within the soil even after the earlier Allium vegetation are lengthy gone.
The best way to Develop
Probably the most frequent strategy to propagate garlic is to plant cloves from an current bulb.
You can too begin garlic from bulbils, the tiny micro-cloves that develop out of the scapes and flowers. You possibly can develop these simply as you’ll common cloves, however you may anticipate them to take as much as two years to mature, so that you’ll must be affected person.
You may get seed cloves – regular-sized ones, not bulbils – from a backyard middle or nursery. Some will even be prechilled, or “pre-vernalized,” permitting you to plant instantly with out having to fret about inserting the bulbs within the fridge first.
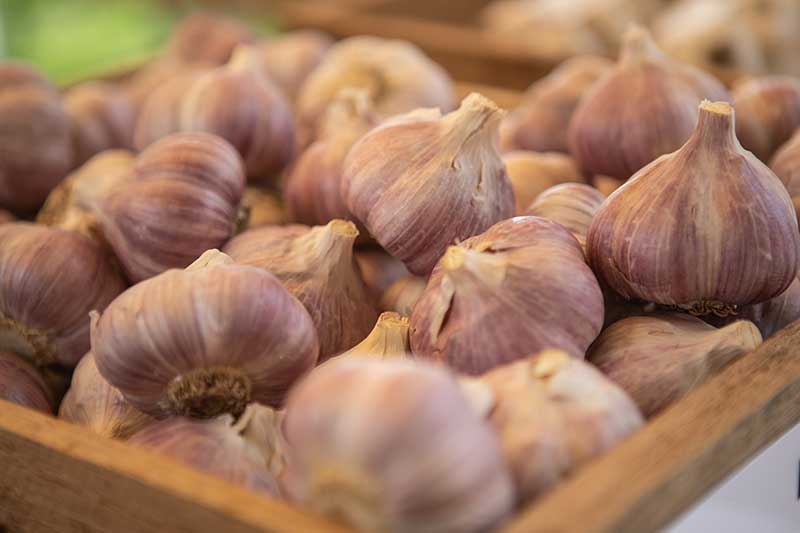
Or, you are able to do what I did: purchase natural bulbs from the grocery retailer and propagate them at house.
The explanation you want natural bulbs on this case is that conventionally grown grocery retailer garlic is typically sprayed with a development inhibitor to stop it from sprouting.
You need yours to sprout. So go natural!
Take into account that you’ll normally solely discover softneck varieties on the grocery retailer. These thrive in USDA Hardiness Zones 8 and up.
Hardneck varieties boast extra complicated flavors than softneck varieties, and normally produce bigger cloves – which suggests much less peeling so that you can do earlier than cooking.
They’re additionally very best for gardeners in Zones 7 and beneath, as a result of these varieties want not less than six to eight weeks of chilly publicity beneath 45°F earlier than they’ll sprout.
One of the simplest ways to attain that is to plant within the fall, and let the bulbs overwinter by inserting your container outdoor.
If you happen to don’t stay in an space with temperatures that dip to 45°F or beneath throughout the winter, you may nonetheless plant hardneck varieties.
However you’ll must put the cloves in a paper bag and hold them in your fridge’s crisper drawer for eight to 12 weeks to chilly stratify earlier than planting.
The very best time to plant garlic in most areas is in September or October – simply earlier than winter comes round, not less than two weeks earlier than your first laborious frost.
However because you’re rising in containers, you may plant at any time, particularly should you select to buy prechilled bulbs which are able to go.
Grocery retailer bulbs or those who haven’t been prechilled want to enter a cool basement or keep exterior in chilly temperatures for eight to 12 weeks earlier than coming again into the solar and heat for rising.
Whereas softneck varieties can profit from some chill time, they’ll develop fortunately with out it. You possibly can plant them at any time and develop them indoors if it will get too scorching exterior (above 90°F) or too chilly.
I planted mine indoors throughout the month of February. I plan to place my container outdoor right here in Alaska within the subsequent week or so, because the climate is steadily rising towards 45°F, in order that they will profit from cool rising situations.
It’ll be prepared for harvest in July.
We’ll discuss extra about when to reap in a second. However first, let’s learn how to plant your cloves!
Planting Garlic Cloves
The very first thing you must be sure to do is go away the papery pores and skin on the cloves once you break them other than the bulb. The pores and skin protects the cloves and helps hold infections away.
I discover peeling garlic to be a cumbersome process in any case, so it’s good that you just don’t have to do this earlier than planting!
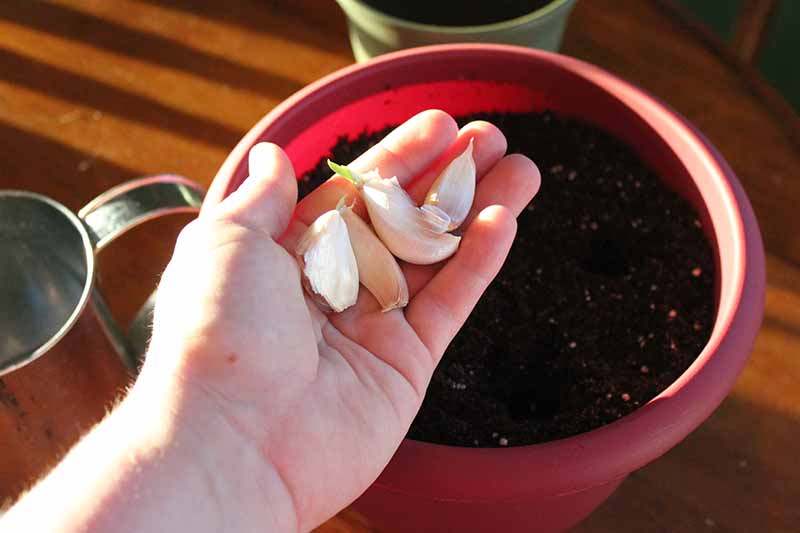
As soon as your container is stuffed together with your soil of selection, take your cloves and dig small holes nearly the identical depth as they’re lengthy, roughly 1-2 inches in depth every, spaced 4 inches aside.
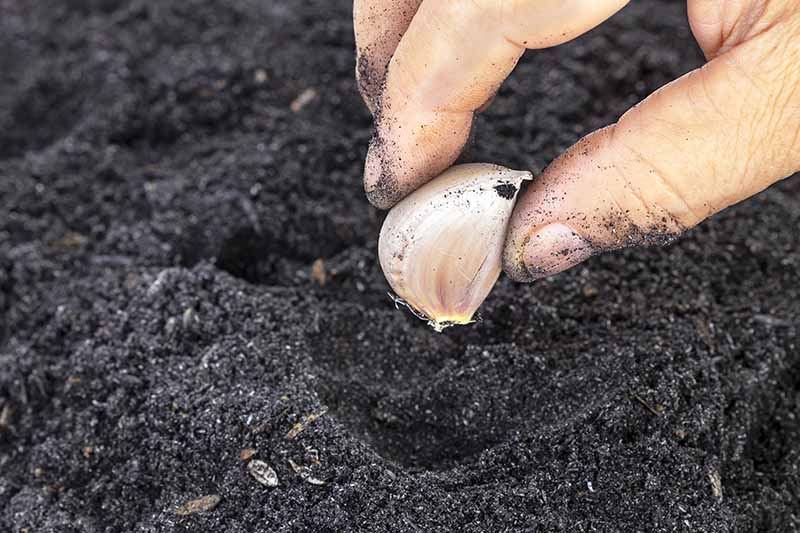
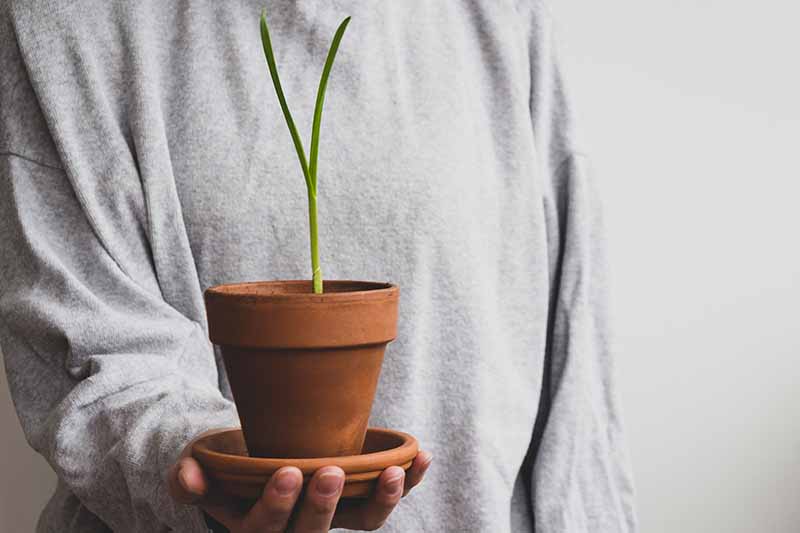
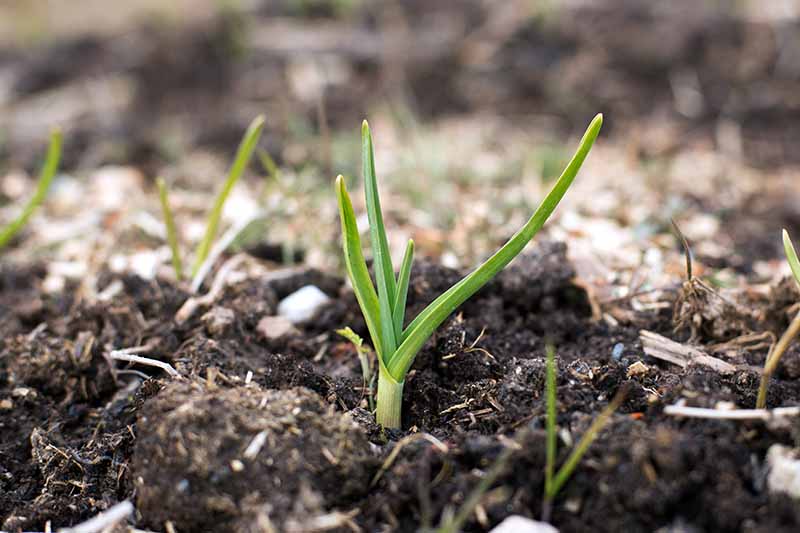
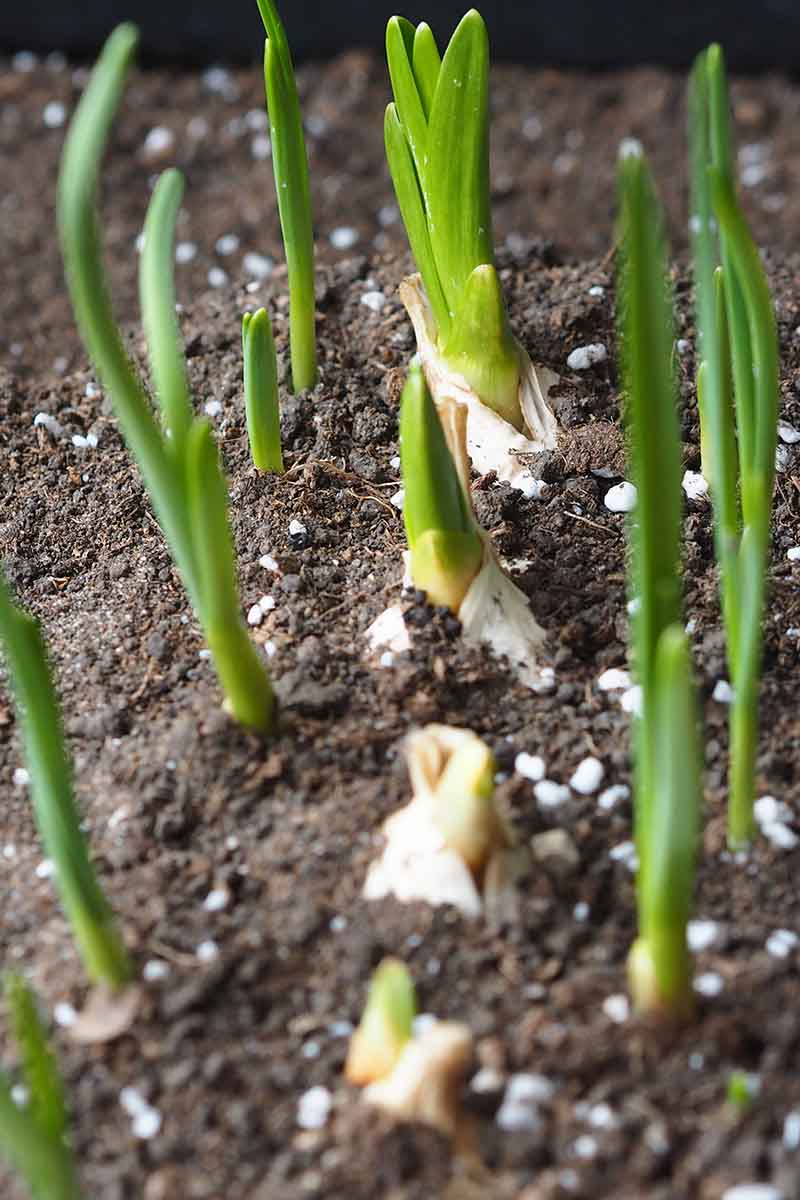
Place one clove inside every gap with the pointed facet dealing with upwards. It’s possible you’ll already see inexperienced sprouts taking pictures out of the clove, like I did once I planted mine.
Roots will develop out of the underside of the clove, so that you don’t wish to unintentionally plant that facet dealing with up.
Cowl loosely with soil and water completely.
For spring-planted softneck sorts, you may both develop the vegetation indoors, or place them outdoor in a sunny spot so long as the air temperature is persistently above 45°F.
It’s because softneck sorts planted within the spring have a a lot shorter rising season – normally round 90 days from planting to reap, relying on the cultivar you select. You’ll get smaller cloves, however you’ll get them sooner.
For fall-planted softneck or hardneck varieties, put your container outdoor as quickly you’ve planted it, in a sunny location.
And needless to say garlic wants not less than six to eight hours of solar each day.
In Zones 7 and above, softneck sorts will develop all by means of the winter and into the spring and summer season, producing hearty, fragrant bulbs about 240 days after planting.
Hardnecks will go dormant throughout the winter months, after which start their development within the spring.
Each varieties require about six to 9 months to succeed in maturity, relying on rising situations and the actual cultivar you might have chosen.
Container Care
Garlic is straightforward to take care of as soon as it’s planted. Be sure the situation the place you’ve positioned your containers persistently has sufficient solar, transfer them if mandatory, and provides them 1/2 to 1 inch of water each week.
To examine the moisture degree, dig down within the soil subsequent to your garlic, about two inches away from the plant and 4 inches down. If the soil is moist down there, you don’t must water fairly but. But when it’s dry, go forward and provides it a deep watering.
If it rains closely, keep away from watering your vegetation for not less than per week – garlic hates moist toes, and this could trigger them to rot.

Do you reside in an space that will get waterlogged on a regular basis? (I’m you, Seattle!)
That is the place you’ll profit from container rising: merely transfer your containers to a sheltered space and even indoors after a day or two of rain.
Use a develop gentle rather than direct sunshine whereas they’re indoors if wanted, after which pop them again exterior as soon as the rain stops.
You possibly can cease watering hardneck varieties after the primary frost. Whereas the water could not freeze inside your container, it’ll be chilly sufficient to start out the vernalization course of, throughout which period the plant doesn’t want water.
Go forward and cowl your vegetation with an inch of mulch, if you want, to maintain moisture locked in.
You possibly can resume watering within the spring, as soon as your final frost is 2 weeks behind you.
That is additionally a very good time to combine in a granular 5-10-10 NPK fertilizer over the soil, in accordance with bundle directions.
You might also wish to add a bit extra mulch, particularly one with a lighter coloration (like straw) to mirror warmth away out of your plant as summer season creeps in.
Protecting the soil cool is a crucial issue within the success of your growing bulbs.
The plant will begin to kind bulbs underground as soon as the soil begins to heat up within the spring, but when the soil will get too scorching, bulbs can cease rising earlier than their time, leaving you with small or underdeveloped bulbs.
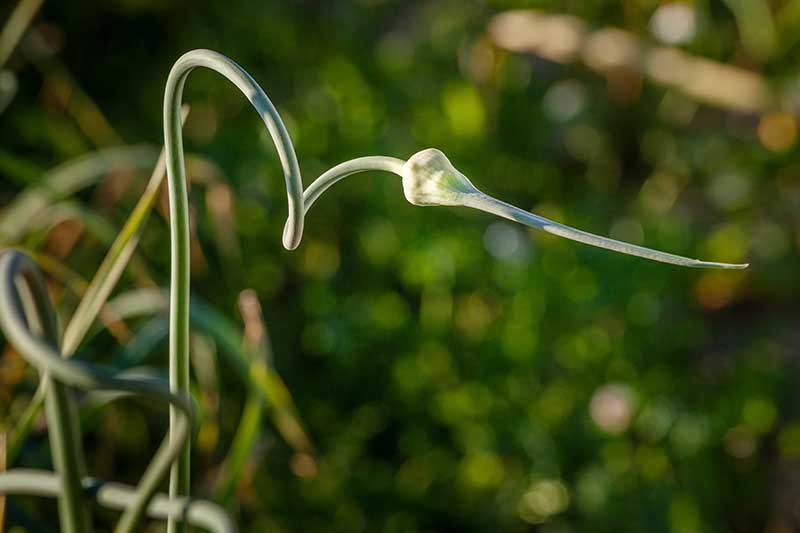
As spring blooms in your space, you’ll must trim the lengthy, curling scapes (flower stems) off your hardneck vegetation.
This ensures that the plant directs its power into bulb development slightly than flowering and setting seed.
If you happen to trim the scapes whereas they’re nonetheless tender, strive roasting or sauteing them. They’re scrumptious!
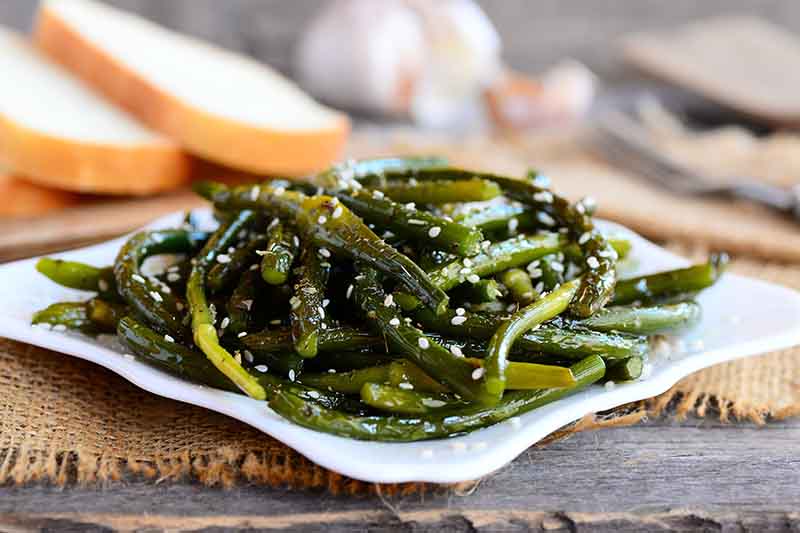
You possibly can even strive your hand at making a garlic scape pesto. Do this recipe from our sister web site, Foodal.
That’s what’s so stunning concerning the stinking rose: it doesn’t simply ship bulbs, however hardneck varieties additionally provide you with scapes and even beautiful flowers…
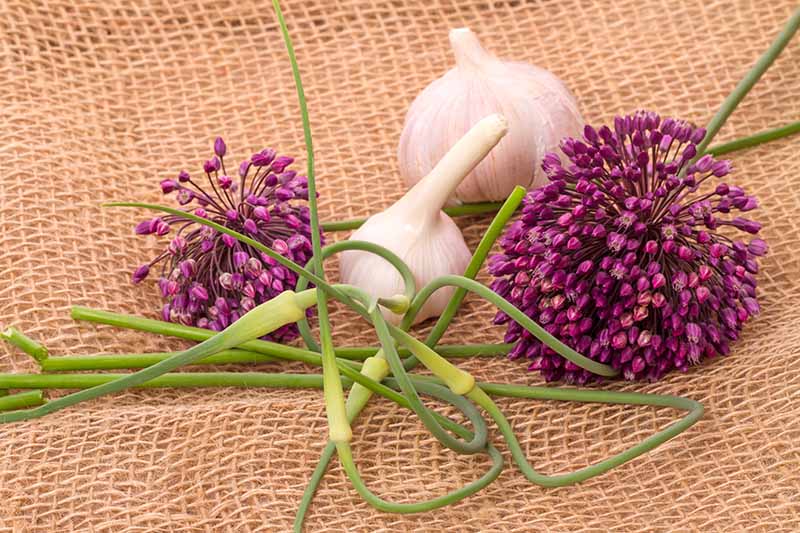
…and bulbils to plant, should you let one or two of your vegetation go to seed.
Rising Suggestions
- Plant within the fall for finest outcomes, not less than two weeks earlier than your first frost
- Present 1/2 to 1 inch of water weekly
- Fertilize within the spring with a 5-10-10 NPK fertilizer
- Mulch with straw or different light-colored natural materials to maintain the soil cool in summer season and to retain moisture
Cultivars to Choose
You possibly can develop any cultivar in a container. Listed below are two very best varieties that you may propagate at any time in pots or planters:
Hardneck
For full-bodied cloves that peel simply, strive rising a hardneck selection. That is the one I’ve chosen:
Siberian
Perfect for individuals who stay in northern climes, the extra-hardy ‘Siberian’ originated in Russia and Japanese Europe and is fashionable in Alaska. I’ll positively be including this cultivar to my container backyard this fall.
‘Siberian’ produces spicy bulbs that flip gentle and flavorful when cooked. And these vegetation, which develop as much as 18 inches tall, are assured to develop beautiful and engaging scapes, so long as you present the right care!

‘Siberian’
Plant within the fall for a harvest the next summer season, after about 240 days.
Higher but, should you vernalize the bulb your self within the fridge for eight to 12 weeks previous to planting, it is best to be capable to harvest yours in about 90 days at any time of the 12 months.
You should purchase a 1/2 pound of bulbs with 6-8 cloves every at Burpee.
Softneck
For a milder clove with an amazingly lengthy storage capability – I’m speaking six to eight months – why not develop some softneck garlic?
California Early
This scrumptious, fashionable softneck bulb produces gentle cloves which are loved by garlic lovers all over the world.
With a superb shelf life, this plant grows as much as 24 inches tall.
If you happen to plant it within the spring or summer season, you may harvest after 90 days whether or not you develop it indoors or out.
Simply remember to deliver your pots indoors if temperatures rise above 90°F.
‘California Early’
For winter planting, hold them indoors till the climate warms as much as about 45°F, after which set the pot exterior for some sunshine and heat if you want.
For an out of doors fall planting, anticipate a harvest in about 240 days.
You may get a set of 4 bulbs which are prepared for planting from Burpee.
Managing Pests and Illness
Because you’re rising your garlic in containers, you received’t have to fret a lot about many pests or ailments developing from current soil or neighboring vegetation.
Plus, this plant already does a good job of deterring hungry critters with its pungent scent.
If you happen to do assume your garlic is being attacked, we now have a information to determine the pest and mitigate the injury and a seperate information to determine and management varied garlic ailments.
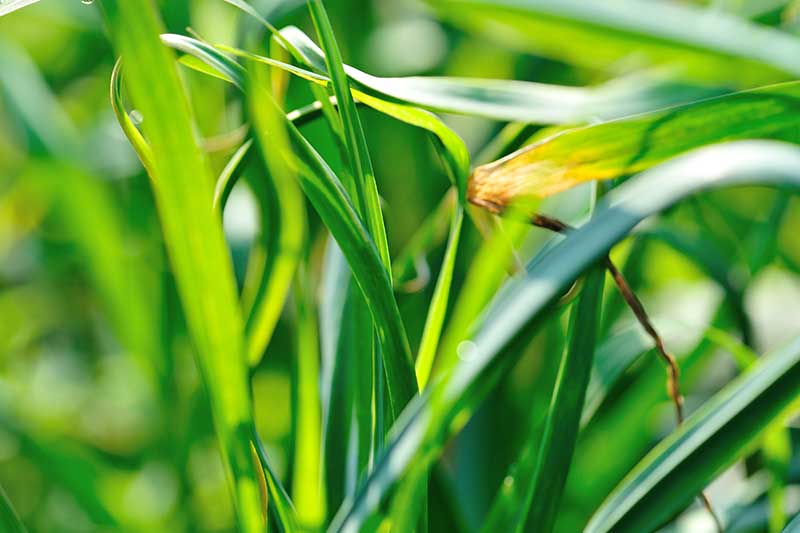
Downy mildew can typically be an issue in humid environments, or if vegetation are rising too shut collectively. This presents as white patches on the leaves.

Hold an eye fixed out for basal rot as properly, which begins with yellowing across the base of the plant, and progresses to the leaves dying again and going brown.
There’s not a lot you are able to do in case your plant reaches this stage apart from eradicating the contaminated bulb and as a lot of the encompassing soil as attainable to maintain it from spreading.
If all the vegetation in a container are contaminated, toss vegetation and the grime, and disinfect the pot. Add new soil to the pot and check out once more.
The excellent news is that if you’re utilizing soil that hasn’t grown an Allium crop earlier than, the probabilities of basal rot infecting your plant are diminished. This fungus can thrive in soil for years, which is why it’s so vital to start out with clear, recent soil.
Be sure your soil is properly draining, and don’t overwater your vegetation or let out of doors vegetation change into oversaturated with rain.
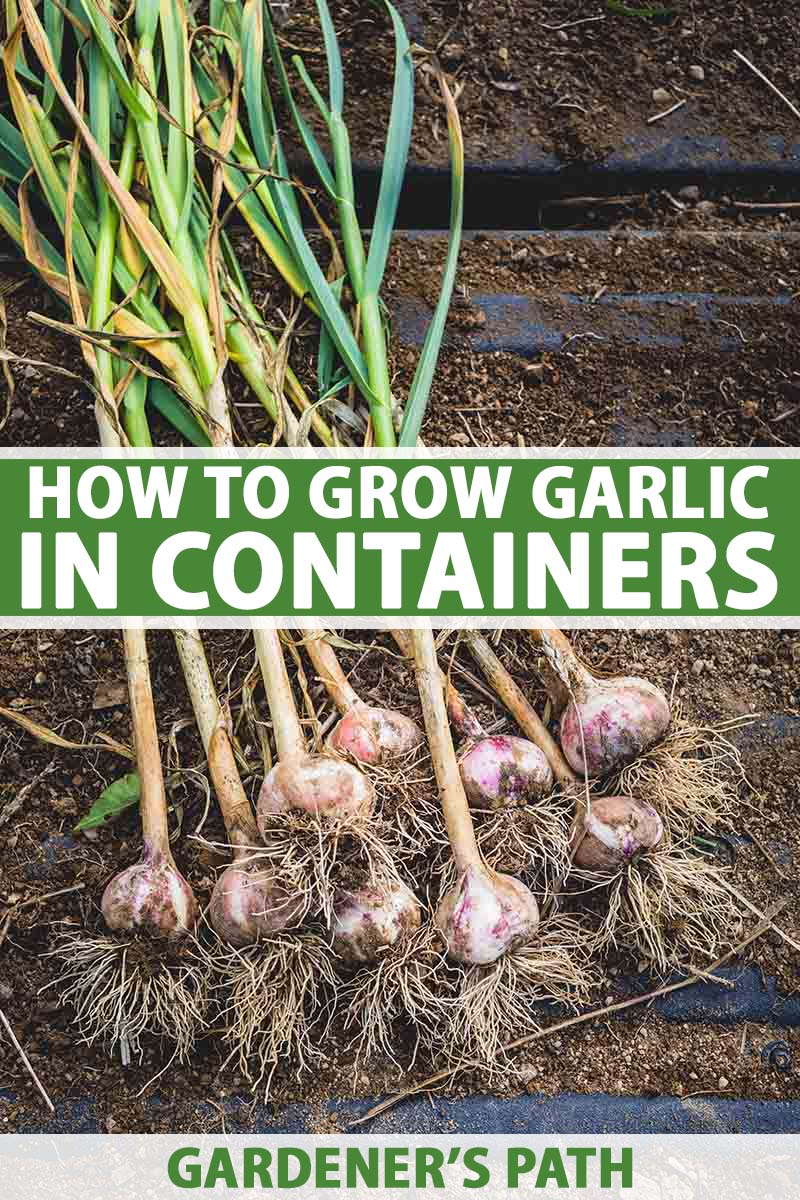
Harvesting
In the summertime, seemingly round July or August, when the tops of your vegetation begin to flip yellow, cease watering them.
After about two weeks, a few third of the leaves must be yellow and floppy.
Every plant could mature at a barely completely different time, so don’t really feel pressured to reap them abruptly.
Wait till every exhibits the telltale indicators of readiness – the yellowing of one-third of the leaves. This is identical whether or not you’re rising hardneck or softneck sorts.
To reap, gently dig down till your hand hits the bulb and gently take away it. Resist pulling the leaves, as this could trigger the stem to snap, separating the bulb from the leaves – you want these leaves and stalks to stay intact for the following step: curing.
Get extra recommendations on harvesting your garlic right here.
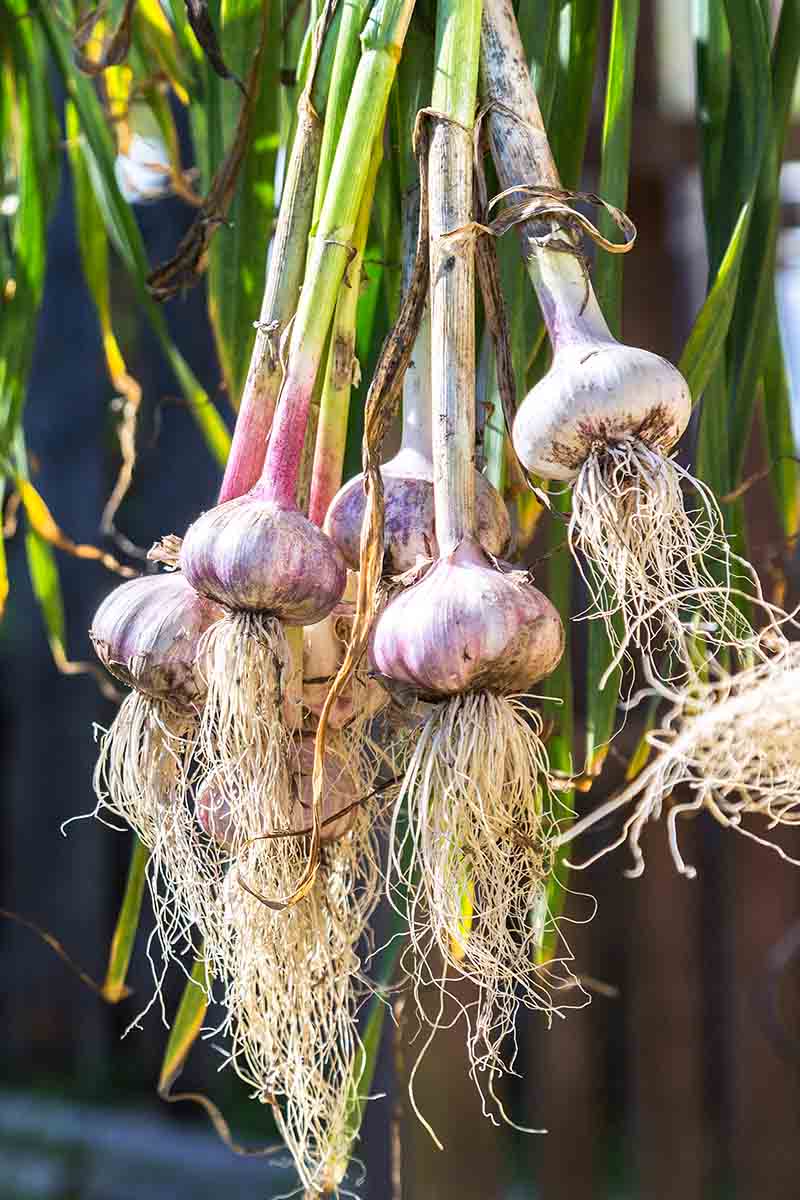
Curing Garlic
If you wish to use your recent harvest immediately, simply wash off the grime and peel it to disclose the plump cloves. Recent garlic normally has a milder, extra delicate taste than bulbs which were cured.
So as to retailer your container-grown garlic, you must remedy it, or dry it out utterly.
To do that, wait to scrub your harvest. There’s no want to scrub any of the grime off the plant with water previous to storage.
The purpose of curing is to permit all the moisture to empty out of the leaves and stalk, and into the cloves themselves. Brushing a few of the grime off by hand or with a dry rag is ok, and choosing on a dry day is really useful. However wait to scrub your garlic with water till simply earlier than you’re prepared to make use of it.
This helps the cloves retailer for longer, and retains them from falling prey to fungi, mildew, and viruses whereas they patiently wait so that you can eat them.
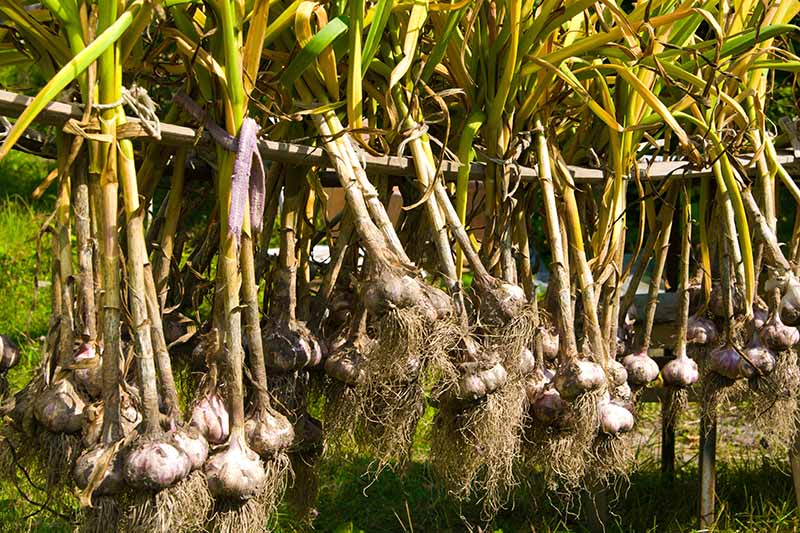
To remedy, dangle the vegetation someplace dry and shady, like a lined patio, or in an indoor room with good air flow.
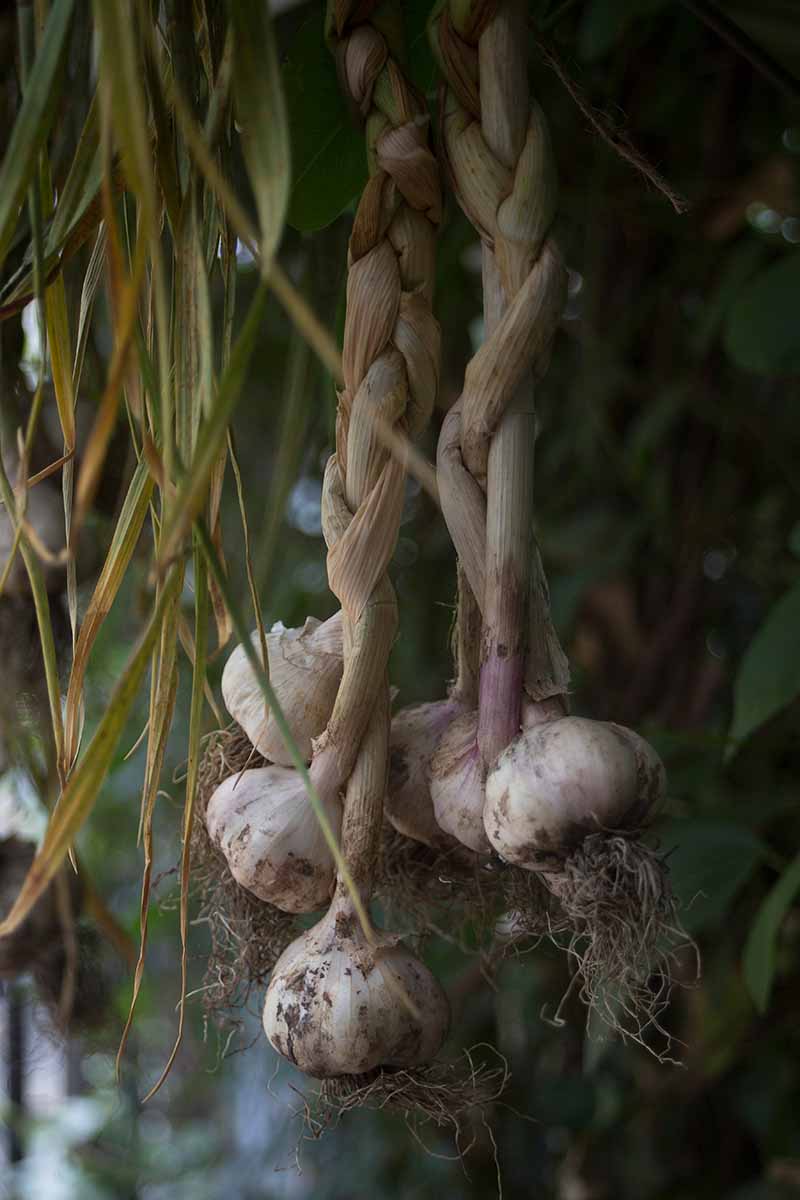
After about two to 4 weeks, the tops and the roots ought to look completely brown and dried out. That is when you may reduce the stems and roots off and peel the outer wrapper off, revealing a good looking, clear head inside.
Learn extra about storing and curing garlic right here.
Recipes and Cooking Concepts
Garlic is one among gardening’s best items to humankind, and it’ll by no means style higher than once you develop it your self in your container backyard.
There are such a lot of issues that you are able to do together with your container-grown garlic. Listed below are a couple of of my favourite strategies:
Crush it and saute it with onions and celery for a flavorful soup base.
Roast it and toss it into your sourdough once you’re baking bread.
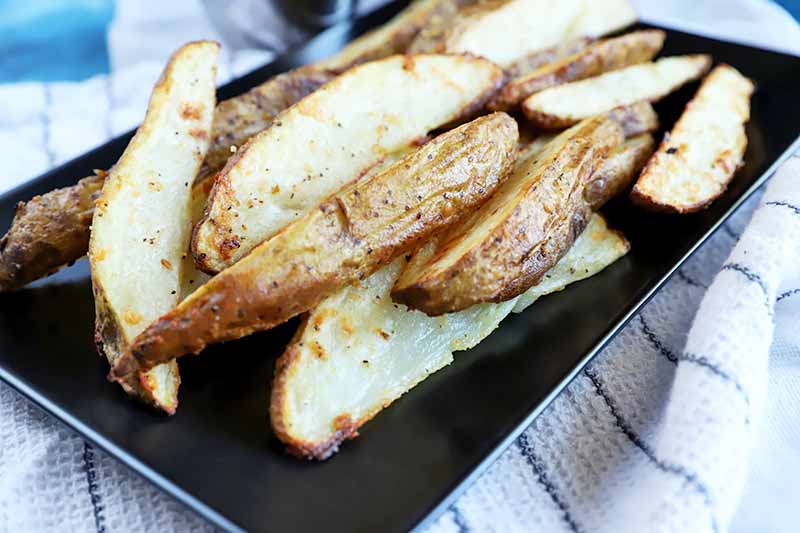
Or make garlic parmesan oven fries with this recipe from our sister web site, Foodal.
Within the temper for biscuits?
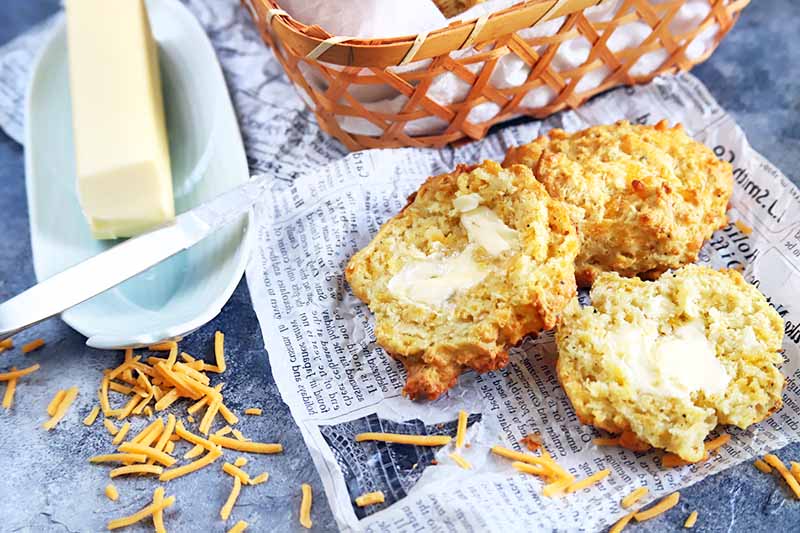
Do this fast and simple garlic-cheddar model, additionally from Foodal.
Is your mouth watering but? Mine positive is.
The Stinking Rose Has By no means Smelled Lovelier
There’s a motive why this fragrant and well-loved bulb boasts the nickname “the stinking rose.”
It’s smelly and wonderful and layered, and makes virtually any dish a thousand instances tastier, in my view.
Plus, garlic may even show you how to to battle colds, decrease your ldl cholesterol, and settle your abdomen.
And once you develop your bulbs in a container, you may take pleasure in these sickness-fighting advantages at any time.
Simply don’t go overboard with that final one, like I did as a twelve-year-old!
And don’t neglect to take a look at these articles on rising your individual produce in containers subsequent:
[ad_2]
Source link
