[ad_1]
When buying IKEA Sektion cupboards for my studio, I opted for the Veddinge cupboard doorways and drawer fronts for one quite simple cause. They have been one of many least costly choices. And while you want as many as I wanted for my studio (which might be equal to a really giant kitchen), these financial savings added up fairly a bit. And whereas I didn’t need flat entrance cupboard doorways and drawer fronts in my ultimate studio design, I knew that I may add my very own trim and nonetheless find yourself with fairly a financial savings. Plus, my plan from the start was to color my cupboards a enjoyable coloration (you possibly can see the entire colours I thought-about right here), so including trim wouldn’t be that huge of a deal.
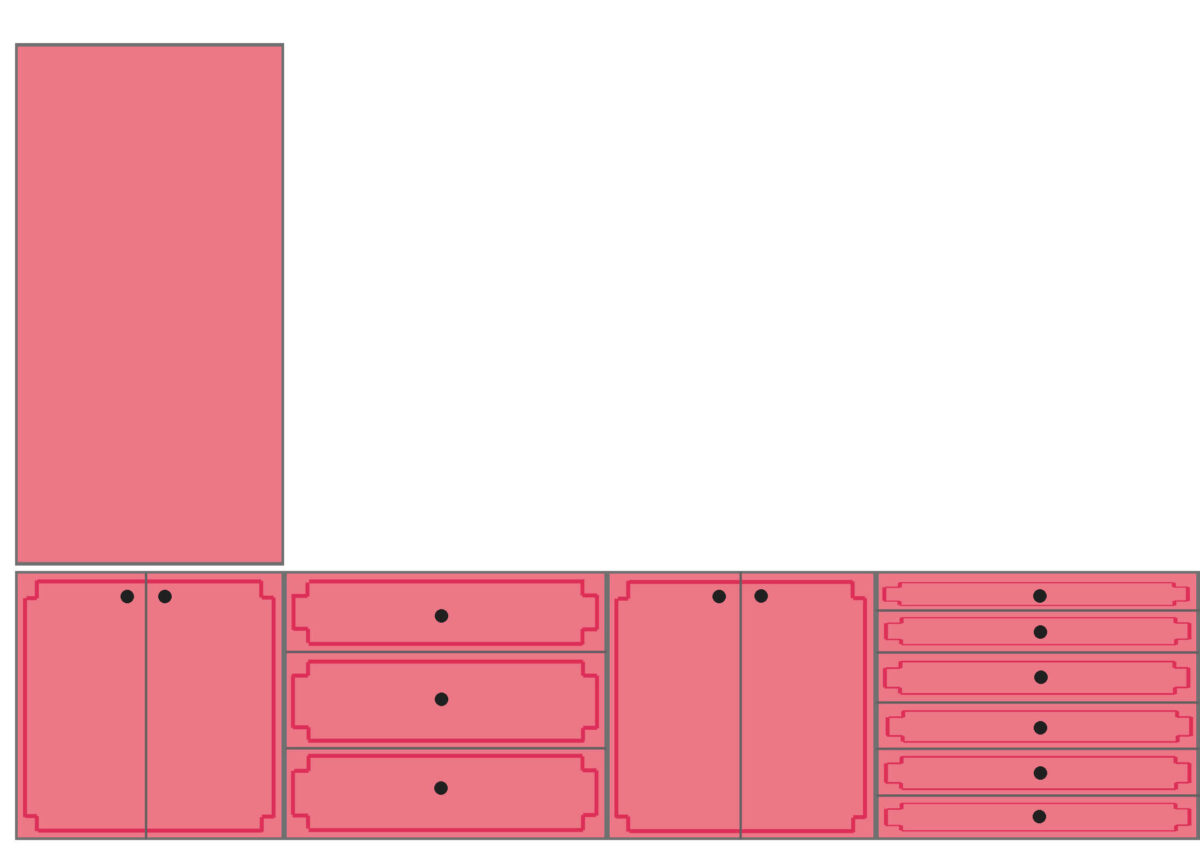
I did have a tough time deciding simply how I needed to trim them out, although. I thought-about plenty of designs (a few of which you’ll see right here), and totally different choices to get that design. I believed I had landed on the concept of utilizing Overlays (that are laser reduce designs that you just adhere to the fronts of the doorways), however the deciding issue all got here right down to the one cupboard proper in the midst of the mural wall that has six 5-inch-high drawers. In the long run, I made a decision that I needed these drawers trimmed out individually, however no design I attempted would match on these quick drawer fronts. In a pc drawing, it appeared to work…
However once I tried that concept with actual trim on an actual drawer entrance, I noticed actually shortly that precise trim takes up far more house than a skinny drawn line on a pc mock up.
After making an attempt each design I may consider, I lastly concluded that the one design that might match on these doorways was a easy rectangle. And if I’m going to do a easy rectangle, there’s actually no must order Overlays and wait their three-week turnaround time once I may simply purchase some easy trim, reduce strips in the proper size and mitered on the corners, and make my rectangle frames.
In order that’s what I did. I had in thoughts that I’d use wooden lattice trim. The value for wooden lattice is kind of the vary, from $1.48 per linear foot (which might have value $556.48 for the quantity I wanted) to $0.98 per linear foot (which might have value $368.48 for the quantity I wanted).


There’s additionally a small trim referred to as display screen, which I’ve used many occasions through the years for numerous initiatives. It’s $0.78 per linear foot, which might have come to $293.28. I most likely would have bought this one had they’d sufficient in inventory. However they have been nearly offered out.

And I’m glad I saved trying as a result of I landed in a bit that I by no means take a look at and by no means even think about — the plastic trim. It’s referred to as polystyrene, which I at all times affiliate with Styrofoam. Once we moved into our home, the ceilings all through the home have been lined in polystyrene tiles, and so they had that very same really feel as a Styrofoam espresso cup. However this plastic is difficult, but it surely’s not shiny plastic. The floor looks like a primed floor that may simply take paint.
That they had the identical display screen trim within the plastic trim, however this value $3.48 per 8-foot piece. That’s $0.44 per linear foot.

In order that’s what I obtained, and it value $163.56 for all of the trim I wanted for all three sections of cupboards within the studio.
To prep the cupboard doorways and drawer fronts for trim and paint, I wanted to sand the tremendous shiny end off of all of them. I did this utilizing my electrical sander and 100-grit sandpaper discs. I attempted 120-grit, however that didn’t reduce by that manufacturing unit end. (The end on IKEA Veddinge cupboard door and drawer fronts is wonderful and extremely sturdy, FYI. I’d think about they’re all like this, and I’m fairly impressed with the standard of the end. If solely they offered pink doorways! ? ) The 100-grit labored rather well, although. I took extra of the end off than was essential on this primary cupboard door. On the following ones, I sanded simply sufficient to take away the shine, however not likely sufficient to see by the white paint.

After they have been all sanded, I made myself a jig to mark the place the trim would go on every door and drawer entrance. Since IKEA Veddinge doorways are 5/8-inch thick, I made the jig with one piece of scrap 1-inch lumber ripped to 1 3/8 inch (do not forget that 1-inch lumber is definitely 3/4-inch thick), and nailed that to a different scrap piece of 1-inch lumber ripped to 1 inch. That approach, after they have been nailed collectively, the within of the larger piece was 5/8 inch to suit completely on the aspect fringe of the door or drawer entrance, and the piece that might go on high of the door would mark the 1-inch house that I needed to depart on the sting earlier than the trim.

I reduce the items to 36 inches lengthy since that was the width of the widest drawer fronts.

So after sanding every door and drawer entrance, I positioned my jig on the sting of the cupboard door with the 1-inch piece on high of the door, and marked that line. After doing this on all 4 sides, I had a superbly spaced rectangle to mark the place the trim could be hooked up.

Earlier than truly including the trim, I needed to drill holes for the cupboard {hardware}. For the drawers, I purchased these 10-inch pulls. So I folded a chunk of paper (utilizing cardstock or thick picture paper would have been preferable) and marked the width of the screw holes.

Then I used my tape measure to measure and mark the middle between the screw holes.

Earlier than marking the drawer fronts, I positioned a chunk of painters tape the place the pull would go…

After which utilizing my tape measure, I measured and marked the middle of the peak of the drawer. I did this in two locations.

After which utilizing a straight edge, I used these two marks to attract a line proper down the middle of the drawer peak.

Subsequent, I measured over from the sting and marked the center of the drawer.

With the center marked, I used the sample I had made and lined up the center marks, and marked the screw gap positions on the middle line I had drawn.

That gave me the proper spacing for the drawer pull.

Earlier than I drilled the holes on the very first drawer entrance, I double checked the marks. However as soon as I knew my sample was proper, I didn’t double test the following drawer fronts.

After which I used to be able to drill the holes.

And voila! Completely positioned, completely spaced holes for the drawer pull.

I do know that appeared like an extended, drawn out course of, however you solely need to make one sample (or one for every measurement of pull). After you have a sample, the remainder of the method goes in a short time. I feel it took me about two minutes to do every drawer entrance.
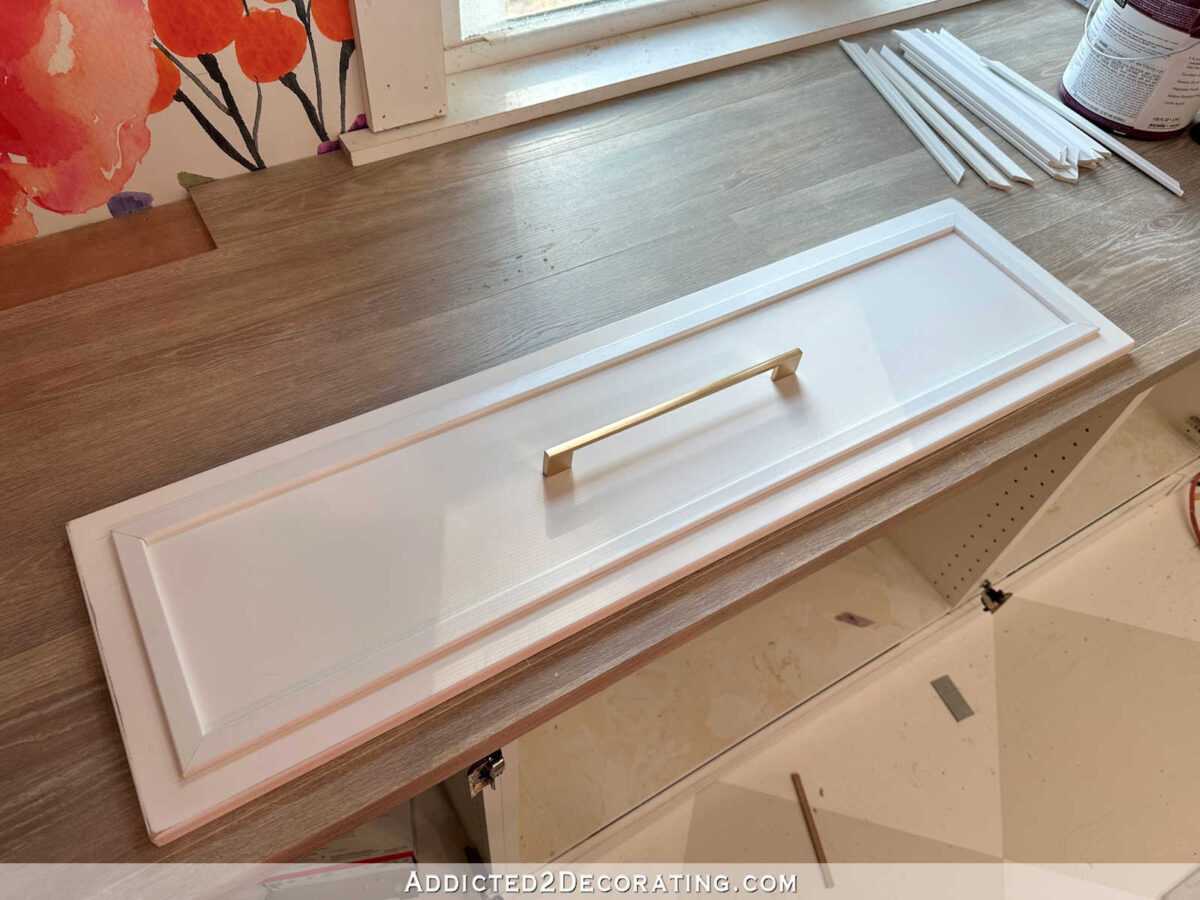
As soon as the holes for the {hardware} have been drilled, I used to be prepared to connect the trim. I reduce the entire trim with my miter noticed, chopping the ends at a 45-degree angle. The beauty of drawing the rectangle (utilizing the jig) earlier than chopping and attaching trim is that you should utilize these pre-drawn traces to verify your trim cuts are the precise proper size. I reduce all of the trim items, after which double checked the lengths by holding them to the drawn traces and ensuring they have been precisely proper. A few of them wanted a bit extra (a couple of blade width) reduce off to make them excellent earlier than attaching the trim. Additionally earlier than attaching the trim, every trim piece wanted only a little bit of sanding with 220-grit sandpaper on the reduce ends earlier than assembling the frames.
I assembled the frames earlier than attaching them to the drawer fronts, and I assembled them utilizing my sizzling glue gun. It solely took only a very small quantity of sizzling glue to place the frames collectively.

I let the glue dry for a minute or two, after which flipped the body over and added a bead of Loctite development adhesive to the again. One factor I like about this plastic trim is that the again is definitely indented, making it excellent to make use of with development adhesive. When utilizing trim that has a flat again, the development adhesive often squishes out the edges as soon as the trim is utilized. I didn’t have that difficulty with this trim.

And since I had already measured and marked the traces the place the trim would go, placing the trim in place was very simple. There was no guess work, no measuring required, and no room for errors.
And right here’s a peek at a drawer entrance with the brand new trim and a drawer pull sitting in place.
I’m not fairly completed including the trim to the cupboard doorways, and as soon as I end that, I’ll have yet one more step earlier than I’m prepared for priming and portray. I nonetheless need to caulk the corners of the trim to eradicate these tiny cracks within the joints, after which I need to caulk all the way in which round the entire trim. That received’t be a fast and simple course of since I’ve so many drawers and door fronts, however will probably be value it. These kinds of particulars actually go an extended solution to taking a DIY venture to the subsequent stage.
In order that’s the progress to this point. My new order of IKEA cupboards is arriving right now, so I’ll have much more sanding and trimming to do. However I’m actually hoping I’ll be prepared for paint by this weekend!

Addicted 2 Adorning is the place I share my DIY and adorning journey as I rework and enhance the 1948 fixer higher that my husband, Matt, and I purchased in 2013. Matt has M.S. and is unable to do bodily work, so I do the vast majority of the work on the home on my own. You possibly can be taught extra about me right here.
[ad_2]
Source link
