[ad_1]
I acquired fairly a bit accomplished on the studio this previous weekend, however I additionally had a set again with the countertop. It wasn’t essentially a fail. It might have been simply high quality had I stored it the best way it was initially, however I didn’t like it, so I’m decided to redo it.
However we’ll get to all of that in a minute. First, let’s return to the cupboard set up. Once I left y’all on Friday, the cupboards within the workplace part of the studio had been assembled and the toes connected, however the cupboards weren’t really put in on the wall as a result of I used to be nonetheless attempting to resolve the right way to deal with these areas.
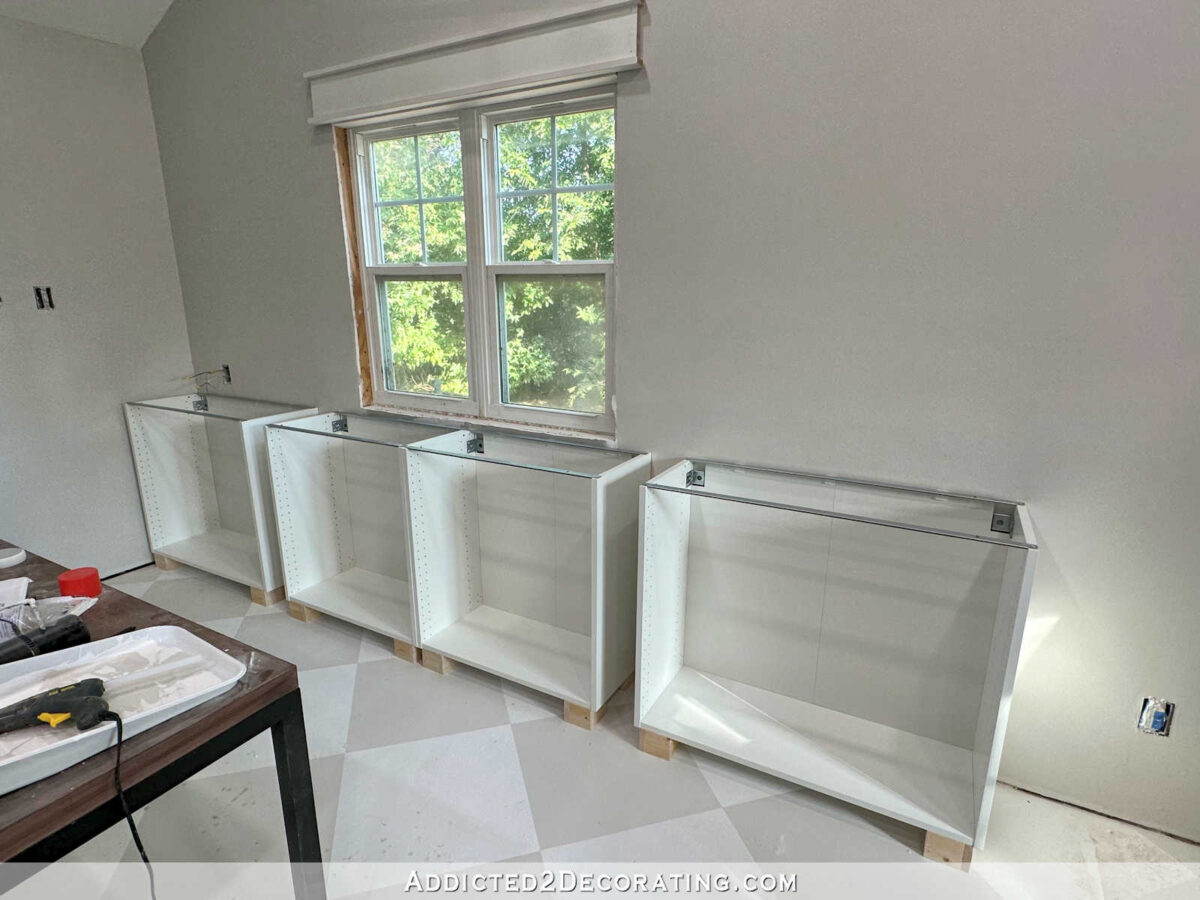
I didn’t must take care of these areas on the lengthy wall as a result of the IKEA cupboards have been a a lot better match on that wall (you’ll be able to see how I put in these cupboards right here). However for this shorter wall, to be able to get the cupboards centered on the window and symmetrical on both sides of the window, there needed to be areas.
Y’all gave me tons of concepts for the right way to use these areas, however ultimately, I made a decision it simply wasn’t value it. The house was solely 4.5 inches vast, so by the point I subtract the width taken up by no matter I constructed for that house (for instance, a pull out would have taken up one inch for the field (two sides of 1/2-inch plywood) plus 1/2-inch for the drawer pulls), the house left for precise use would have been so little as to not make it value it for an workplace house. A kitchen would have made sense since spices or cookie sheets can slot in a tiny house like that, and since kitchen cupboards are 24 inches deep. However for this workplace house with 15-inch-deep cupboards, constructing one thing for these tiny areas simply appeared like a waste of time.
So I ended up simply utilizing spacers. These aren’t the completed look, clearly. The end items will go on high of those spacers. However I made 4 equivalent spacers, and used two for every of the 2 areas — on in the back of the house between the cupboards, and one on the entrance of the house with the entrance of the spacer flush with the entrance edges of the cupboard bins. Then I’ll connect a completed 5/8-inch-thick piece of lumber to the entrance of the spacer, which implies will probably be flush with the fronts of my 5/8-inch-thick IKEA Veddinge doorways.
As soon as I get the end items connected to the entrance of these spacers, I’d even gown it as much as seem like pull-out cubbies, sort of just like the false drawer entrance on the kitchen sink cupboard or the lavatory sink cupboard that I all the time put a drawer pull on as a result of I just like the look. However we’ll see. I could go away them as apparent spacers, which I’m okay with so long as I get my symmetry. ?
And talking of symmetry, to be able to have each side completely symmetrical, I’ll even be including spacers and an finish panel to this finish. That approach after I get my higher cupboards positioned on high of the countertop and lined up with the underside cupboards, they’ll be trimmed out identically. If that doesn’t make sense to you, I hope it is going to make extra sense as I make extra progress.
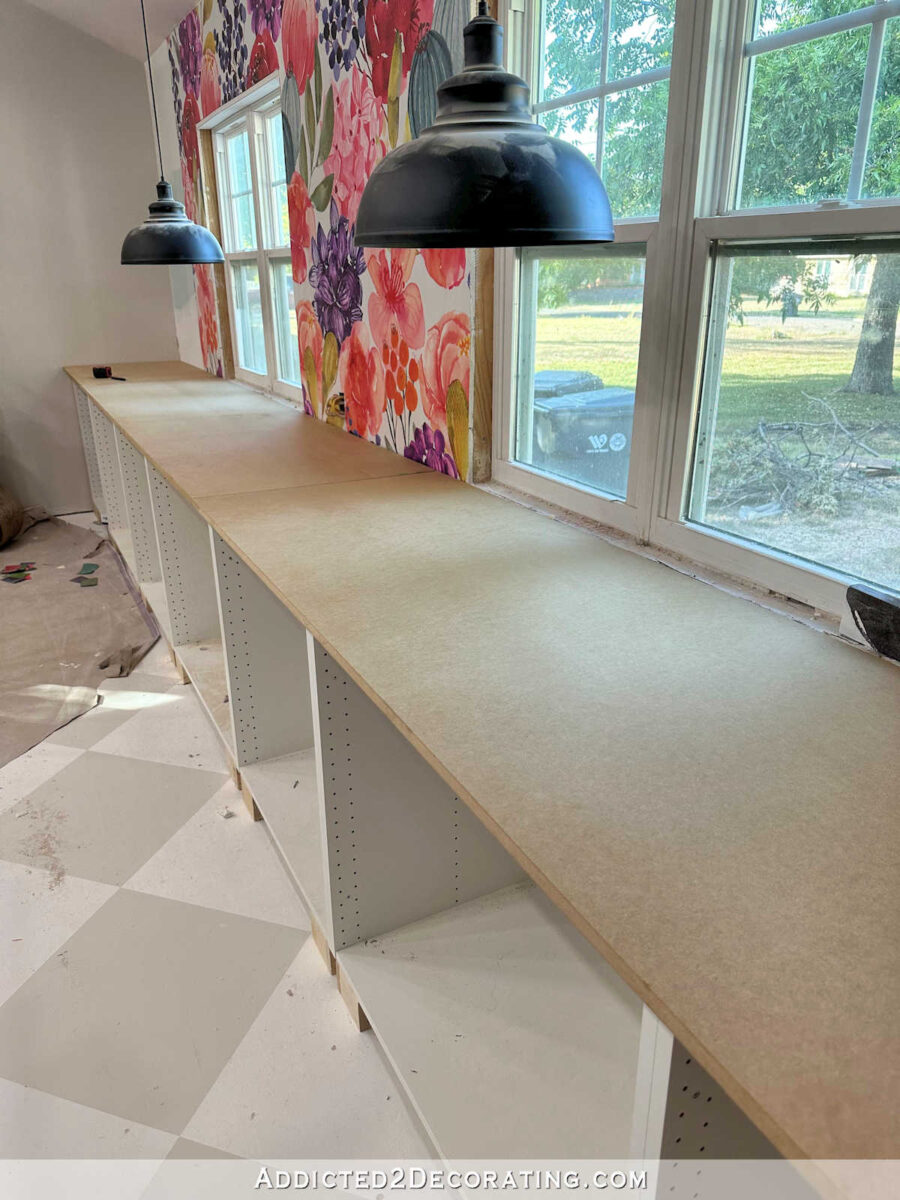
Okay, now let’s discuss concerning the countertop. I’m an enormous fan of thick counter tops. And by thick, I imply 1.5 inches. I nearly all the time favor them over skinny counter tops, by which I imply the usual .75-inch counter tops. That’s not a tough and quick rule. In our grasp lavatory, we’ve got .75-inch counter tops, and I really like them. So it actually relies upon the person room and scenario, however I do are inclined to gravitate in direction of the thicker counter tops in most conditions.
So when it got here time to make my counter tops for the studio, I figured thick is nice. And even when it’s thicker than 1.5 inches, that will be high quality. I figured I might use two layers of three/4-inch MDF for the bottom of the countertop, after which place the flooring boards that I chosen for the countertop on high of the MDF. That was the plan, so I acquired my two layers of MDF on the cupboards, glued them collectively, and clamped them to dry.

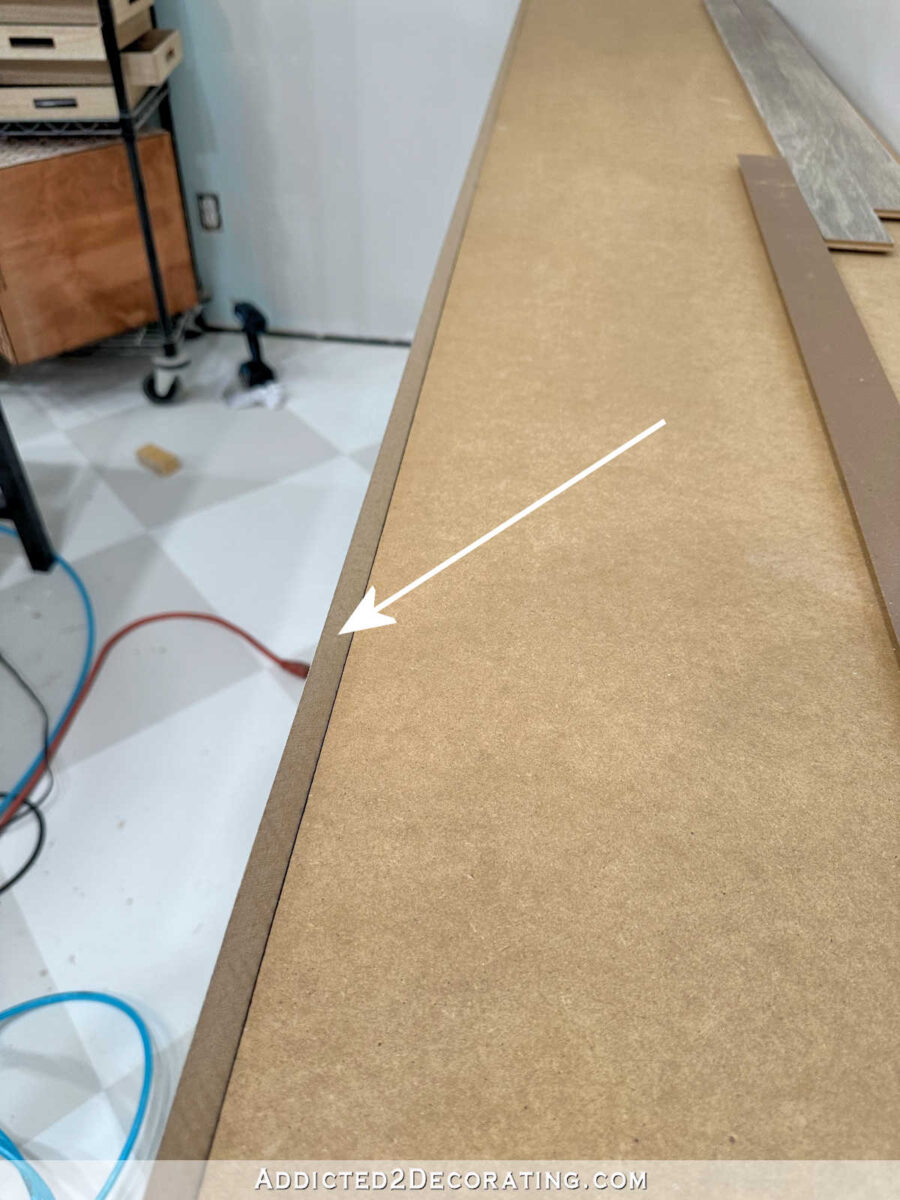
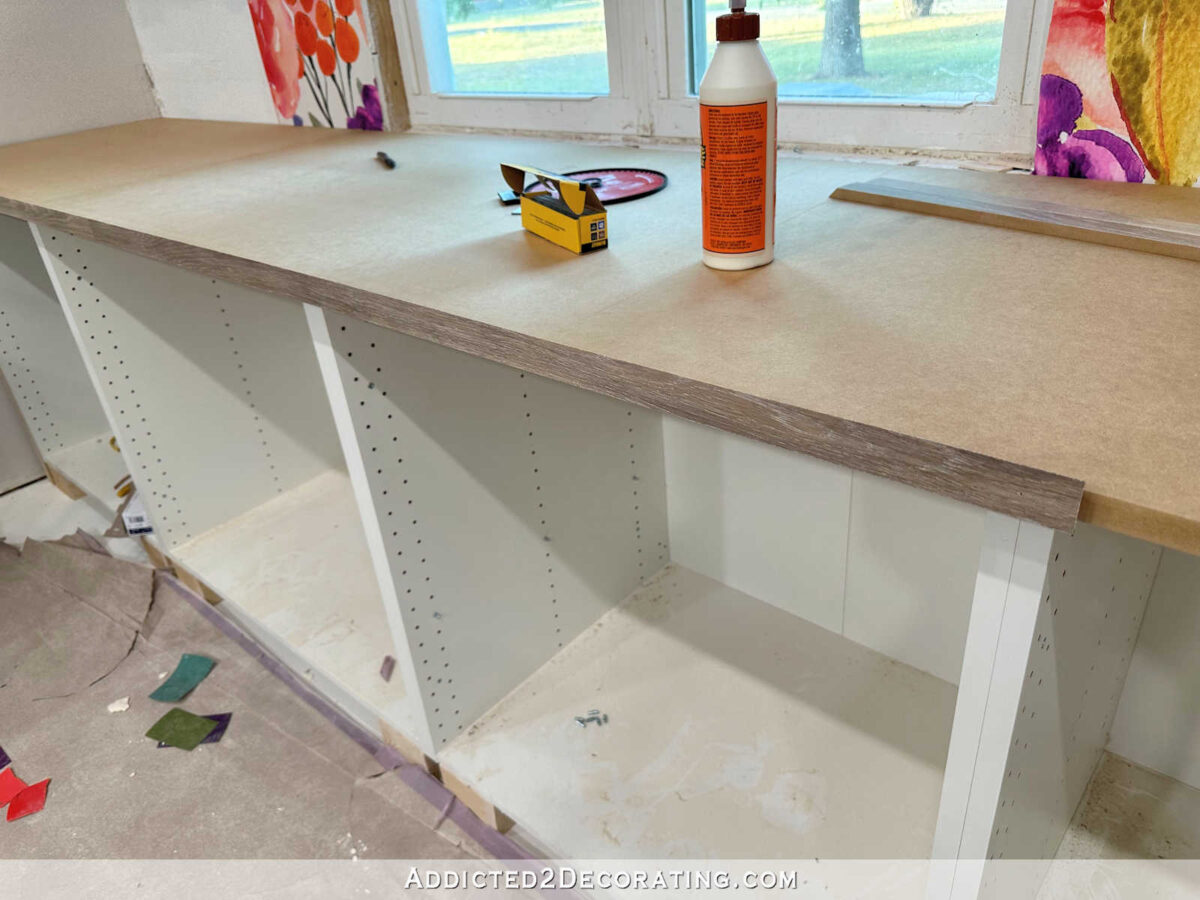
After which I began chopping the flooring boards to go on the entrance fringe of the MDF. I figured it could be simpler to begin on the entrance and work my approach again in direction of the wall. So I reduce strips to cowl the 1.5 inches of MDF, and mitered the strips on the highest with a 45-degree angle. I connected them with wooden glue and 18-guage end nails.

It’s arduous to see that mitered high edge in photos. Hopefully this gives you a greater view of it…
And right here you’ll be able to see it on the nook and the facet edge…
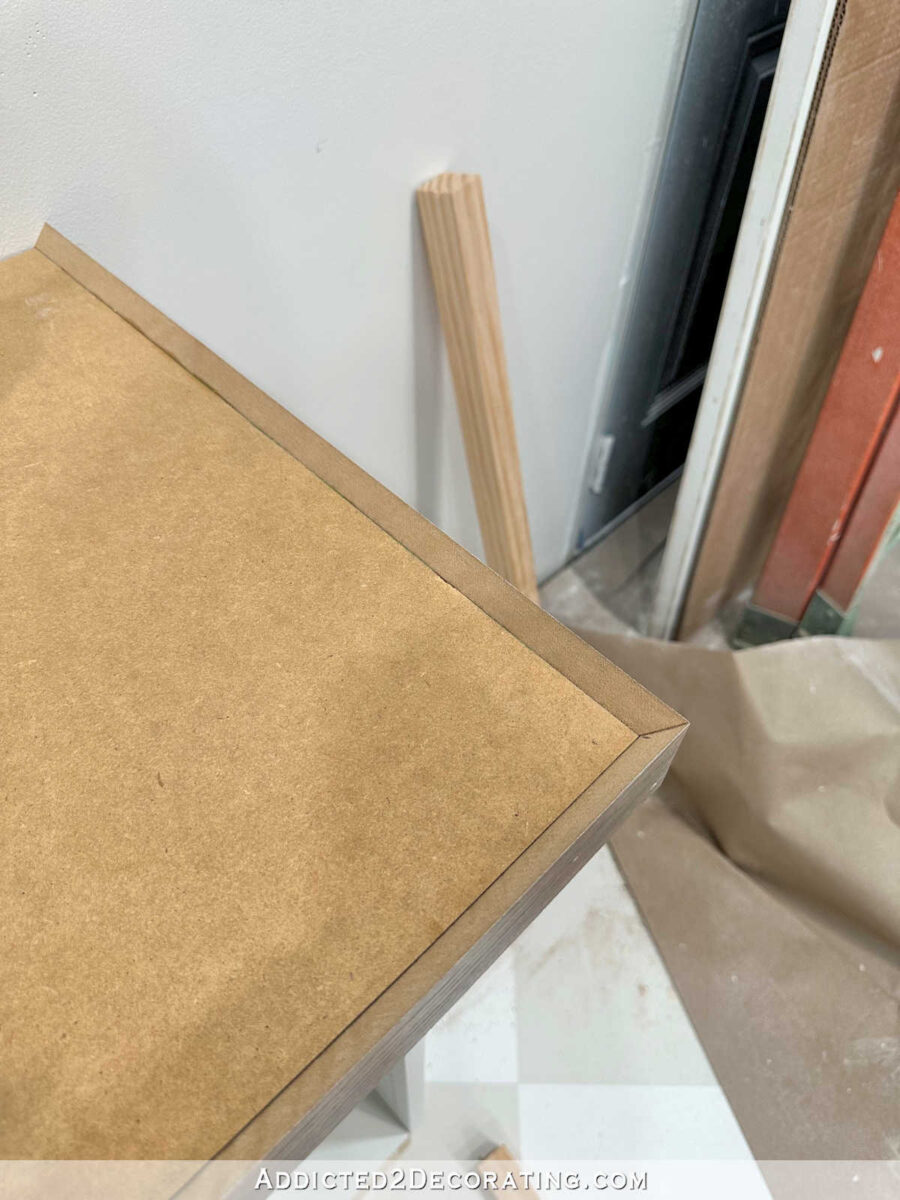
After these have been put in, I reduce and mitered the highest items that will sit proper towards that entrance mitered piece to seem like a strong piece. I connected these items in the identical approach…

By the point I acquired thus far, I used to be so happy with my progress, and I knew the arduous half was over. Filling in the remaining with straight reduce items could be a breeze, and I’ve have this countertop completed very quickly! However the longer I checked out it, the extra I disliked it.

The thickness, which ended up being a two-inch completed thickness as soon as the flooring boards have been connected, was simply too overpowering and ponderous for my style. Evidently my restrict on countertop thickness is 1.5 inches.
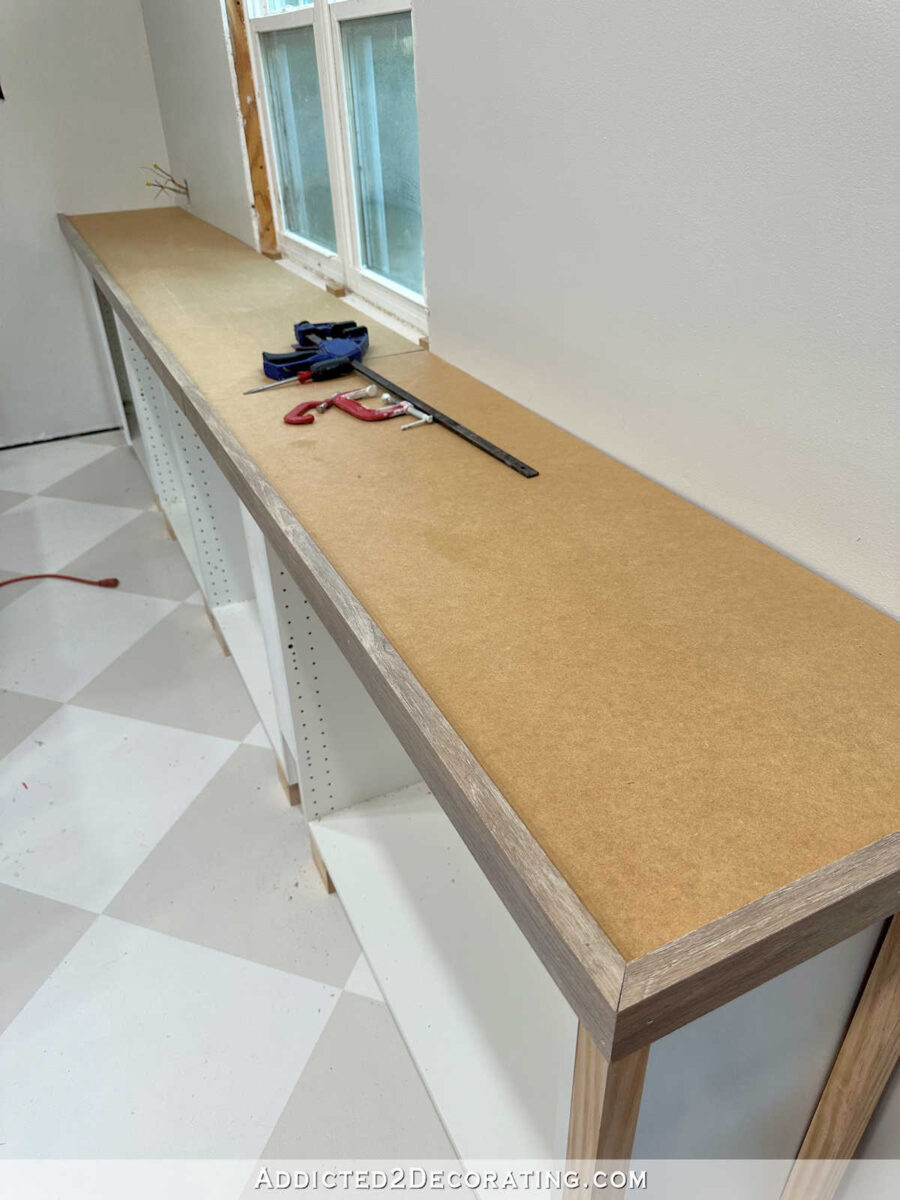
I finished engaged on it and figured I’d give myself (and my eyes) a break from the countertop for the night and are available again the following day and see what I believed. Effectively, the following day, it was nonetheless too thick for my liking. Thank goodness I began with the smaller countertop!
So I acquired busy on the lengthy countertop, however this time, I solely used one piece of three/4-inch MDF as the bottom as an alternative of two.

After which I adopted with the very same course of, besides that this time, the entrance items have been 3/4-inch thinner than the earlier entrance strips for the opposite cupboards.
This appeared so a lot better to my eye.

In order that’s so far as I acquired — second wall of cupboards put in, one countertop fail, and one other countertop underway that I believe is a lot better. I’m not too upset about that different countertop, although. It was a studying expertise, and I realized one thing about my likes and dislikes that I didn’t beforehand know. Now I do know! And fortunately, I’ve loads of additional MDF, so I gained’t must make one other journey to Dwelling Depot to purchase extra. Hopefully there gained’t be any extra errors, and I can get these counter tops knocked out very quickly!

Addicted 2 Adorning is the place I share my DIY and adorning journey as I transform and beautify the 1948 fixer higher that my husband, Matt, and I purchased in 2013. Matt has M.S. and is unable to do bodily work, so I do nearly all of the work on the home on my own. You may be taught extra about me right here.
[ad_2]
Source link
