[ad_1]

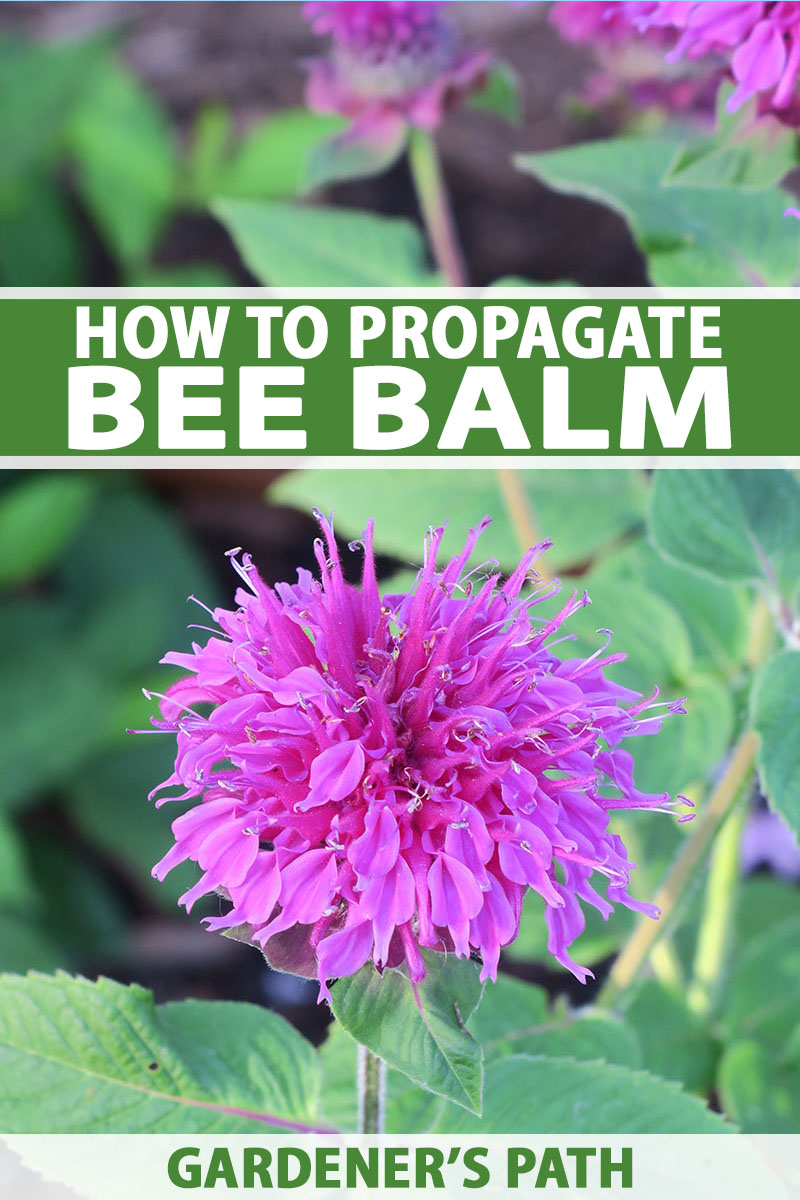
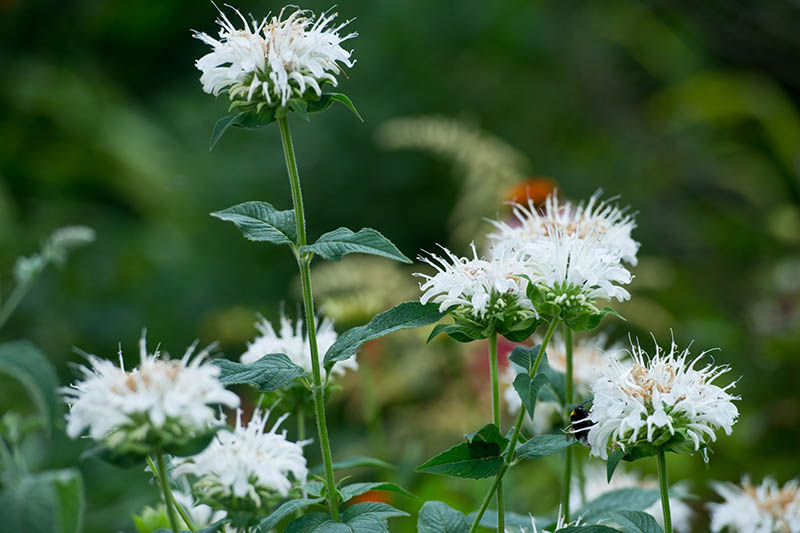
As a member of the notoriously fast-spreading mint (Lamiaceae) household, bee balm (Monarda spp.) is about as straightforward to propagate because it will get.
This can be a good factor as a result of it’s additionally a plant you can’t actually ever have an excessive amount of of – until it begins taking up different crops in your backyard, after all!
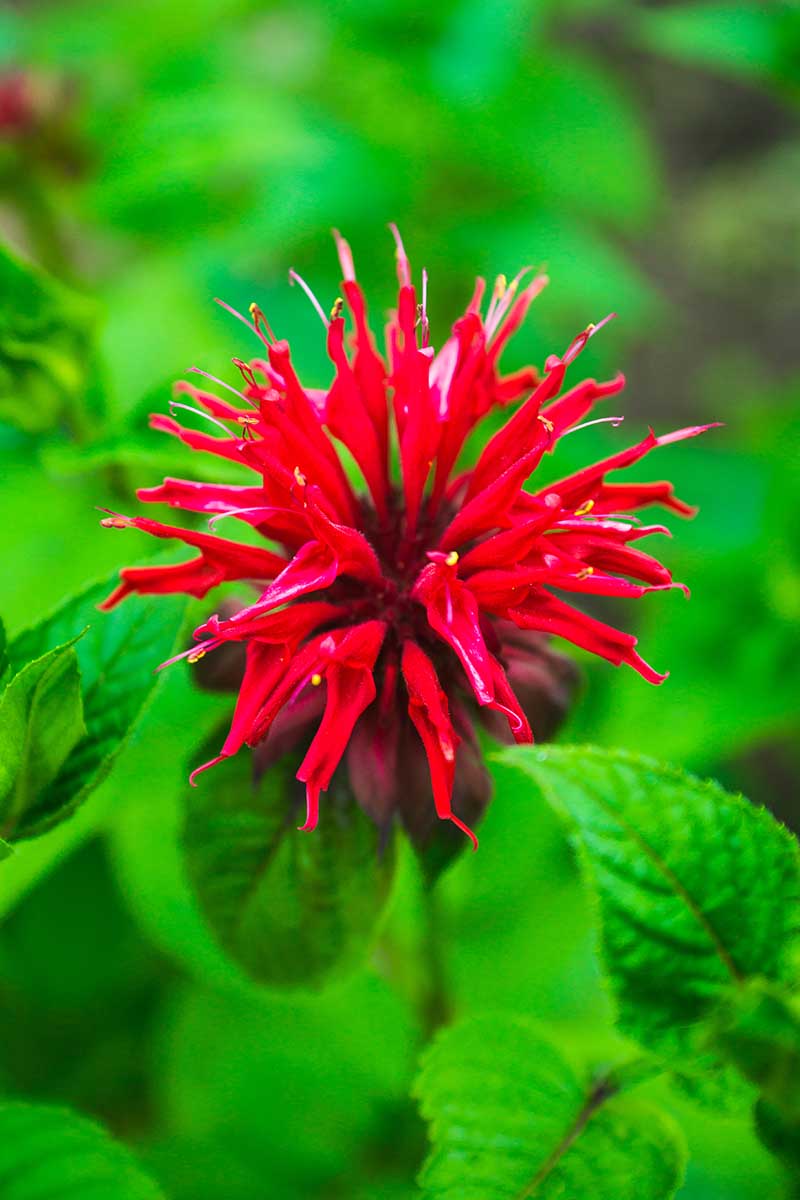
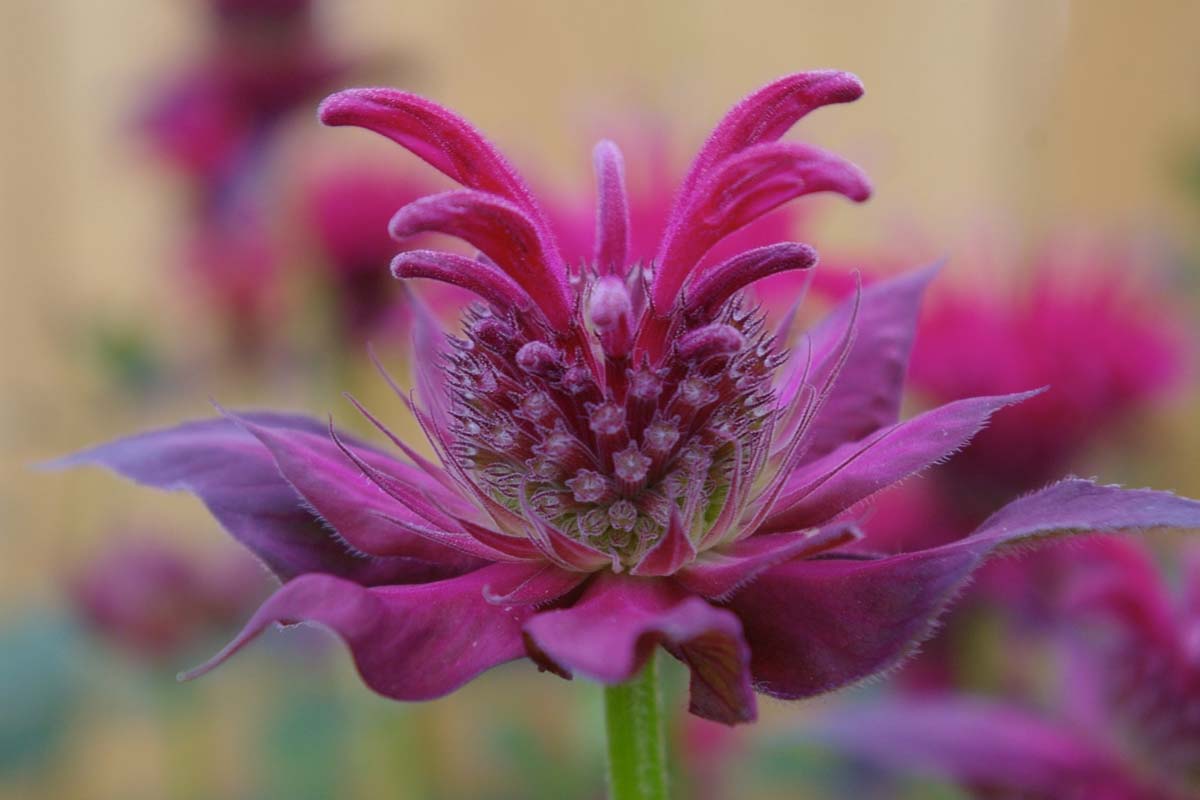
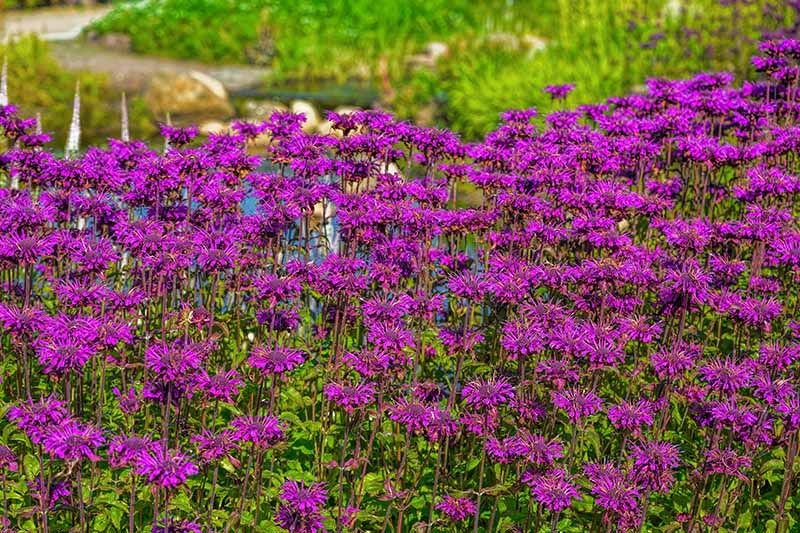
With its attractive long-blooming, distinctive show of flowers which can be paying homage to fireworks, it’s pure to wish to unfold bee balm round.
We hyperlink to distributors that will help you discover related merchandise. In case you purchase from considered one of our hyperlinks, we might earn a fee.
And though it doesn’t want a number of assist spreading to close by locations in your backyard beds through underground rhizomes, typically it can use a bit assist by way of rejuvenating older crops, which are likely to grow to be crowded and lose their vigor with age.
By digging up your Monarda and dividing it, you’ll be able to restore mature crops to good well being, giving them extra room to develop and offering new crops you can give to buddies and neighbors if you want.
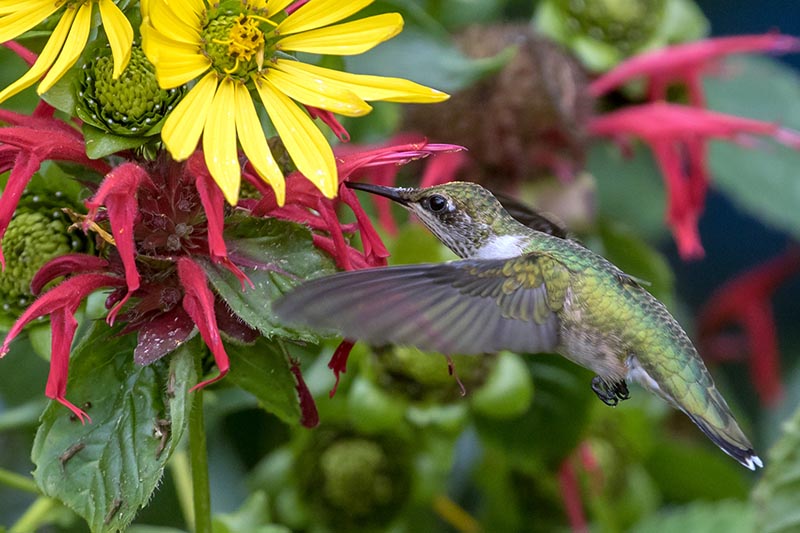
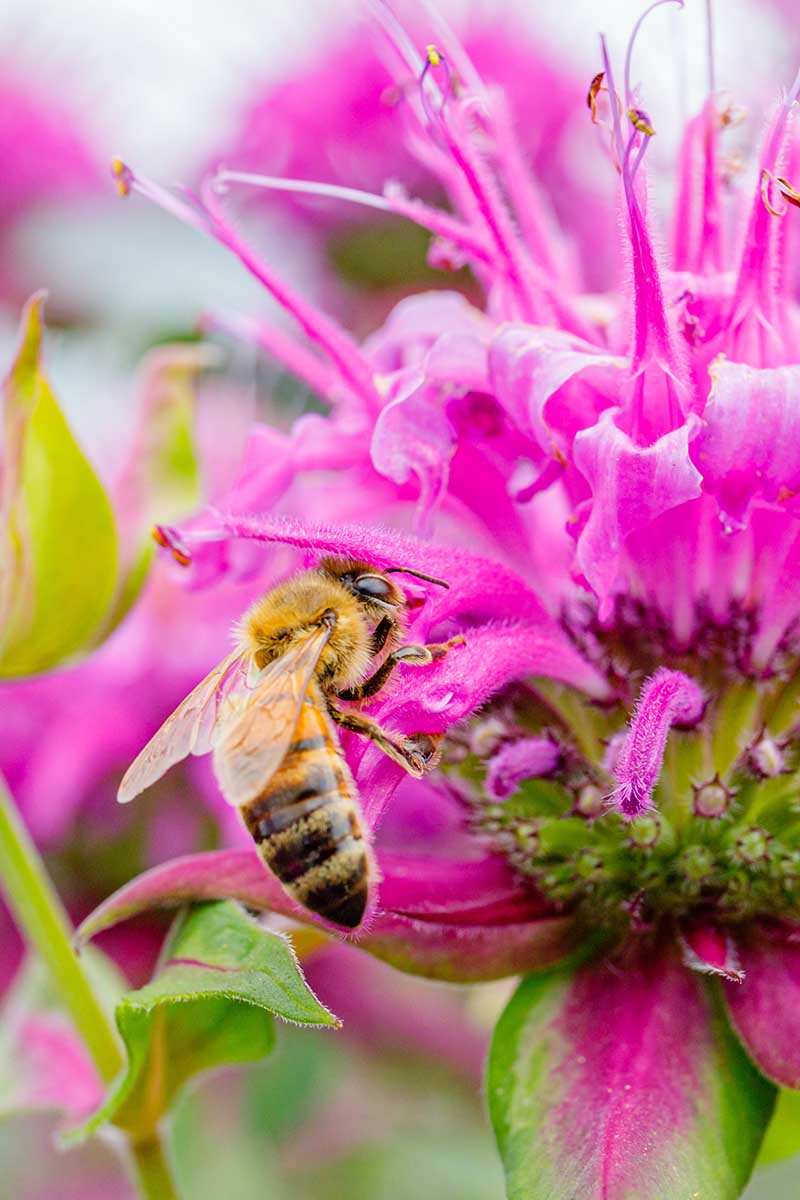
The pollinators love these natives, so why not share?
Learn on to discover ways to propagate bee balm by means of divisions, seeds, and cuttings.
3 Methods to Propagate Bee Balm
3 Methods to Propagate Bee Balm
In case you ask me, the best approach to propagate bee balm is thru division. This entails digging up and transplanting the roots and rhizomes.
You can even propagate Monarda from seeds, or begin new crops from stem cuttings you can root after which transplant.
The principle profit of selecting to propagate through cuttings or divisions versus seeds is that you just’ll know precisely what sort of plant you’re going to get.
Let me clarify:
Items taken from a mum or dad plant develop into clones with an similar genetic make-up and related traits.
In case you acquire seeds from a hybrid cultivar, no matter new crops sprout is not going to be similar to what you have already got planted in your backyard.
In different phrases, hybrids usually are not true to seed.
Propagating by dividing mature crops may even produce bigger crops sooner than what you’ll get when you began new ones from seed.
And dividing perennials additionally offers them a bit additional room to unfold, enhancing general plant well being.
By Division
That is usually how I propagate my bee balm crops.
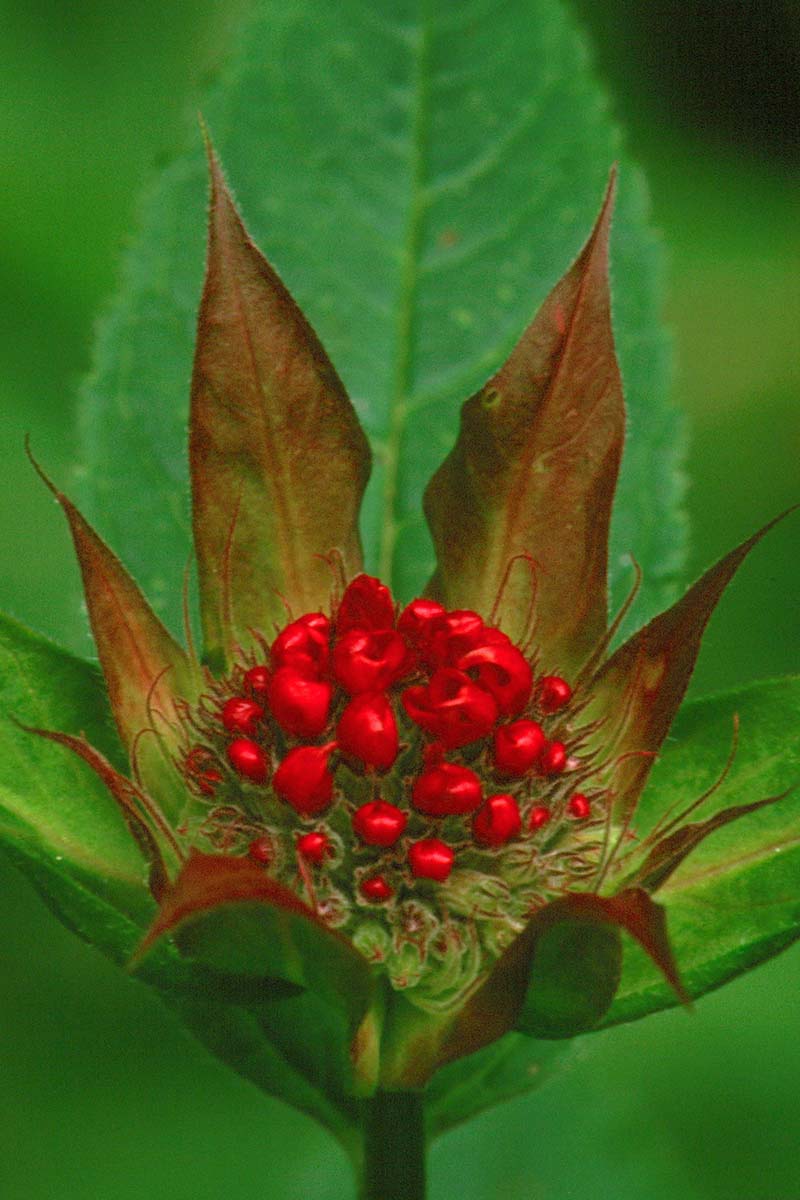
Bee balm spreads quickly by itself by means of specialised underground stems referred to as rhizomes, so that you’ll have ample alternative to make divisions of latest development.
As I discussed above, after about two to a few years, it’s possible you’ll discover that the middle a part of clumps of bee balm has declined, with sections which can be rising poorly.
Dividing your crops will assist reduce overcrowding and reinvigorate outdated crops.
The most effective time to take divisions is in early spring, simply as the brand new shoots begin sprouting out of the soil.
Begin by digging your shovel in across the perimeter of the clump you’ll be digging up.
Push in all the way in which and slide below the roots as greatest you’ll be able to at a forty five° angle, and pry the shovel upward. Do that across the whole perimeter.
After getting the foundation clump loosened sufficient, it is best to be capable of slide below the roots along with your shovel and pry up the clump.
Or, you might merely attain below the roots along with your palms and pull the foundation ball up.
Shake off as a lot soil as you’ll be able to, and divide your dug-up clumps into smaller clumps.
You are able to do this by merely tearing them aside, or slicing thicker roots with a sharp backyard knife.
How small ought to these smaller clumps be? Go away two to a few shoots per divided clump with an intact root system that’s at the very least six inches in diameter.
That is additionally time to take away any broken stems or unhealthy-looking foliage in addition to any useless roots or stems.
Dividing can also be time to test on the general well being of your crops. If components of the foundation system that you just dig up are slimy, this may increasingly point out root rot.
You wish to do away with that a part of the foundation system by slicing away and disposing of any diseased parts, and think about amending the soil within the planting space to enhance drainage.
Monarda likes moist circumstances, however this plant doesn’t recognize moist ft.
You’ll wish to replant your new divisions instantly, as bee balm doesn’t like dry roots both.
Select their new houses rigorously – these crops might be very aggressive and tend to take over much less strong crops through the spreading rhizomes.
Learn extra about this in our information to controlling bee balm.
I additionally suggest making use of a layer of mulch the brand new plantings to assist them keep moisture and stop weed development whereas they’re changing into established.
As is the case when transplanting most crops, I feel it’s additionally a good suggestion to provide them a kickstart with a shot of transplant fertilizer, like this product from Bonide that’s out there from Amazon.

Bonide Root & Develop Focus
This 4-10-3 (NPK) fertilizer combine contains IBA Root Stimulator to stimulate root development, and helps to forestall transplant shock whereas offering a lift of vitamins. Make sure you dilute the focus and apply it based on bundle instructions.
From Seed
Rising from seed is straightforward, with good germination charges, and might be achieved with store-bought or harvested seed.
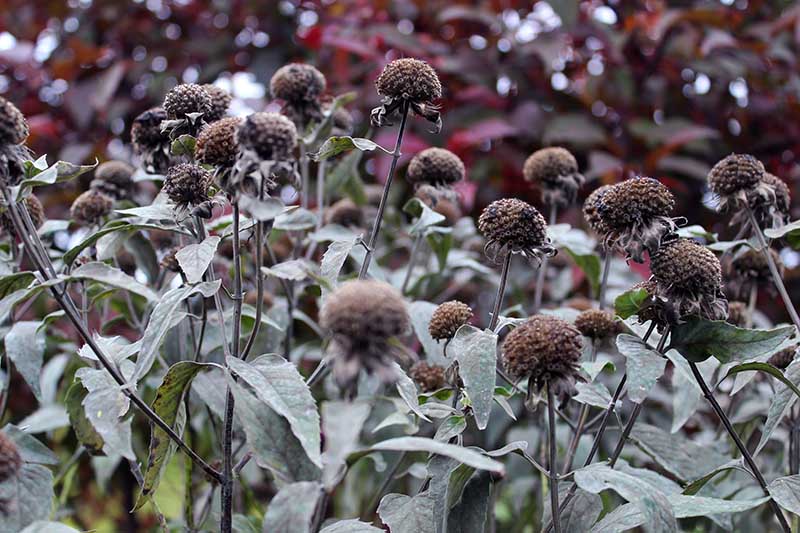
In case you plan to develop seed that you’ve got saved from your individual crops, harvest the seed about two weeks after the flowers are completed blooming.
Assist! There aren’t any flowers on my bee balm! What’s occurring?
There are a number of elements as to why your crops won’t produce any blooms. Discover out extra on this information.
At the moment, the useless flower heads must be dry.
Keep in mind, in case your plant is a hybrid – a cross of two or extra completely different species or cultivars – its offspring grown from seed gained’t essentially share a resemblance, particularly if pollen from close by varieties have entered the combo.
To reap, bend the crops over and place a paper bag below the flower heads. Gently and rapidly shake the plant to launch the seed. If the seeds are prepared, they need to fall into the bag.
Acquire your fill, roll up the bag on the opening to shut it, and place it in a well-aerated and dry place on its facet with the seeds unfold out.
Enable them to sit down and dry for a couple of week earlier than inserting them in a sealed bag or hermetic container within the fridge. I like to recommend conserving the seeds within the fridge till you’re able to sow them.
There are a number of methods you’ll be able to sow your seeds, which we’ll go over in a second.
In all circumstances, sow seeds just below the soil about 1/4 inch deep, as they’re fairly small. (The final rule of thumb with all seeds is to plant them at a depth that’s two to a few occasions the width of the seed).
Preserve the soil evenly moist till the seeds germinate. This could take about 10 to 40 days at 60°F.
In case you’re beginning your seeds outdoors the place temperatures are likely to fluctuate, germination could also be extra sporadic or sluggish.
Seed sowing choices embrace:
1. Plant in a Chilly Body in Early to Mid-Spring
When crops have two units of true leaves, rigorously select the seedlings and put them in particular person four-inch pots or of their everlasting place.
They are often planted of their everlasting place when you can hold the soil persistently moist.
Nonetheless, I discover they transplant extra readily if I wait till they’ve had a little bit of time to develop sturdy roots and a moist season is about to start.
For me, in Southern Ontario, that is in late August in preparation for fall rains.
Discover extra springtime chilly body suggestions right here.
2. Plant Straight within the Floor
Put together a weed-free space for both a nursery mattress or everlasting planting. Sow seeds one inch aside after the final frost.
As soon as seedlings have grown at the very least two units of true leaves, skinny them to 18-24 inches aside, or transplant them as desired to their everlasting location.
3. Plant in Flats in a Heat Indoor Location
This contains planting your seeds in flats in a heated greenhouse, or inserting your seed beginning trays in a sunny window eight to 10 weeks earlier than the final frost in your space.
Sow about three seeds per cell in a light-weight, sterilized seed-starting combine.
Select the strongest plant to maintain and skinny them to 1 per cell after their first true leaves have fashioned.
Transplant to four-inch pots when the seedlings have two units of true leaves, or into their everlasting location as described within the chilly body instructions above.
No matter technique of sowing you select, hold the planting space weed-free and well-watered as they grow to be established of their first season.
From Stem Cuttings
Rising from cuttings is a superb selection you probably have only some massive crops and wish to propagate a selected selection.
Take cuttings from the ideas of latest development within the spring. Cuttings must be about six inches lengthy and the minimize must be made slightly below a leaf node.
Take away the underside set of leaves and dip the minimize finish in rooting hormone about two inches up the stem.

Rootech Cloning Gel
I like to make use of Rootech Cloning Gel, out there from Growershouse.
Submerge the cuttings two inches deep in four-inch pots full of vermiculite or potting combine.
I like to recommend inserting pots in a bottom-watering tray below a humidity dome, or with a transparent plastic bag suspended above the cuttings.
You are able to do this by taping pencils or dulled sticks to the corners on the skin of the tray, for instance.
Keep watch over the cuttings to test for root development popping out of the underside of the pots, which ought to occur in two to 4 weeks.
I wish to water all of my cuttings each few occasions with common 3 % hydrogen peroxide that’s out there at most pharmacies and department shops as a substitute of water.
This prevents them from rotting, leading to greater success charges.
As soon as they’re rooted, take away the luggage and place them in a sunny window or greenhouse till you plant them of their everlasting place.
New Bee Balm Beginnings
Though bee balm could also be straightforward to propagate, that doesn’t make doing so any much less rewarding.
Simply make certain to put your crops the place you don’t thoughts them spreading out if you transplant, and don’t put them close to any smaller crops that will likely be taken over simply.
Bee balm tends to develop outward through its underground rhizomes.
Armed with these strategies and suggestions, go forward and unfold the Monarda love round in no matter means works greatest for you: by means of cuttings or divisions to maintain the identical traits because the mum or dad plant, or through seeds to see what you get.
You by no means know, you probably have some fascinating varieties rising in your backyard, one of many ensuing crops may very well be the subsequent huge present stopping cultivar!
Have you ever tried propagating bee balm in your backyard? Tell us within the feedback beneath, and be at liberty to share an image!
Able to study extra about propagating different flowering crops? Add these guides to your studying checklist subsequent:
[ad_2]
Source link
