[ad_1]
Yesterday, I shared three concepts that I had for creating an extra-long countertop to span my 19.5-foot wall within the studio, and y’all had some tremendous inventive concepts for me! My thoughts has been reeling with all the completely different concepts, and ultimately, I’ve determined to make use of hardwood flooring to create the countertop.
There have been a number of causes that I made a decision to go together with this selection. First, I’ve carried out it earlier than, so I do know it’ll work. I used 3/4-inch crimson oak hardwood flooring to make the countertop in our walk-in pantry.
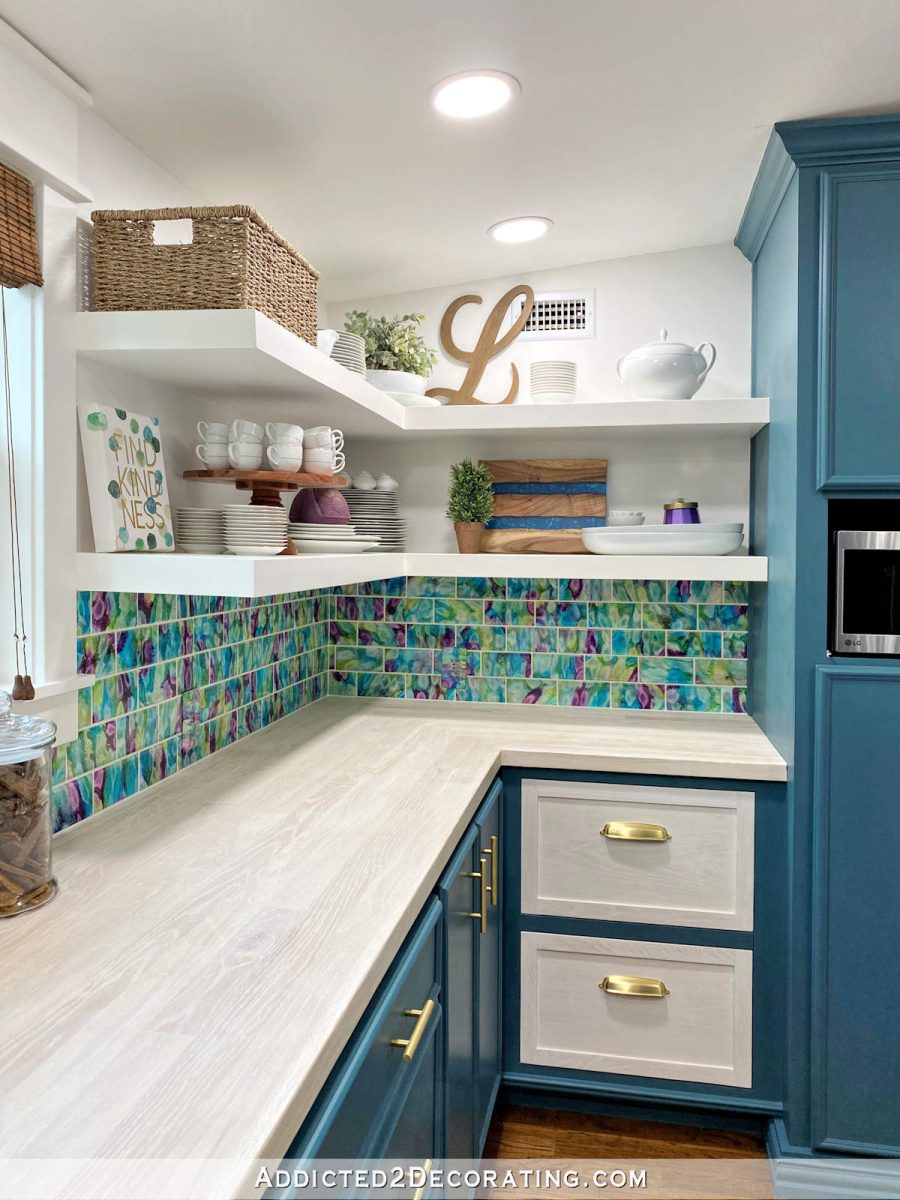
So there shall be no guesswork or trial and error with this. I’ve already carried out it, and it turned out nice, and I’ve my outdated weblog posts to refer again to in order that I can refresh my reminiscence on the method. You’ll be able to see how I made these counter tops right here.
The second motive I made a decision to go together with hardwood flooring as a countertop is as a result of the result’s a sturdy stable wooden floor at a fraction of the price of butcherblock. I’ll in all probability go together with unfinished maple for the studio counter tops, and that runs about $6.30/sq. foot. That’s about $283.50 for the lengthy 19.5-foot countertop, after which I’ll want to purchase plywood for the substrate. However even with that, I’m nonetheless taking a look at lower than $500 for a 19.5-foot wooden countertop.
The third motive is clear — no straight seams or joints. This was my major concern with utilizing butcherblock or sheet laminate. Whether or not I’ve one seam or joint within the center, or two offset seams or joints, they might hassle me both method. I simply wished one thing to look as a stable, uninterrupted floor.
And the ultimate motive is that it may be in-built place. There are a number of countertop choices that require being constructed elsewhere after which being put into place. And instance could be the butcherblock-style countertop that I made for our hallway lavatory.
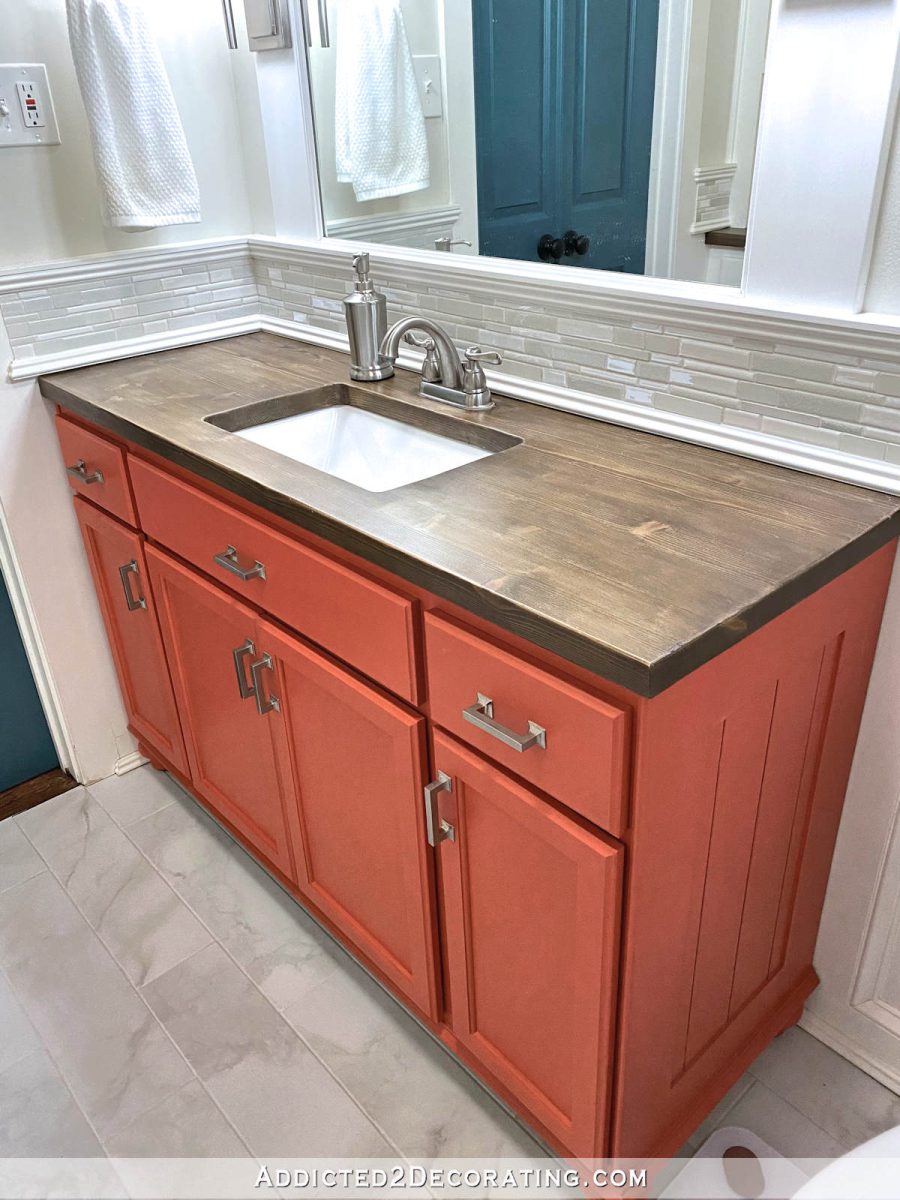
That countertop is made from stable pine 2 x 3’s glued and screwed to one another, after which reduce right down to dimension. I needed to construct it the wrong way up (utilizing my entrance porch as a piece bench), after which as soon as it was assembled, I turned it over, reduce it to dimension, after which introduced it inside and set it in place.
Now think about doing that with a 20-foot-long countertop. ? Yeah, that will be not possible.
So DIYing my very own butcherblock countertop utilizing this methodology was by no means an choice for the studio. I wanted one thing that might be in-built place, and by no means wanted to be picked up and carried and set in place.
The successful concept, and the one I felt essentially the most assured and peaceable about, is constructing a countertop utilizing hardwood flooring over a plywood substrate. And now that I’ve selected it, I’m truly fairly enthusiastic about it. I simply must resolve on the particular wooden species that I need to use. I do know for certain that I don’t need to use crimson oak. I’ve had my fill of crimson oak since that’s what our hardwood flooring is all through the home, and that’s what I used on the pantry countertop. As a way to get that countertop the colour it’s, I needed to bleach the wooden to take away the crimson/pink undertones. I’d like to have the ability to skip that step by choosing a wooden that doesn’t have that crimson/pink undertone. I believe I’ve narrowed it right down to white oak and maple.
In different information, I’m lastly going to begin portray the checkerboard design on the ground at this time. I’ve acquired the whole lot prepped, taped, and able to go. So by Monday, I ought to even have this portion of the ground completed and able to present you!
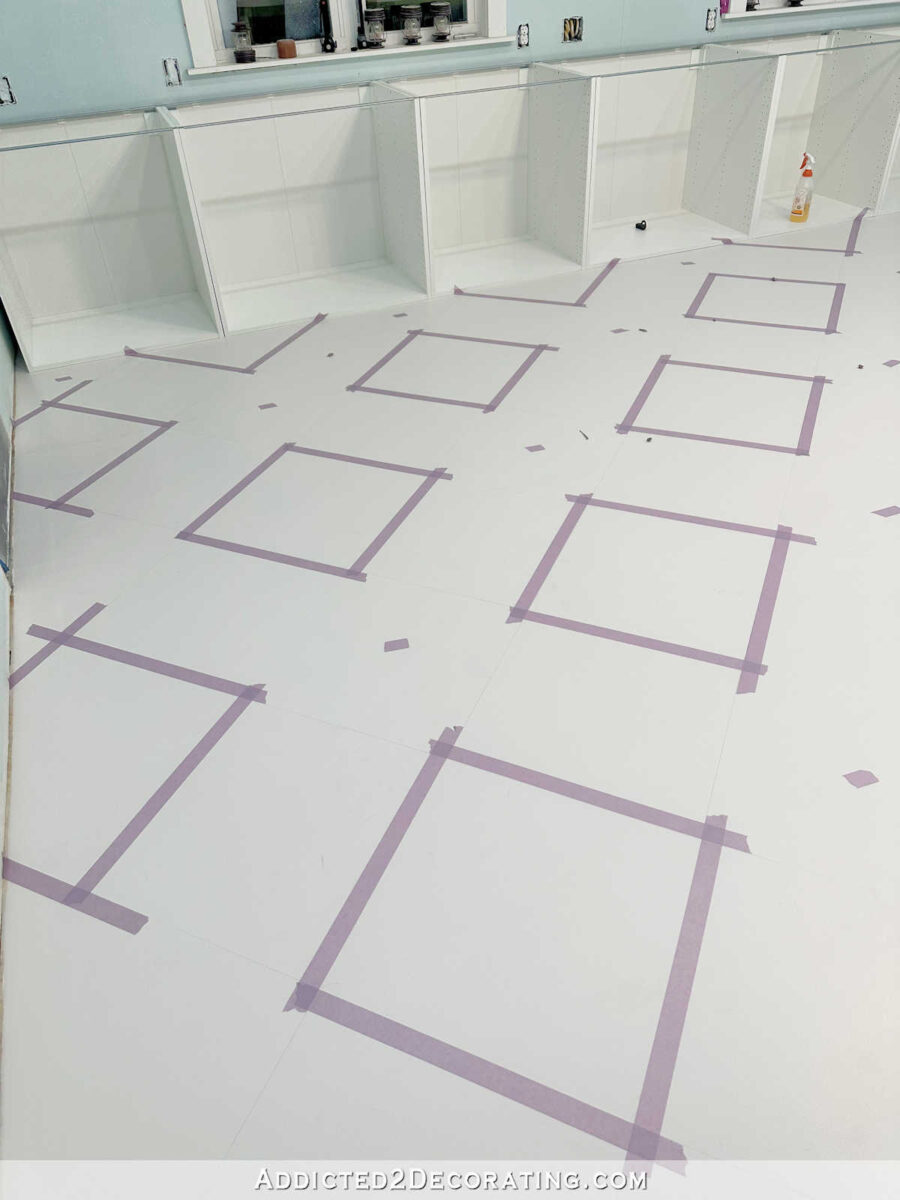
I’m so excited to see precise progress on this room! It’s been a very long time coming, and it’s so enjoyable to lastly see my imaginative and prescient come to life.

Addicted 2 Adorning is the place I share my DIY and adorning journey as I rework and beautify the 1948 fixer higher that my husband, Matt, and I purchased in 2013. Matt has M.S. and is unable to do bodily work, so I do the vast majority of the work on the home on my own. You’ll be able to study extra about me right here.
I hope you’ll be a part of me on my DIY and adorning journey! If you wish to comply with my tasks and progress, you’ll be able to subscribe under and have every new submit delivered to your e-mail inbox. That method you’ll by no means miss a factor!
[ad_2]
Source link
