[ad_1]
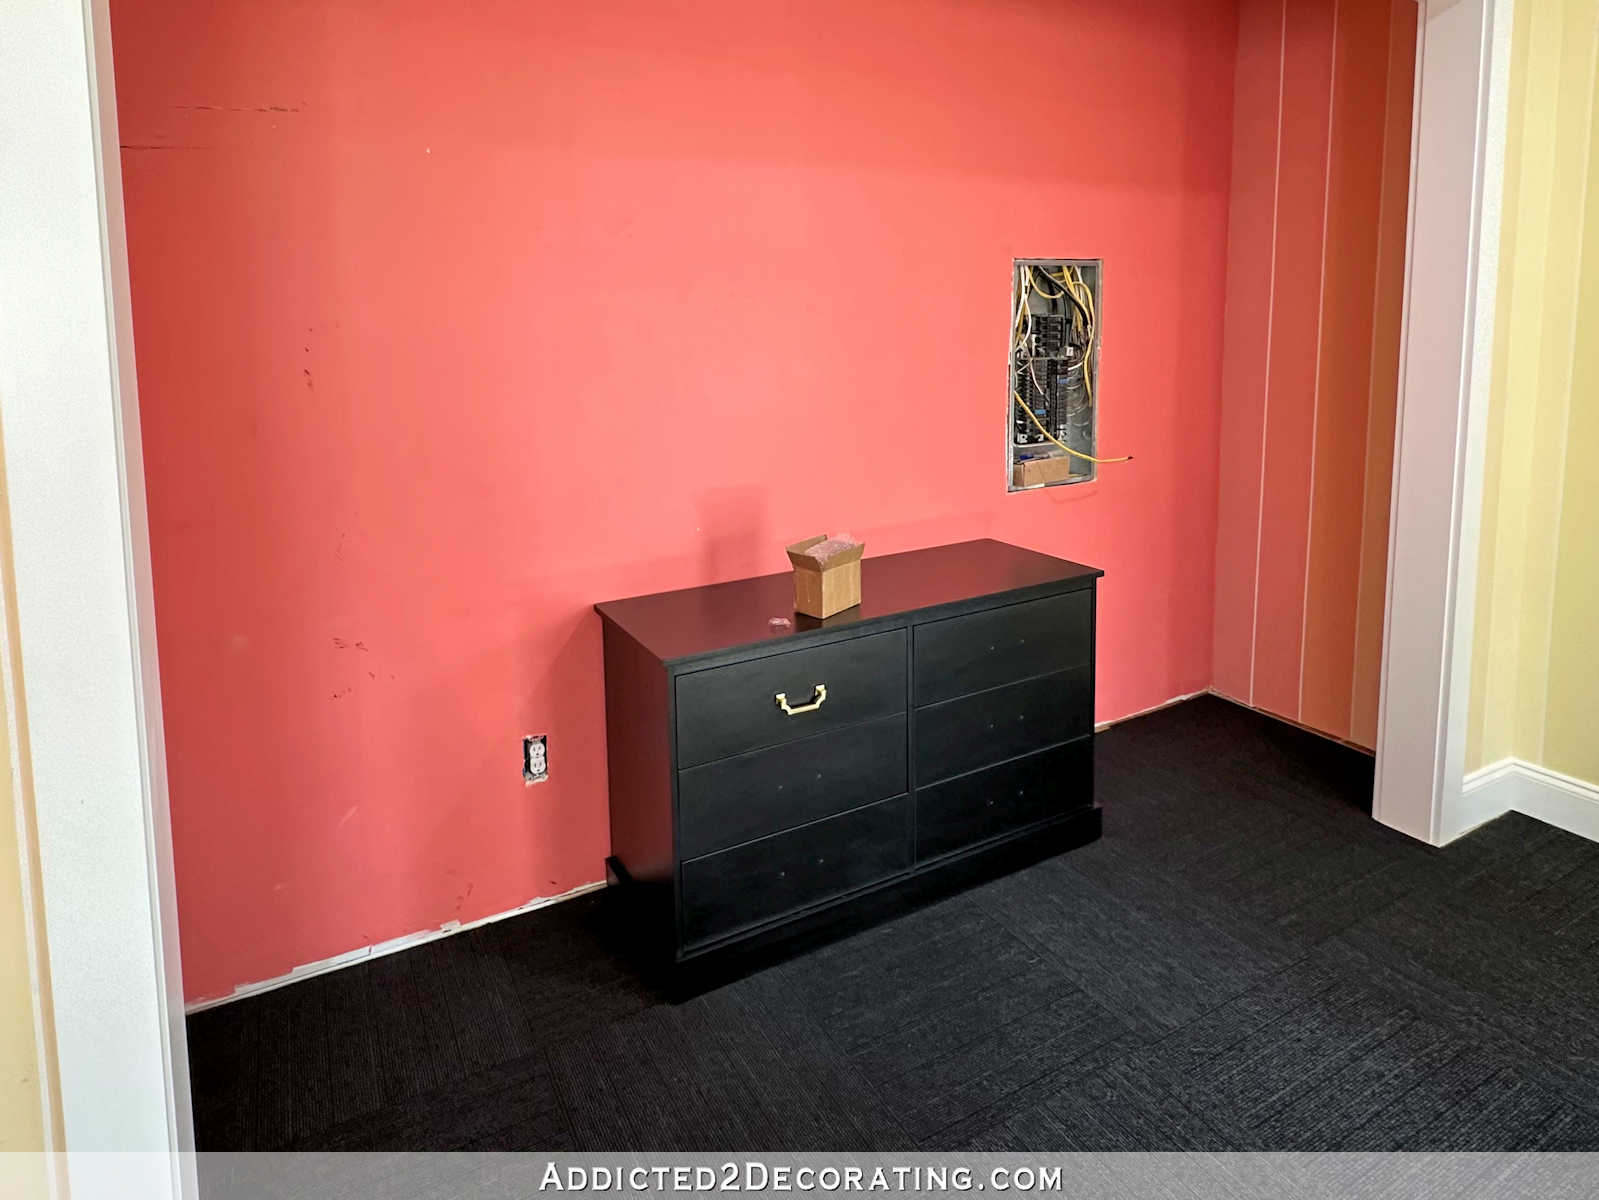
A couple of weeks in the past, I bought this comparatively cheap dresser from Walmart to go within the closet space in our house fitness center. After assembling it and placing it into place within the room, I wasn’t thrilled with the way it regarded. The black was effective for the room, however it was so pitch black that it simply regarded like a black gap within the room. Plus, it regarded a lot shorter than I had anticipated.
So I made a decision to offer it a bit makeover utilizing issues that I had available, not together with the brand new drawer pulls. I had one piece of walnut 1″ x 2″ lumber and a quite massive piece of walnut veneer left over from the lavatory rework, and I believed including some walnut to this dresser wouldn’t solely make it present up higher and provides me the chance to boost the peak, however it could go completely with my complete “black and walnut” plan for the accents within the room.
As soon as I obtained the entire walnut accents on the dresser, that is the way it turned out…

For a “use what you’ve got available” makeover, I used to be fairly happy with how that turned out! And it was fairly fast and simple, too.
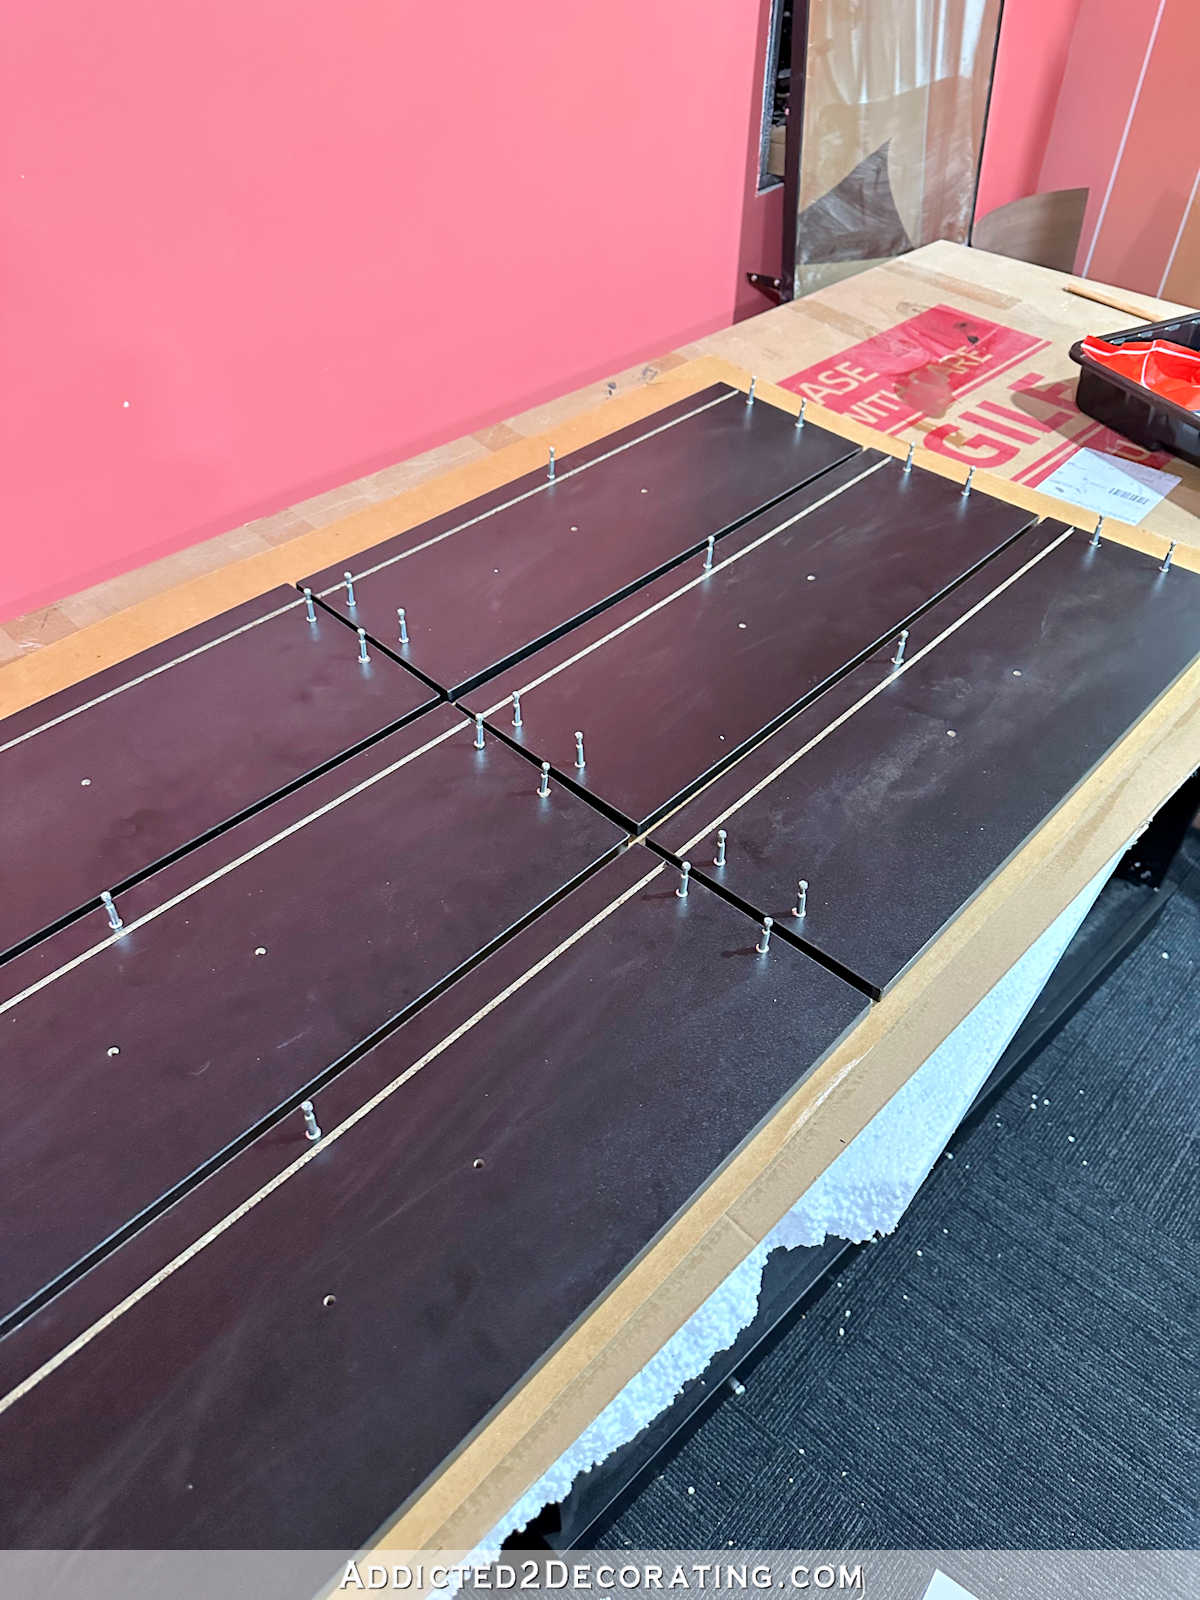
I began by eradicating the drawer fronts from the drawers. Due to how this dresser is assembled, this was very simple to do with out damaging something.
Then utilizing a 4-inch curler with a 1/4-inch nap curler cowl, I put two coats of Weldwood Contact Cement on the drawer fronts, permitting the primary coat to dry fully earlier than rolling on the second coat.

I additionally rolled on two coats of contact cement to the again of the piece of walnut veneer. As soon as the second coat of contact cement was fully dry on the entire drawers and the again of the veneer, I positioned the drawer fronts face down onto the again of the veneer. I positioned them in the identical association that they’re positioned into the dresser, leaving about 1/4-inch between them, in order that the wooden grain can be steady from one drawer to the subsequent.

As soon as they had been all in place, I minimize them aside with a utility knife with a model new blade on it (crucial when working with veneer!), after which fastidiously trimmed the veneer proper to the sides of every drawer entrance. Then I fastidiously sanded the sides with 120-grit sandpaper.
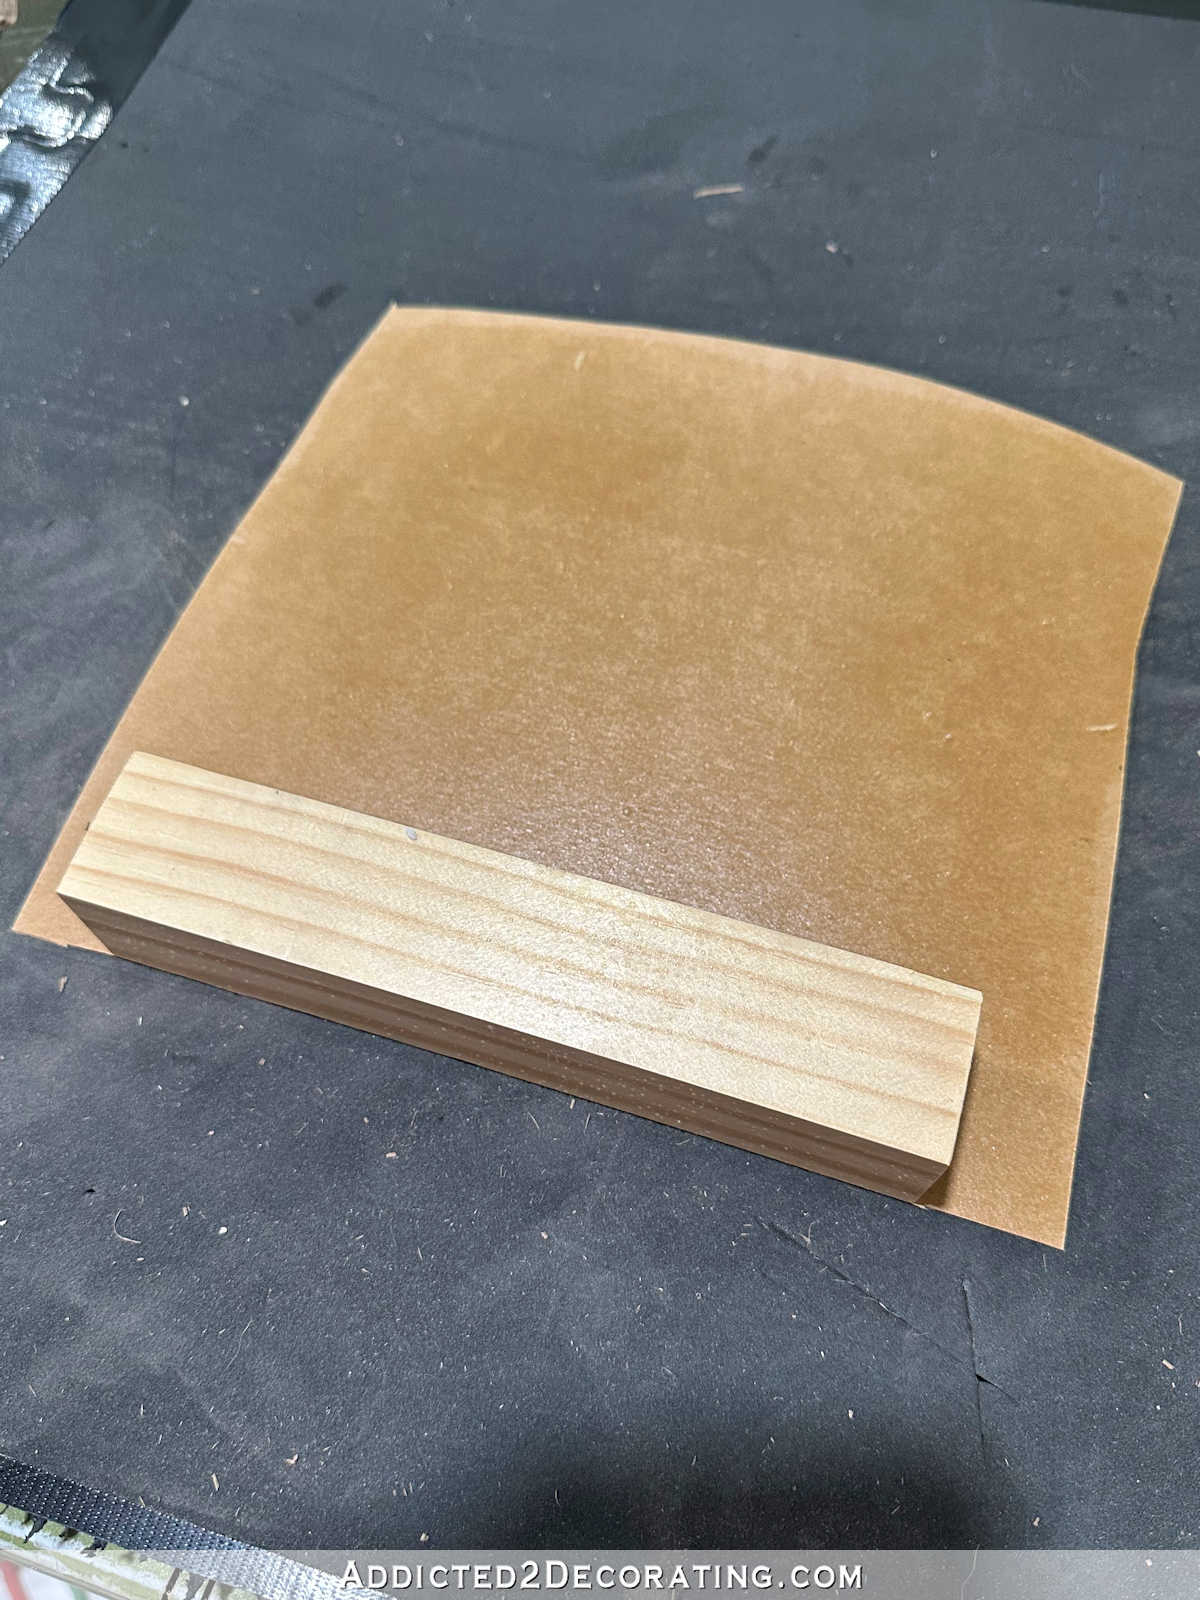
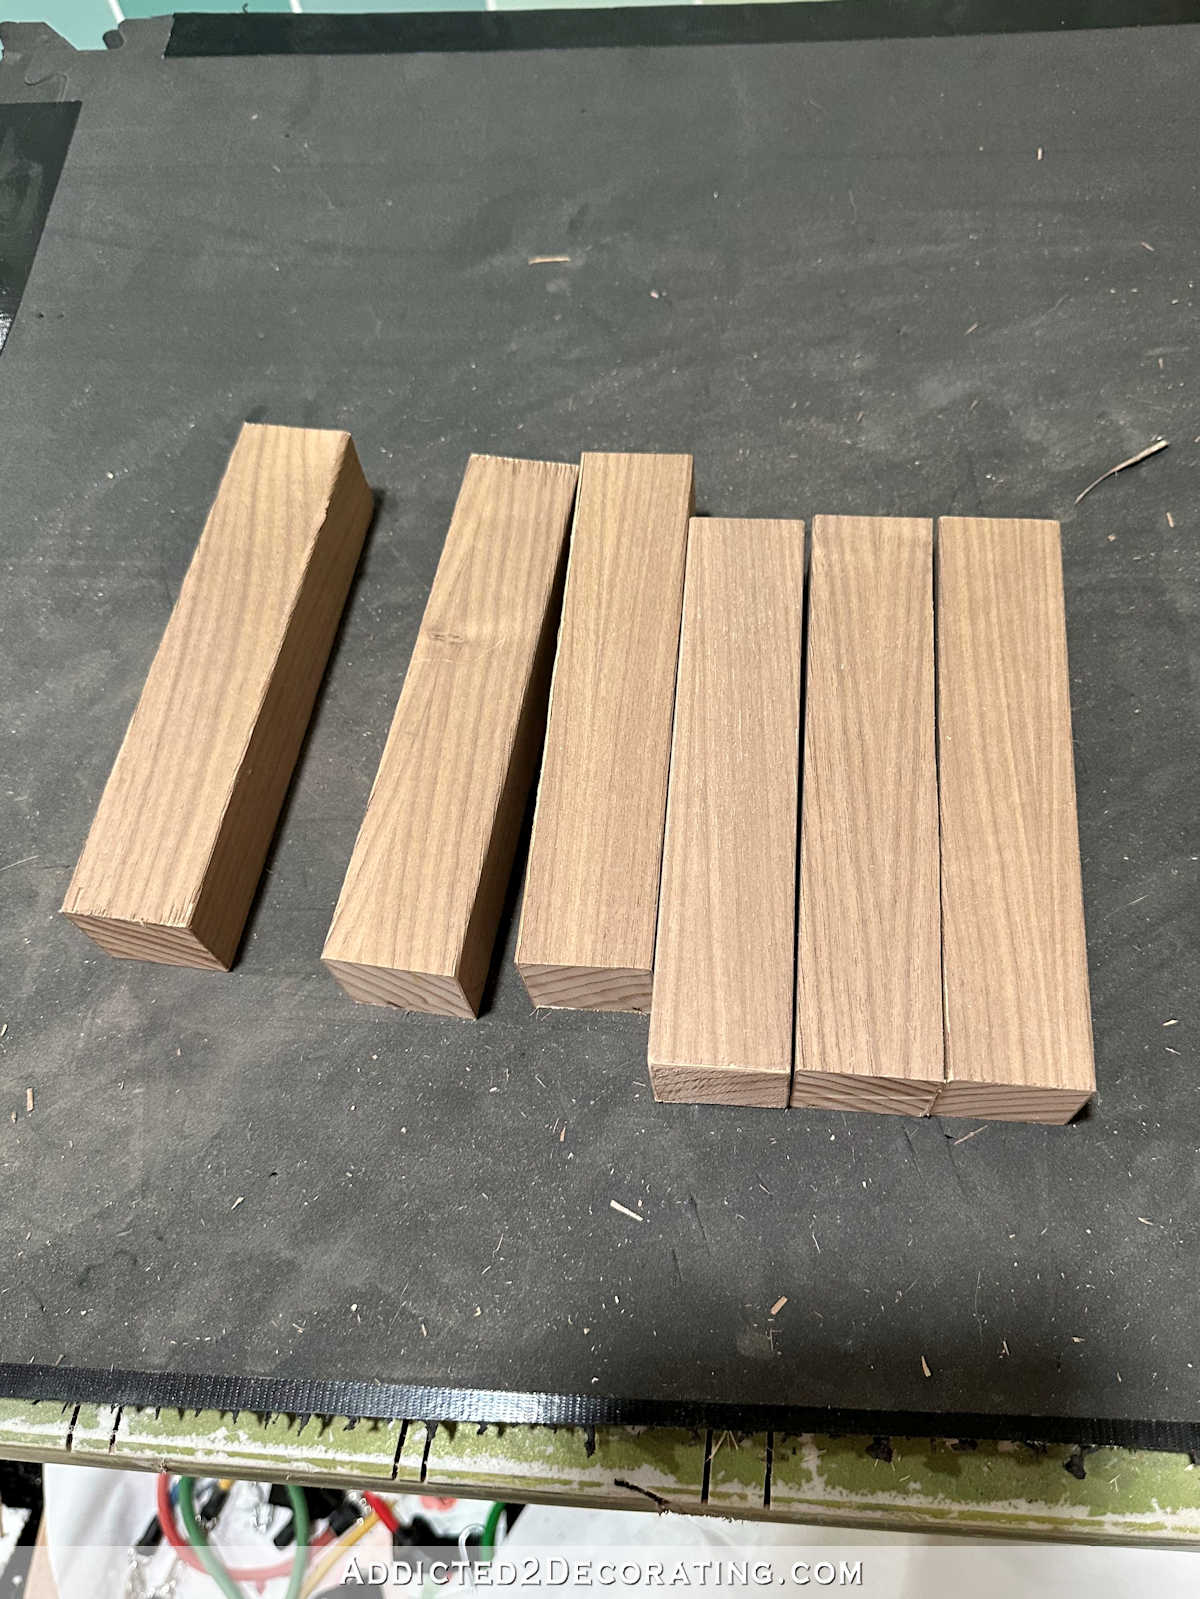
Subsequent, I started working on the legs. I used pine 2″ x 2″ lumber, and minimize them to the size I wished for the legs. After which I wrapped each bit with walnut veneer. You possibly can see the distinction right here…
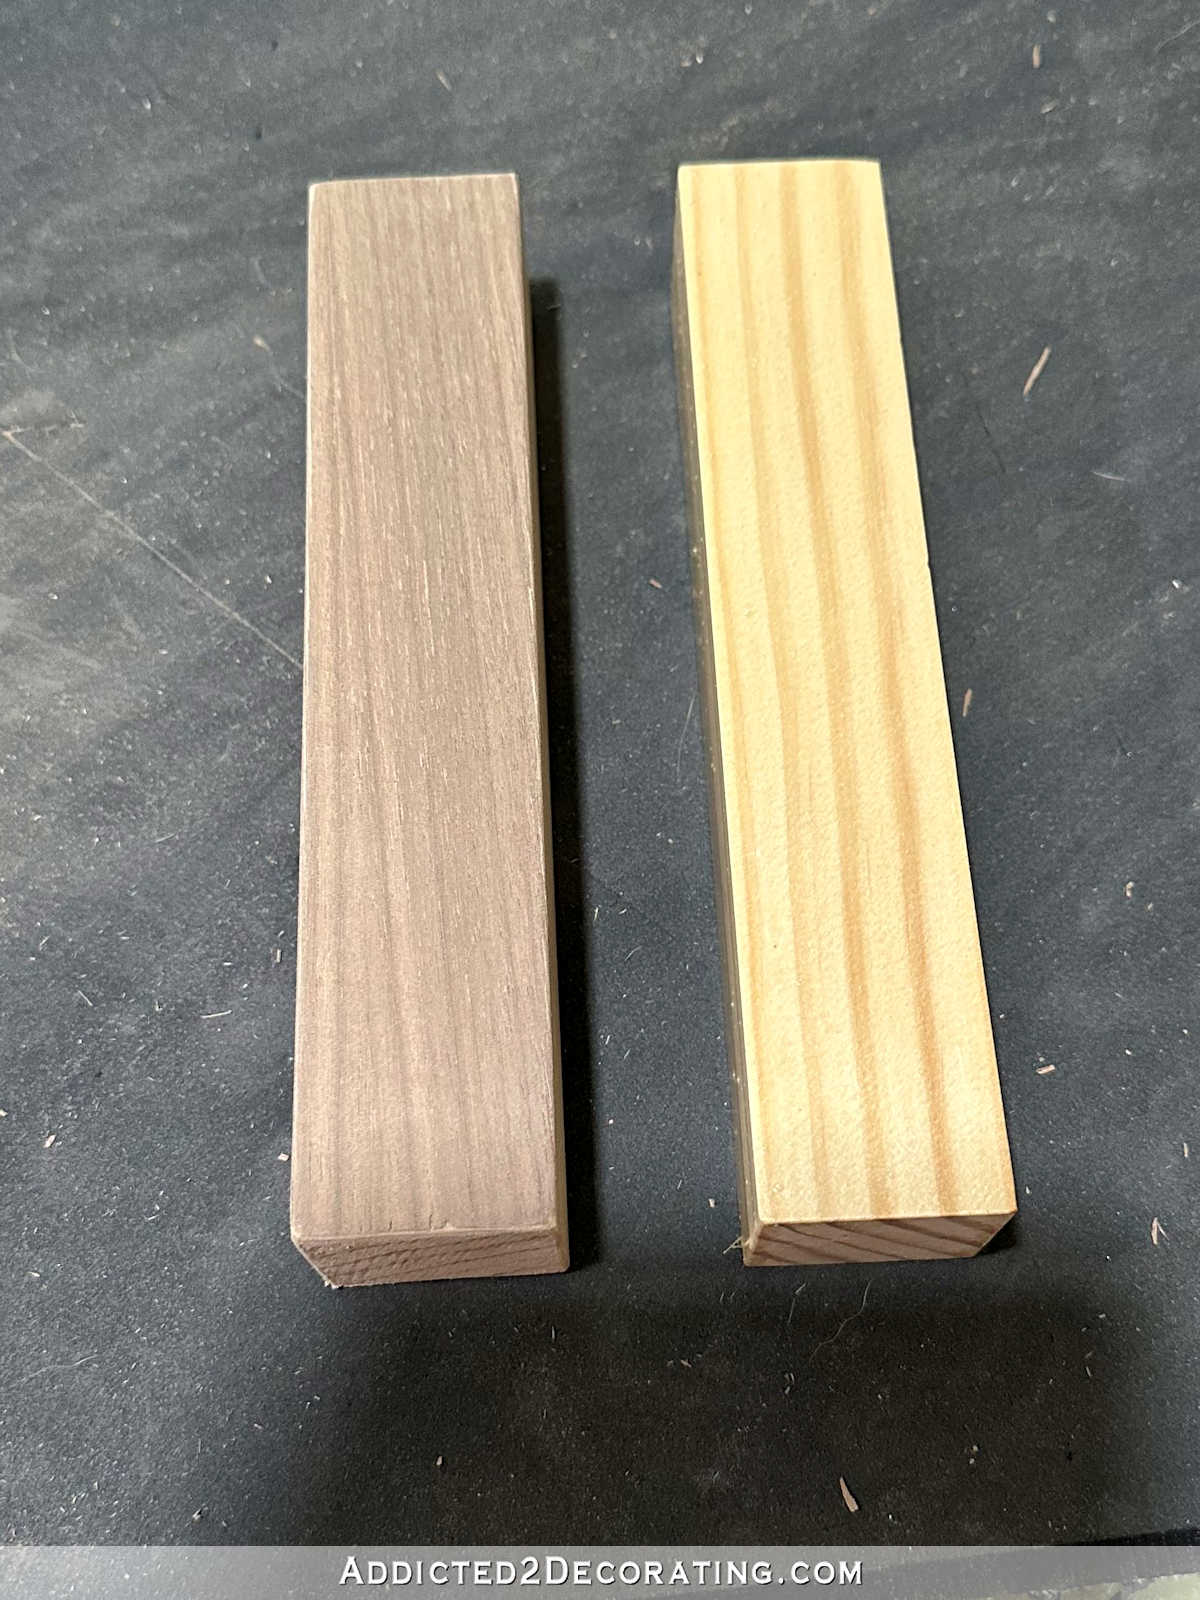
To wrap each bit, I began by rolling two coats of contact cement to all 4 sides of every leg, in addition to to the again of the walnut veneer. As soon as it was fully dry, I positioned the leg onto the veneer at one finish and pressed firmly to verify it was caught rather well.
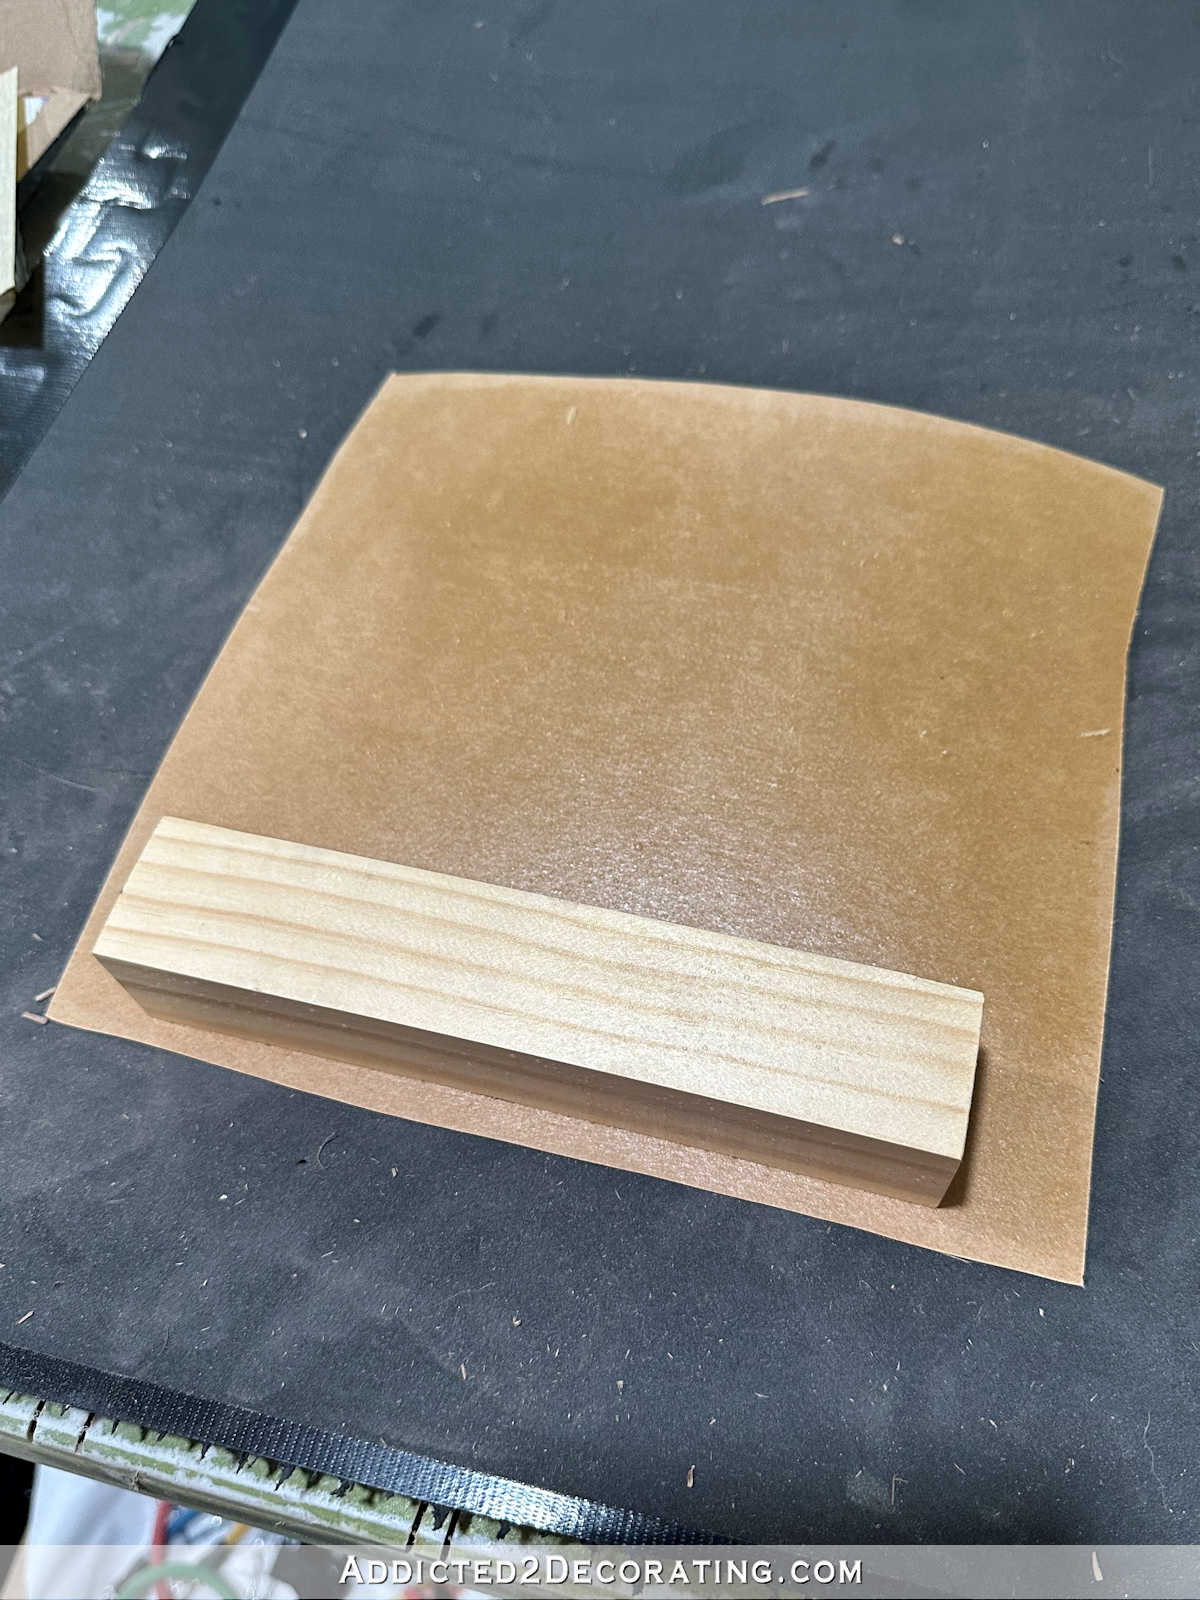
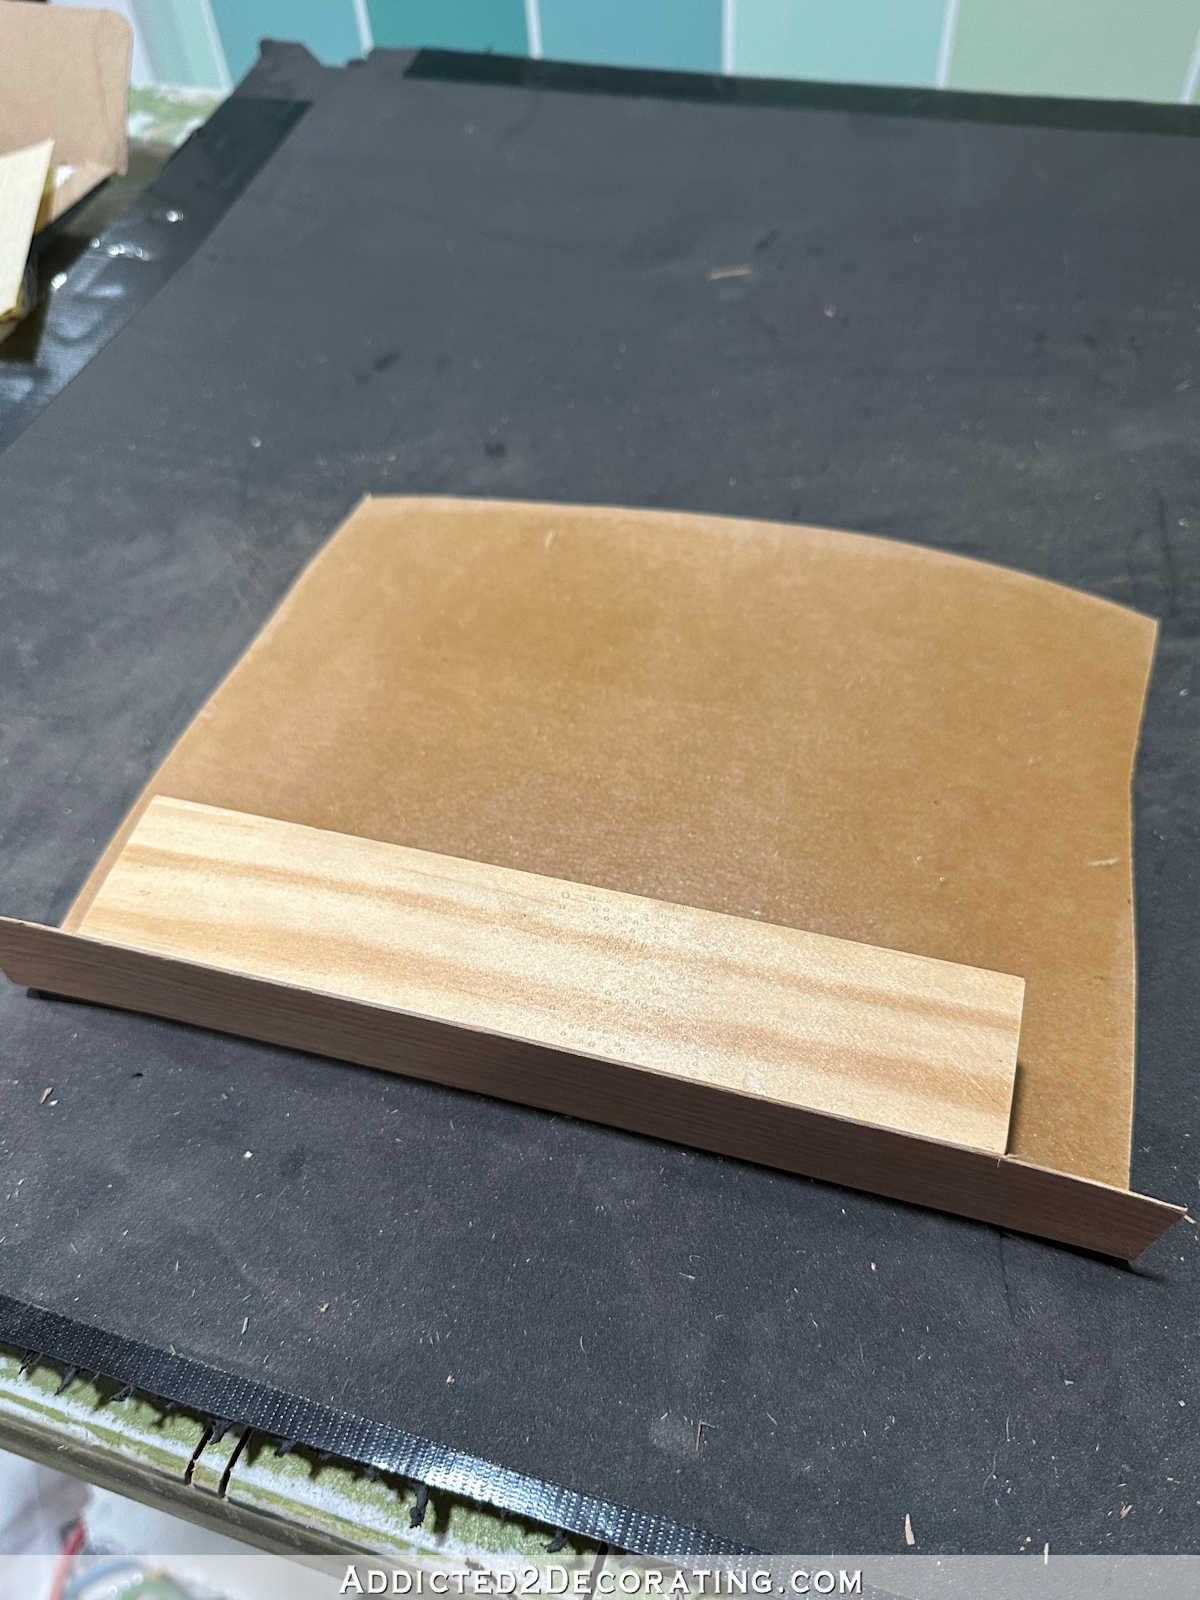
Then I used my utility knife with the very sharp blade and minimize off the little extra strip…
After which I simply began rolling the leg onto the veneer, placing an entire lot of strain on it as I went in order that the veneer would fold completely across the edges.
I continued that till I had all 4 sides coated…

…after which I minimize off the surplus with my utility knife.
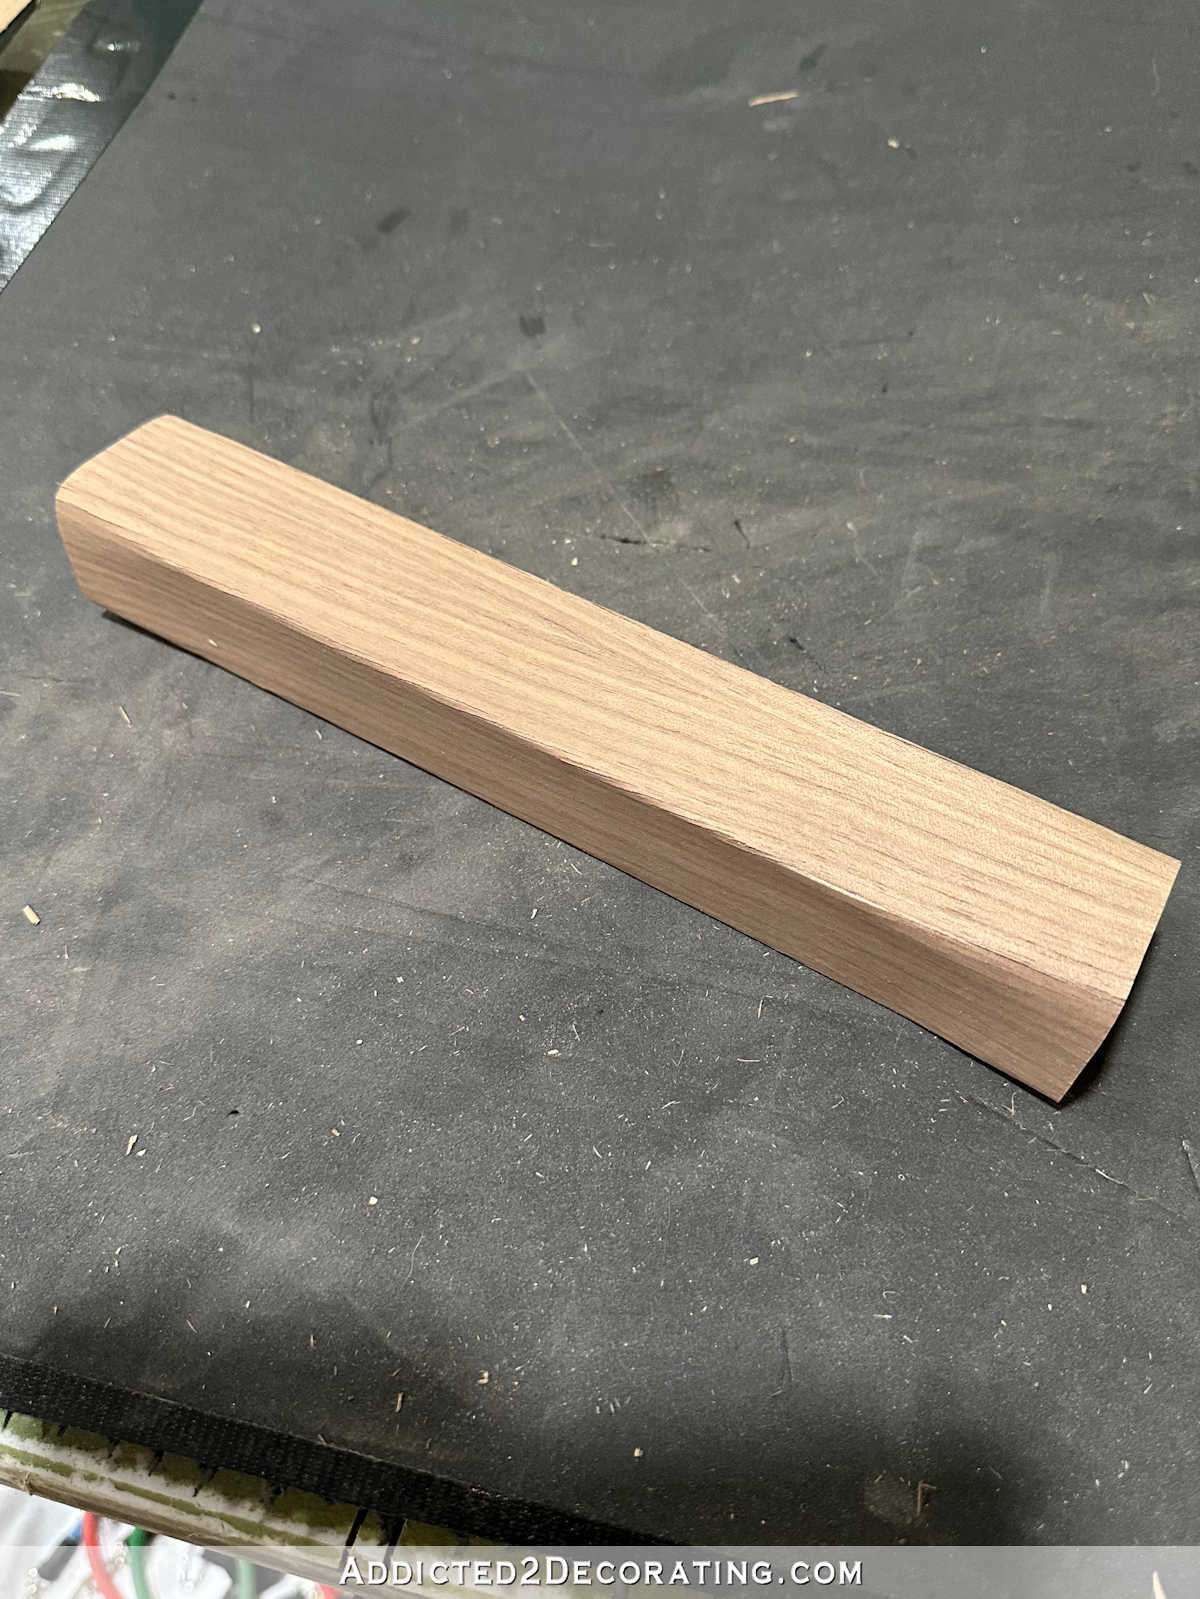
I trimmed off the surplus on the highest and the underside of every leg utilizing my miter noticed…
After which I sanded every leg utilizing 120-grit sandpaper. I sanded the entire edges very fastidiously to scrub up any slight splintering of the veneer which will have occurred as I rolled the veneer round these edges.
Subsequent, utilizing 1″ x 2″ walnut lumber, I minimize and connected a body across the backside fringe of the dresser. What you see under is me attaching the complete width of the 1″ x 2″ items. As soon as that was connected, I made a decision that it was too huge, so I took them off and used my desk noticed to tear them all the way down to a couple of 1-inch width. That regarded significantly better, however I forgot to take an image of it. However the means of attaching it to the underside of the dresser was the identical as you see right here.
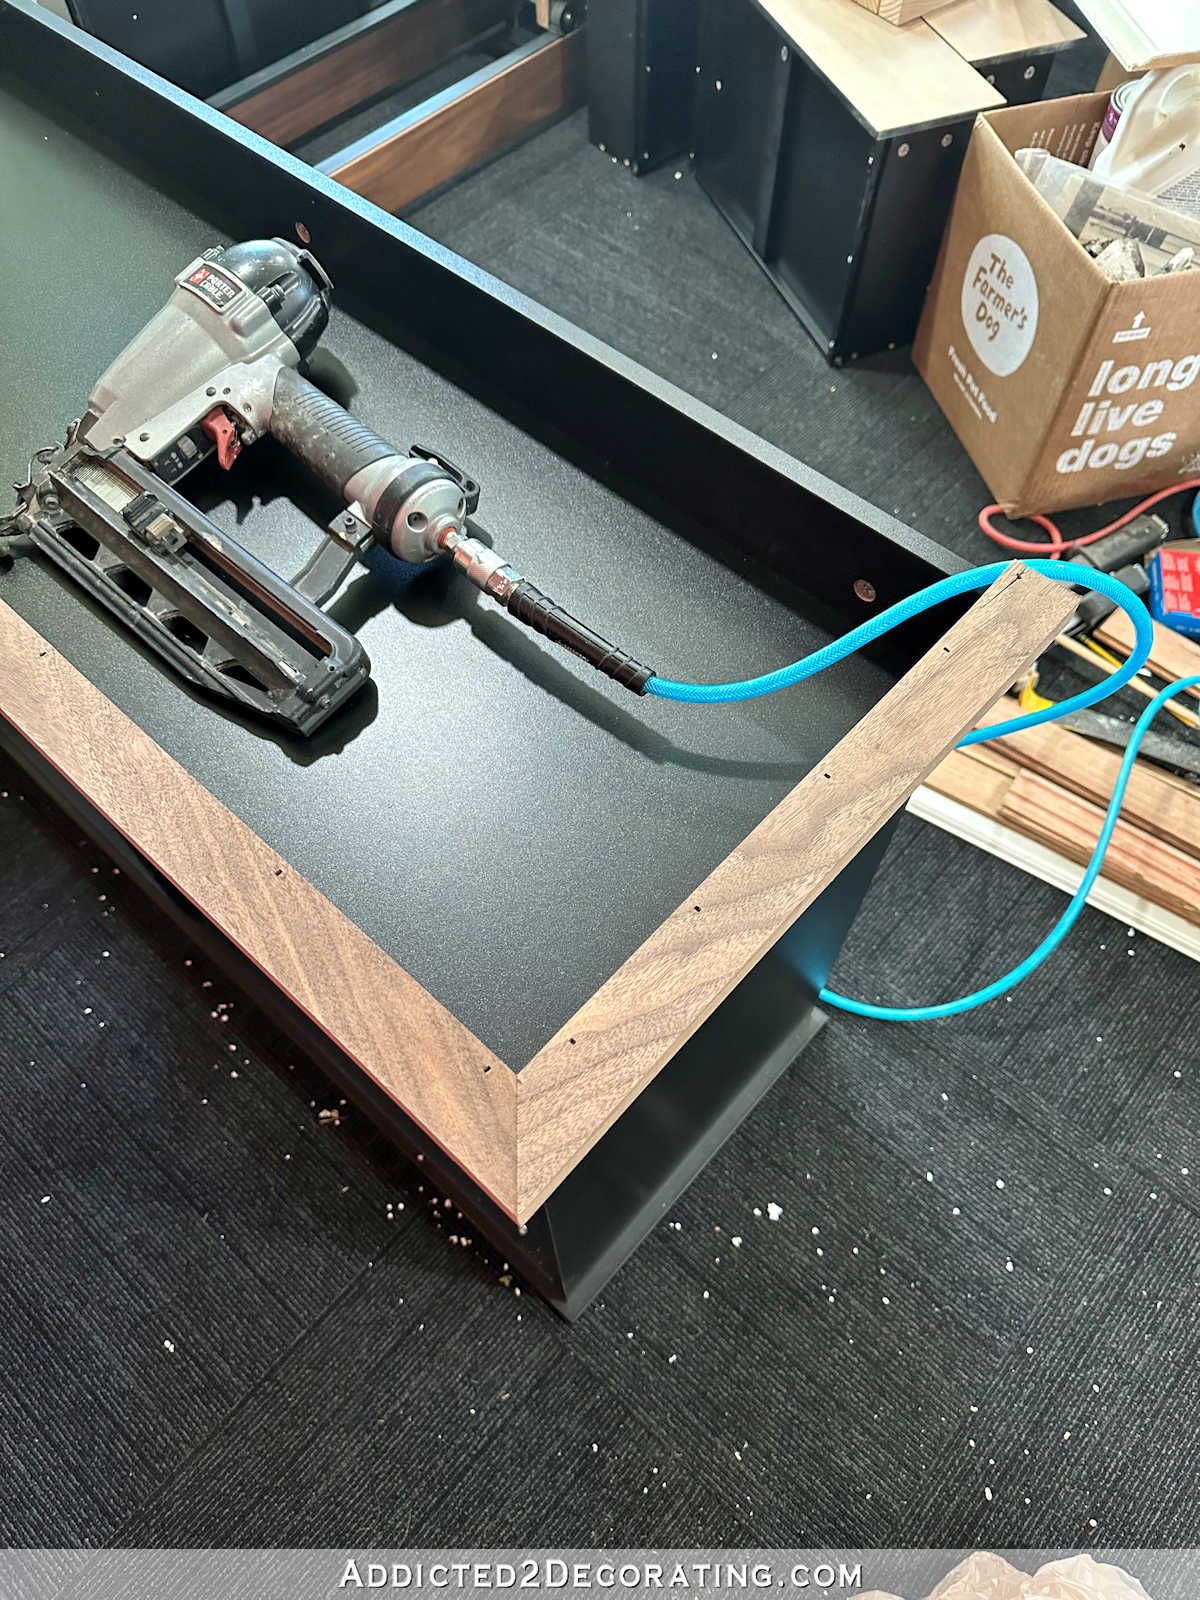
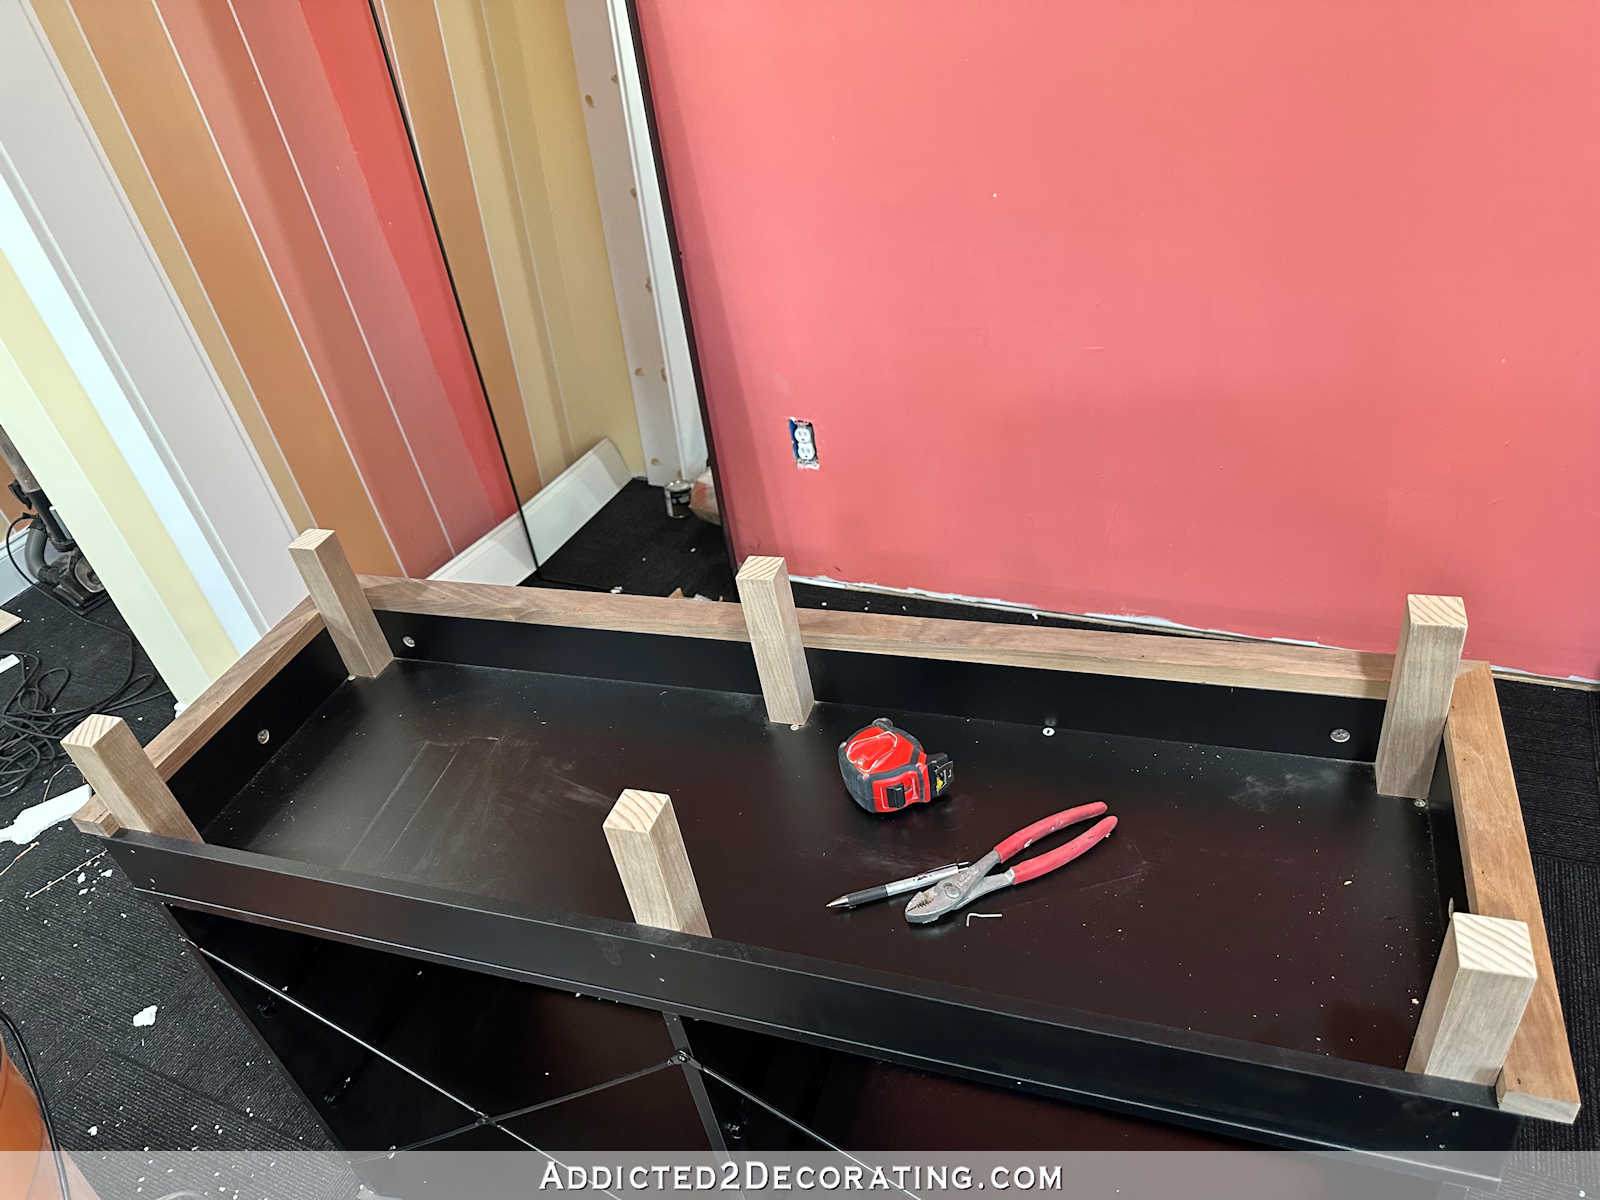
After which I connected the six legs. I simply connected them utilizing 1.5-inch 16-gauge nails shot by the skin, by the black items, and into the legs. After which I simply used a black Sharpie to cover the nail holes that confirmed on the black items.
And that is the way it turned out as soon as I used Rubio Monocoat Oil Plus 2C on the entire walnut, and added new drawer pulls.
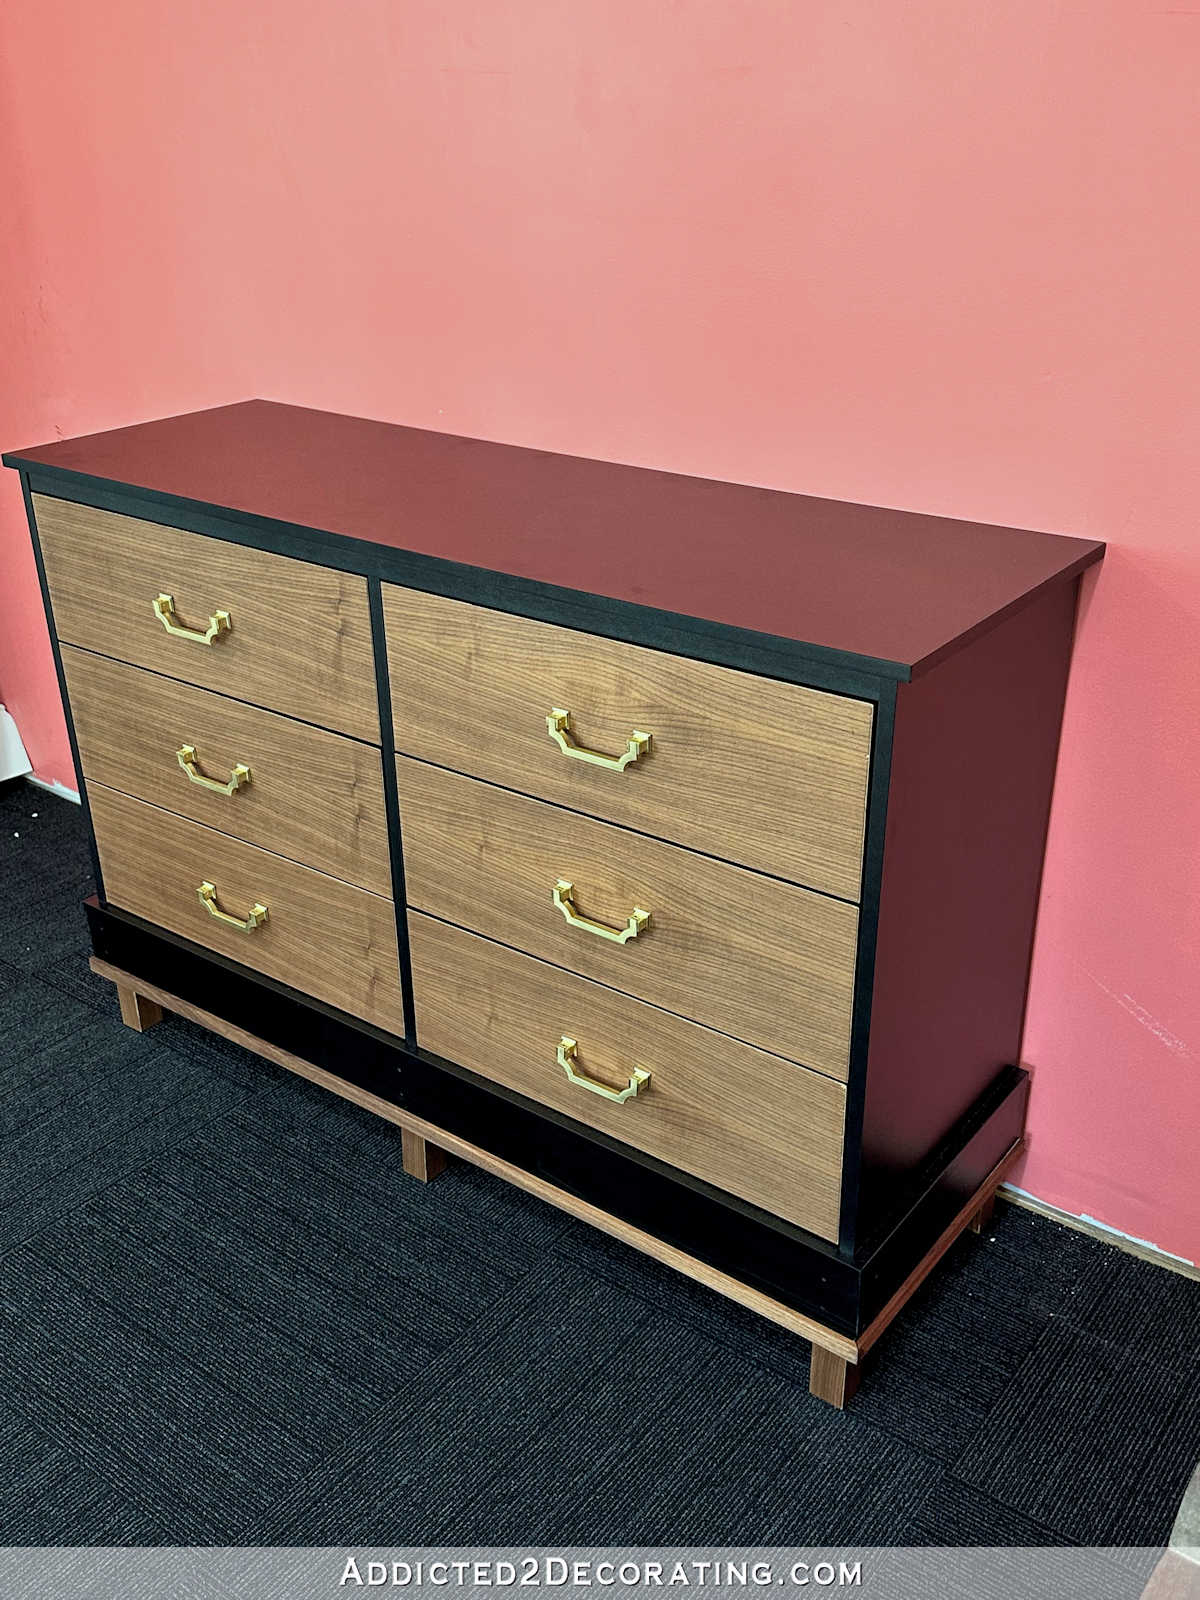
I actually like the way it turned out. I’m very glad it’s taller now (and sure, I acknowledge the irony that I purchased this dresser as a result of it sat instantly on the ground and I wouldn’t should vacuum below it, and now it doesn’t, and I’ll. ? )
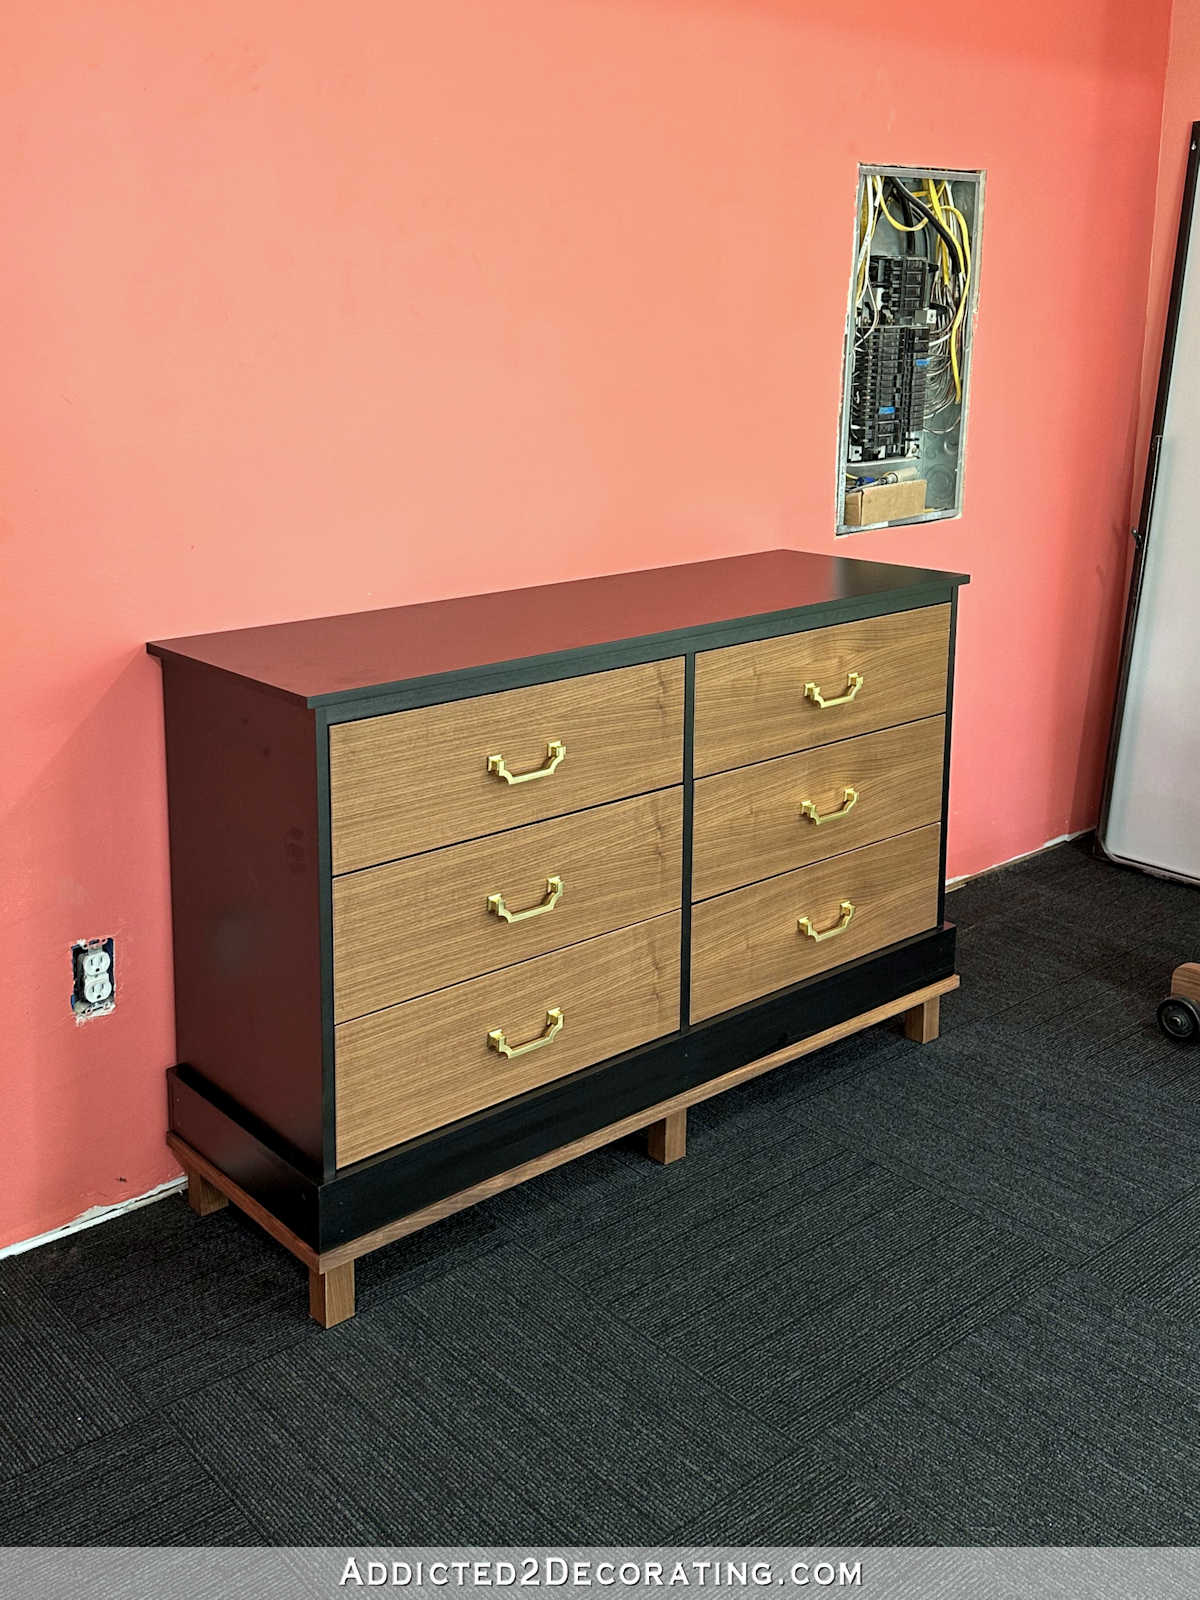
However I additionally like that it’s extra substantial, extra seen, and never only a black gap within the room. What I don’t like is the way it appears to be like in opposition to the wall colour within the closet. I’ve been combating liking that wall for some time now, so I’ve a sense {that a} change is coming. However extra on that later.
And as you possibly can see, I didn’t meet my objective of ending our house fitness center by the top of the month. However that’s okay! It’s very shut, and I’ll simply preserve chipping away at that closing punch checklist till it’s all executed. I’ve gadgets that I’ve ordered for the room that gained’t get right here till this weekend or early subsequent week, anyway. So as soon as I made a decision to order these issues, I knew it wouldn’t get completed by my objective date. Oh, effectively! That’s how initiatives go, however we simply preserve urgent on.

Addicted 2 Adorning is the place I share my DIY and adorning journey as I rework and embellish the 1948 fixer higher that my husband, Matt, and I purchased in 2013. Matt has M.S. and is unable to do bodily work, so I do the vast majority of the work on the home on my own. You possibly can study extra about me right here.
I hope you’ll be part of me on my DIY and adorning journey! If you wish to observe my initiatives and progress, you possibly can subscribe under and have every new put up delivered to your electronic mail inbox. That manner you’ll by no means miss a factor!
[ad_2]
Source link
