[ad_1]
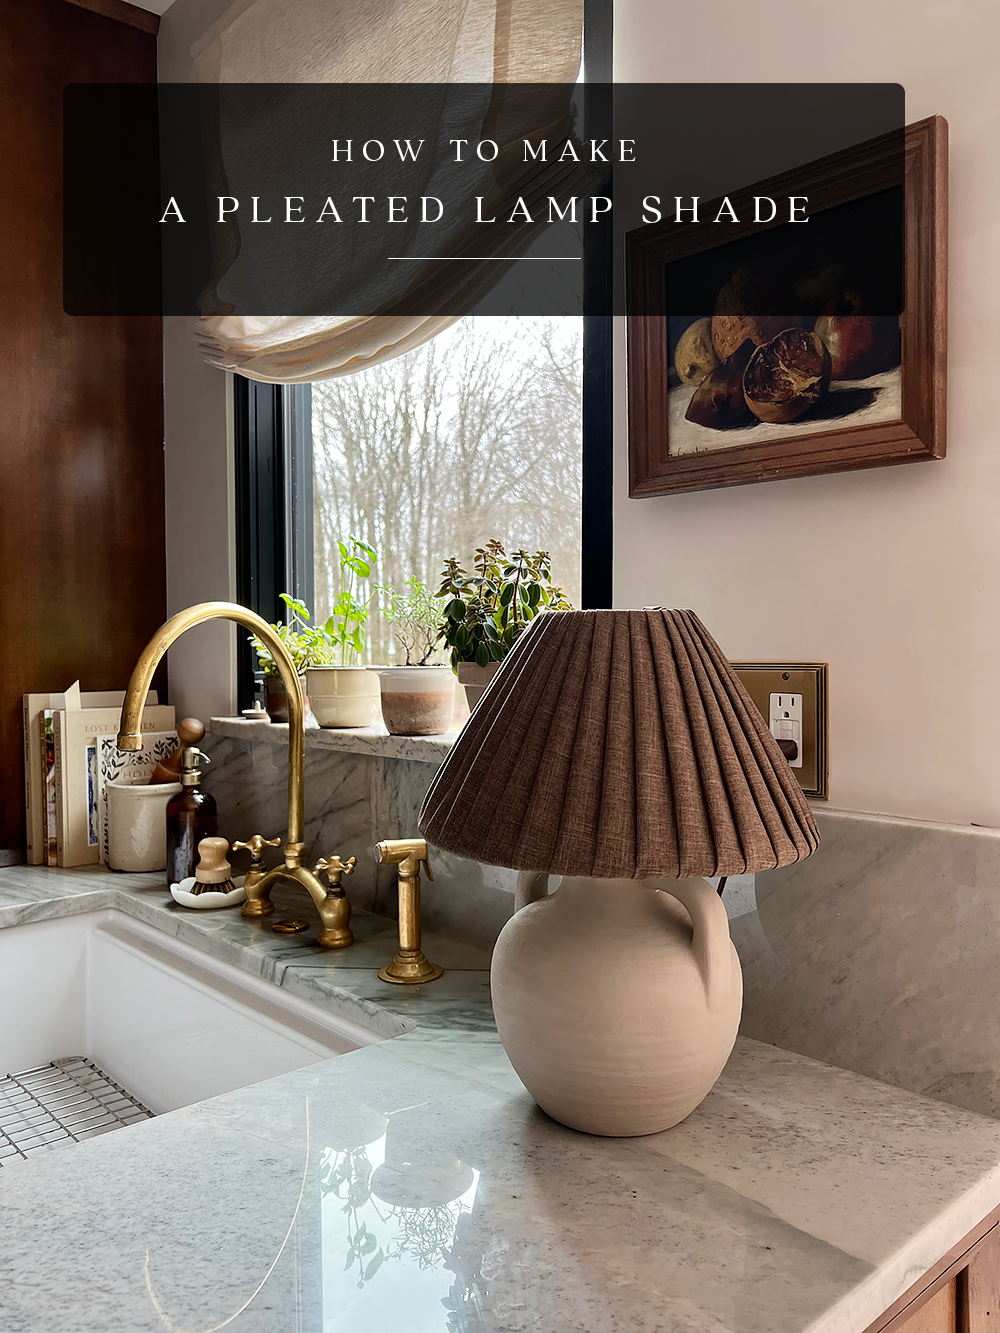
There’s no scarcity of lamp shades on the thrift retailer and so they’re often tremendous inexpensive, which makes them the right DIY mission! I’ve been swooning over a pleated lamp shade for some time however they will price fairly a bit! I’m going to indicate you make your personal for a fraction of the worth.
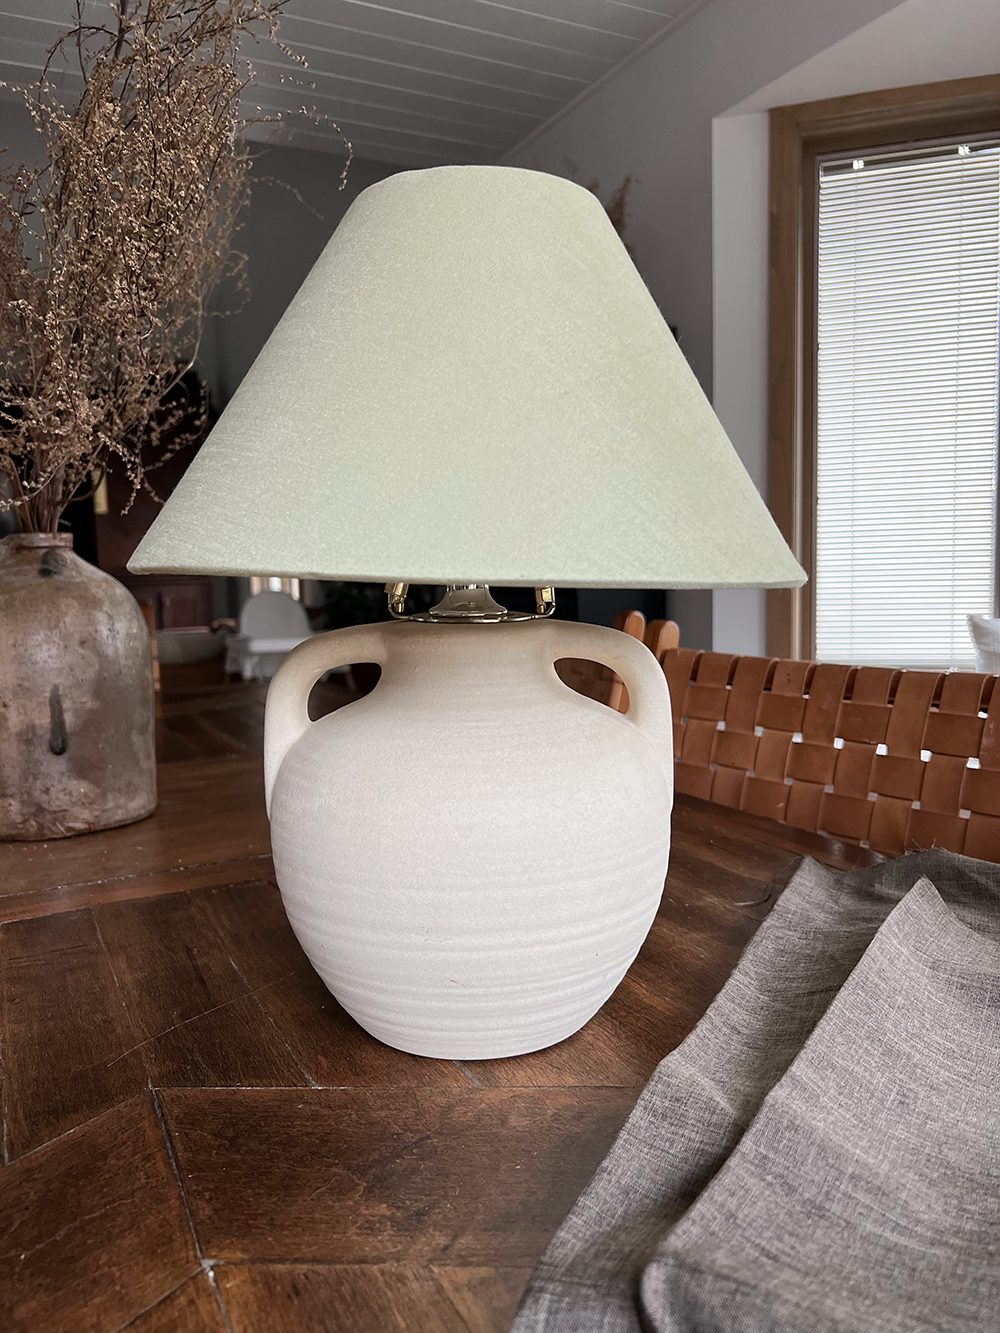
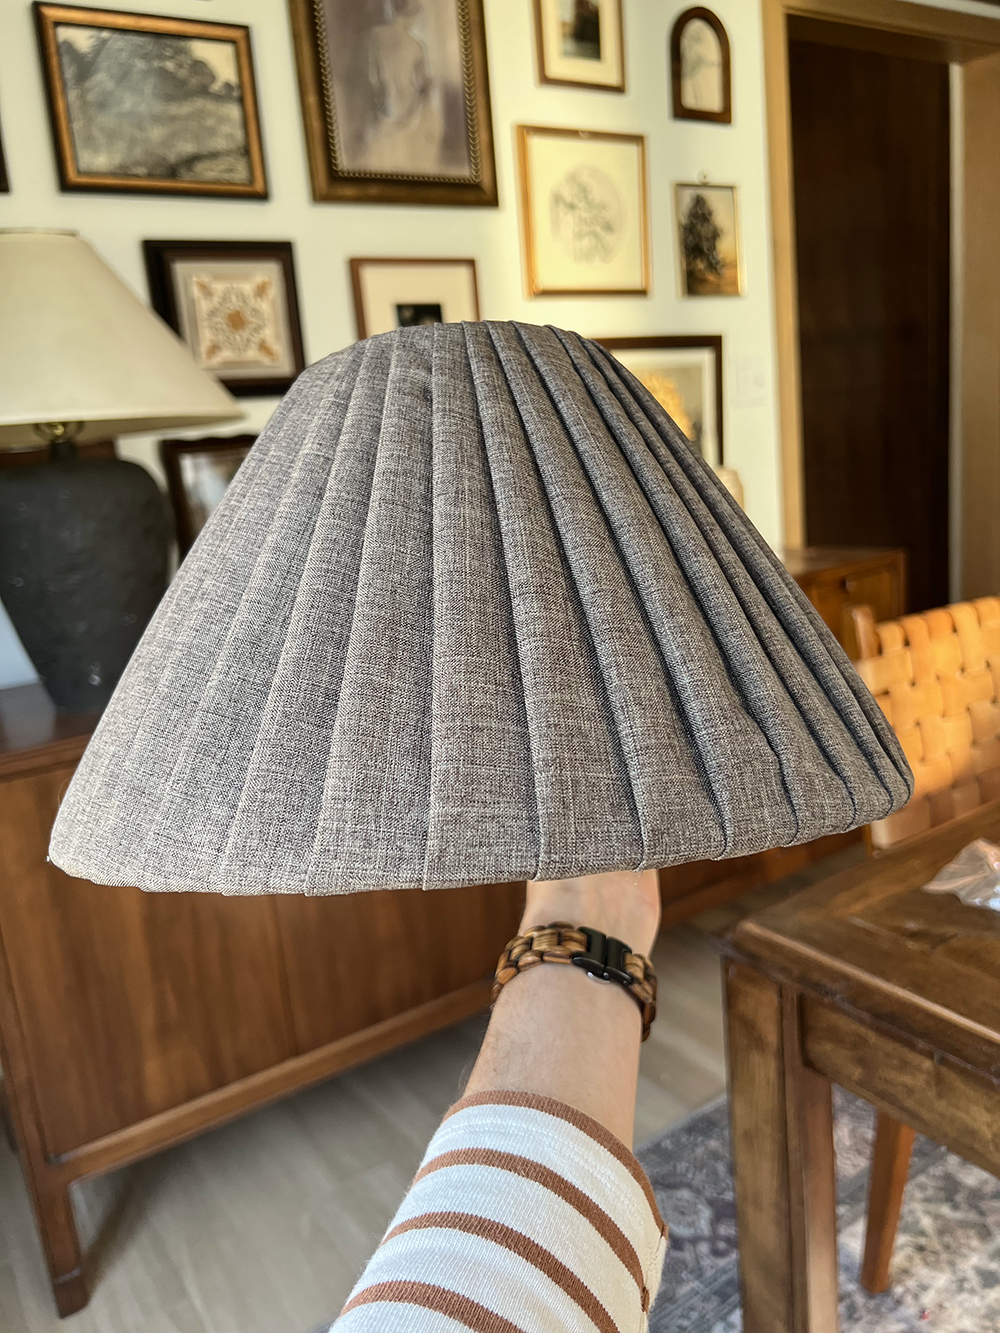
I discovered this little lamp base on the thrift retailer for $10 and couldn’t cross it up. It didn’t include a shade so I bought this tapered lamp shade on-line. For some motive once I purchased it, it was solely $25 and now it’s doubled in worth…suspicious! However you possibly can have a look at thrift shops for a less expensive one.
SUPPLIES FOR A PLEATED LAMP SHADE
There are a couple of other ways you may make a pleated lamp shade and I adopted another tutorials first, utilizing the material in a single piece and folding as you go. In case your lamp shade is a drum form then this methodology works nice. However in case you have a extra tapered shade like I do, then you definitely’ll wish to observe my methodology.
STEPS TO MAKE A PLEATED LAMP SHADE
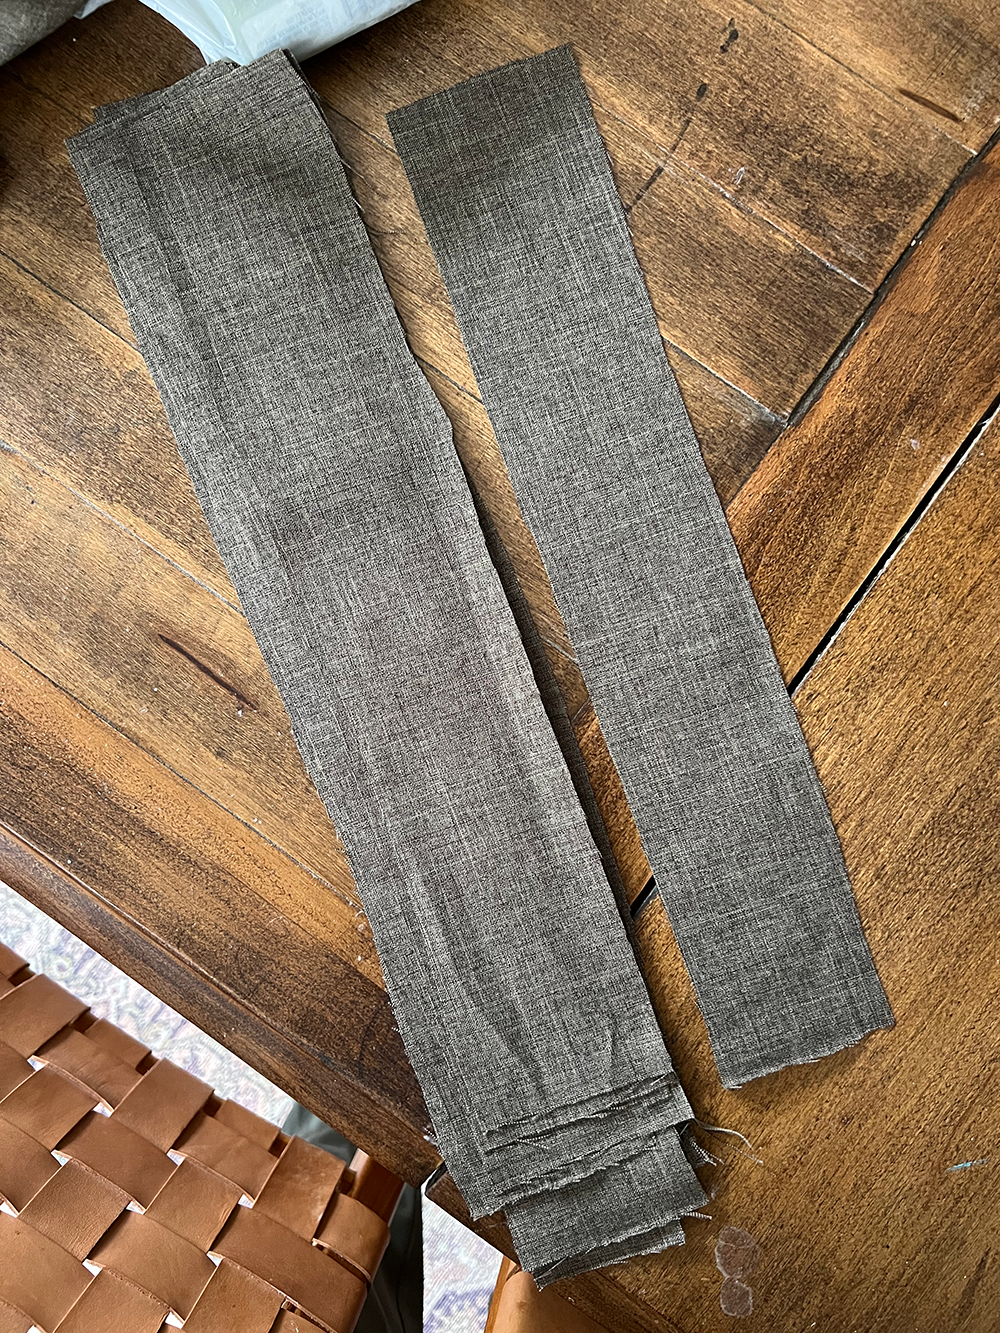
STEP 1
Minimize your cloth into strips. You’ll need your strips to be about 2 inches longer than the shade on each ends. I made my strips about 2.5 inches vast however you possibly can alter this relying on how vast you need your pleats to be. Take into accout you’ll be folding the strips in half, in order that would be the dimension of your pleats.
STEP 2
Glue your first pleat down onto the lamp shade. I began on the again seam. You’ll wish to begin with a line of glue vertically down the shade and place the suitable aspect of your strip on the glue. You’ll then fold your strip in half and glue that down as effectively. It’s also possible to then glue beneath the pleat in order that it stays flat towards the shade.
You would undoubtedly fold your pleats in half and press them first earlier than glueing for those who wished them to put faltter in your shade.
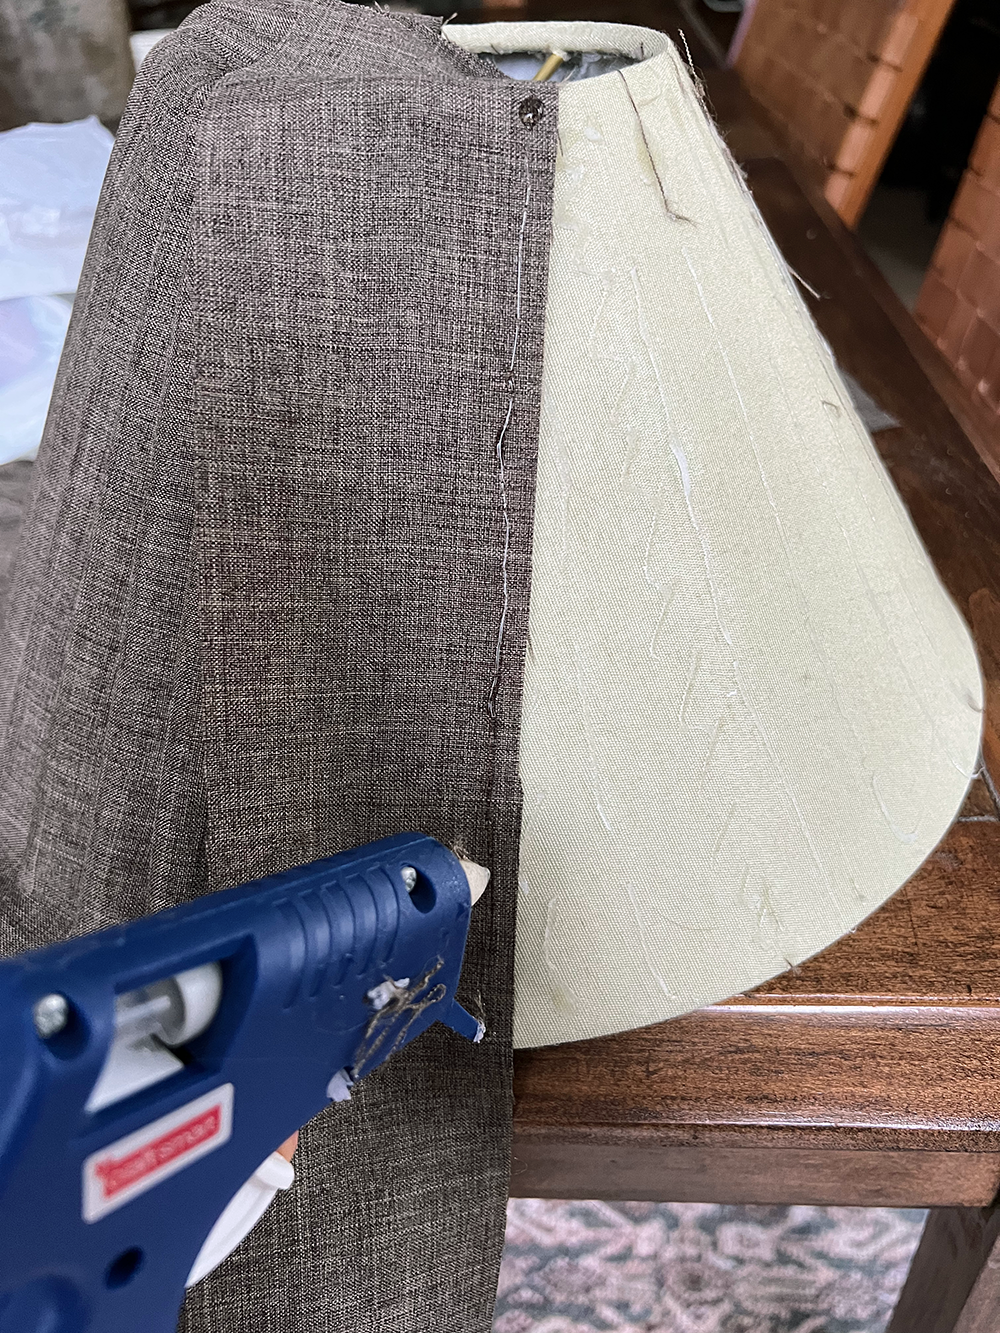
STEP 3
Repeat this course of by glueing all of your strips down and partially overlapping them. I discovered that with a tapered shade, it is advisable angle your strips barely. So with every pleat, you want the highest to overlap the earlier pleat greater than the underside.
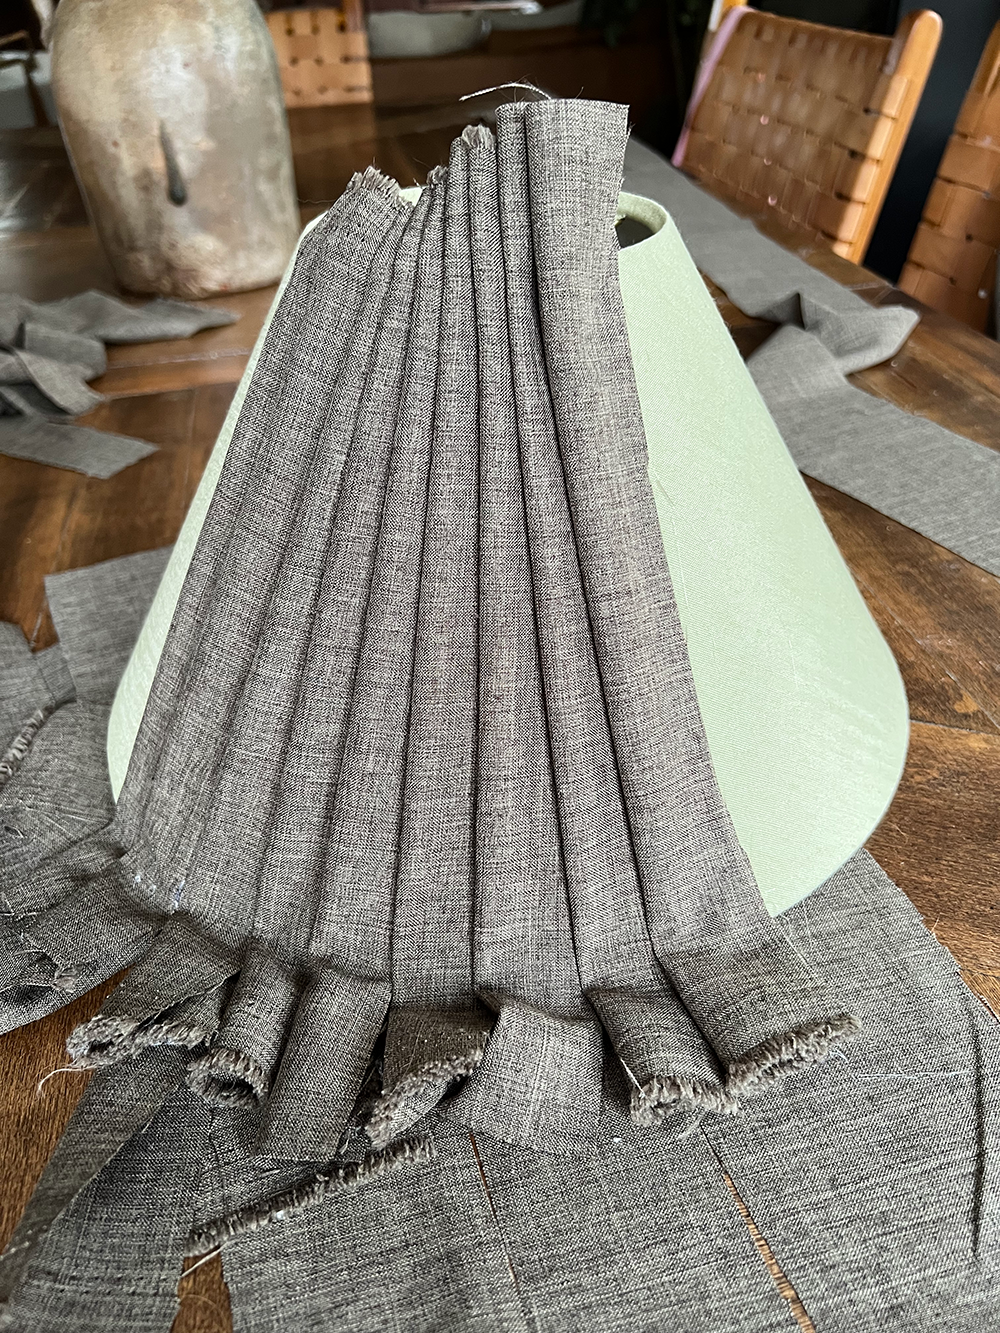
That can assist you do that, apply your glue at an angle on the earlier pleat. See under photograph for reference!
When you get again to the place you began, you might have to regulate the dimensions of your pleats/spacing to suit all of them in.
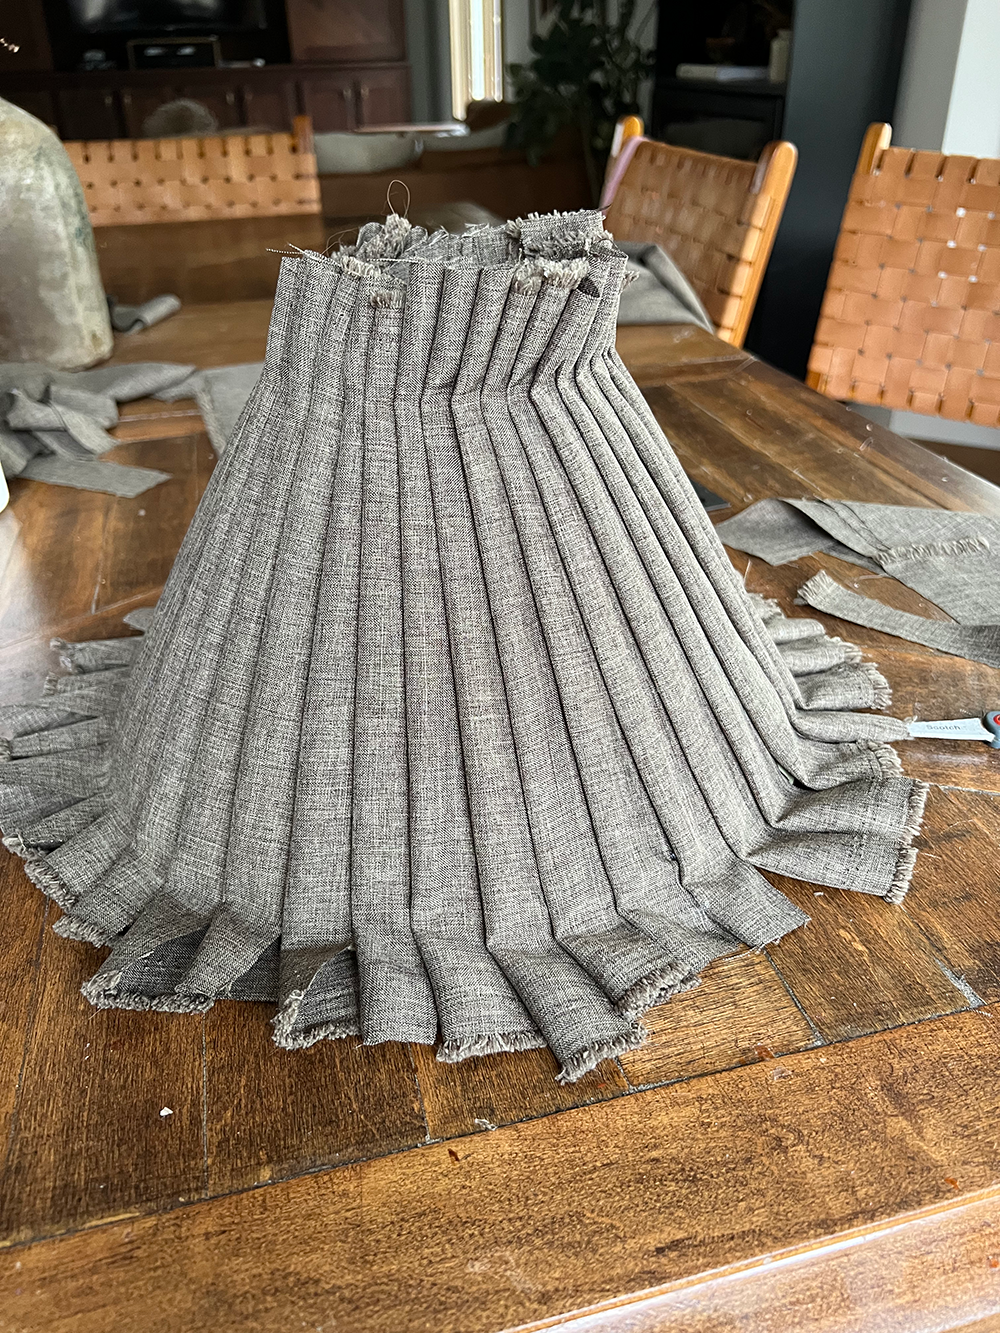
STEP 4
Trim the surplus cloth off your pleats on the highest and backside however maintain about an inch.
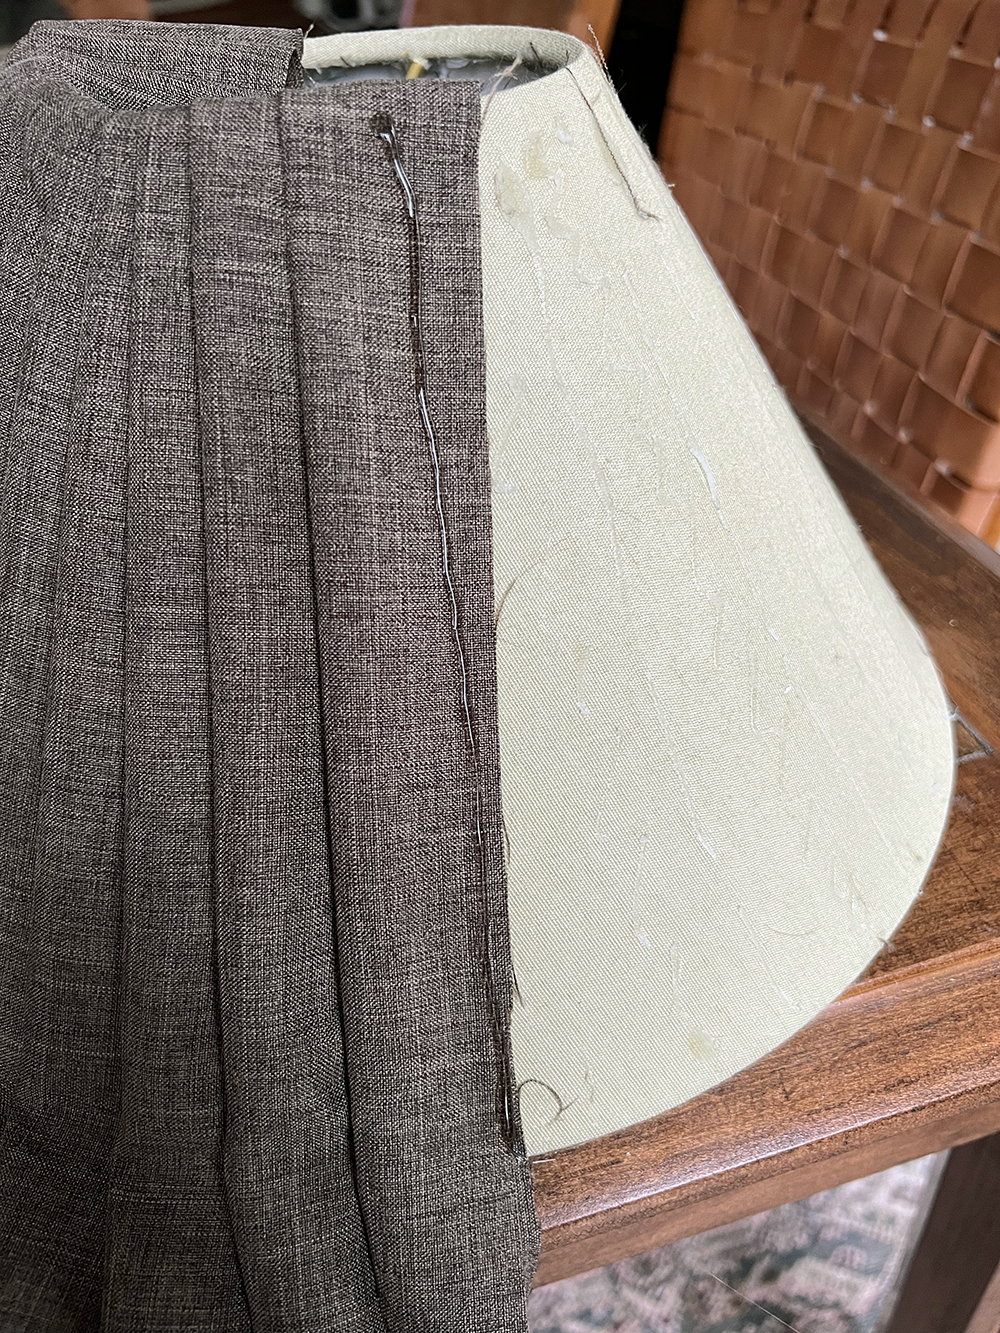
STEP 5
Fold your pleats underneath the shade and glue them down on the within.
At this level you now have two decisions. You may both go away it like this and clear up the within edges, or you possibly can add an outdoor seam along with your bias tape. I didn’t love the way in which my seam turned out on my first try of this shade, so I made a decision to go away it as is.
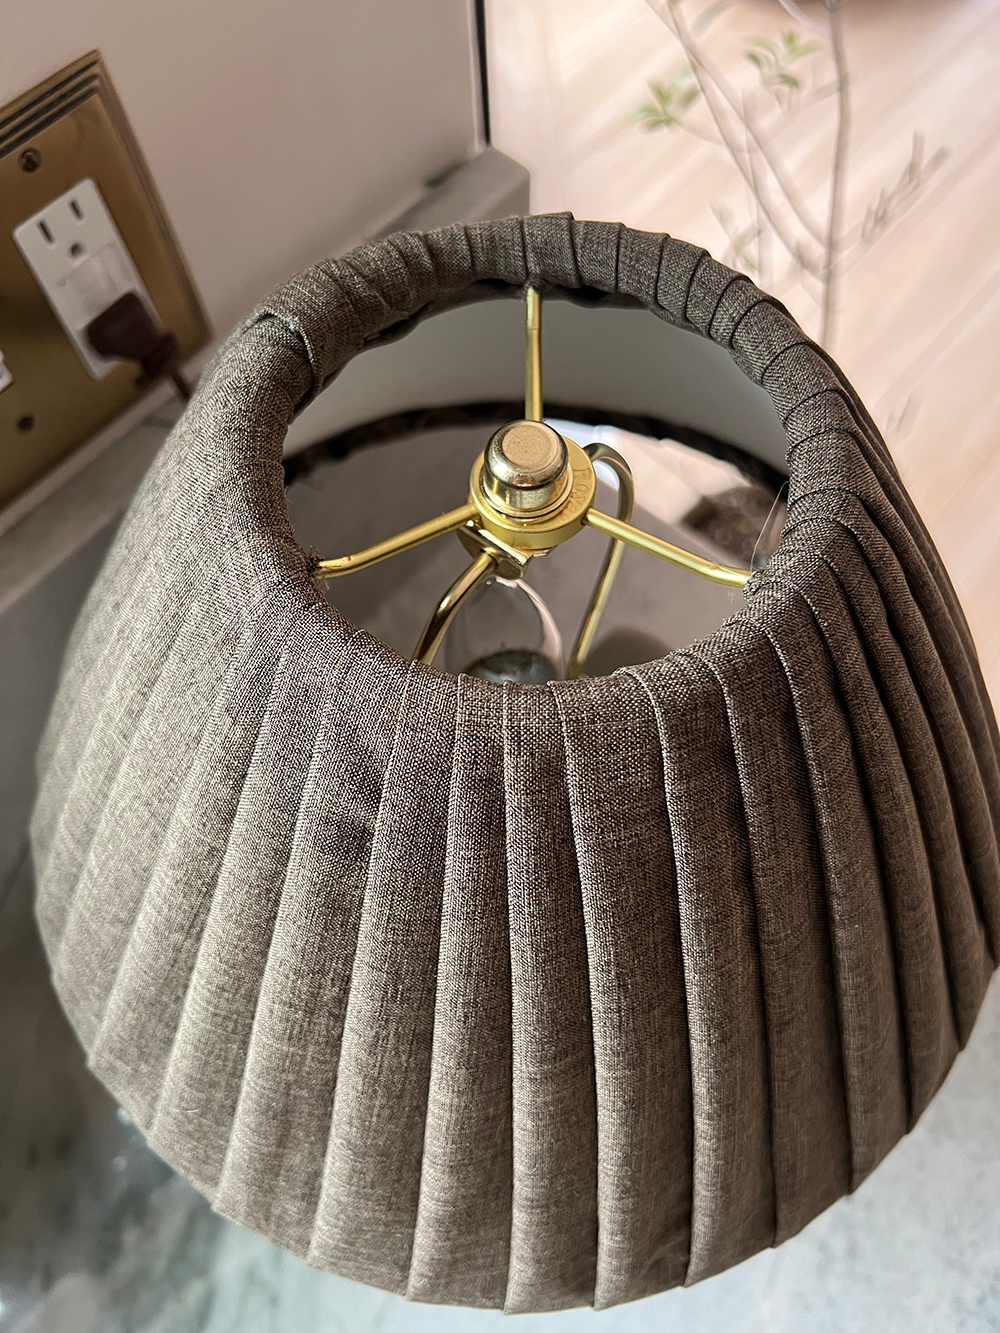
I did wish to clear up the highest inside edge although since you possibly can see it from above while you have a look at the lamp.
STEP 6
Utilizing your bias tape, minimize a bit of your cloth at a forty five diploma angle on the bias. This enables it to stretch extra because you’ll be putting it on a spherical, tapered object.
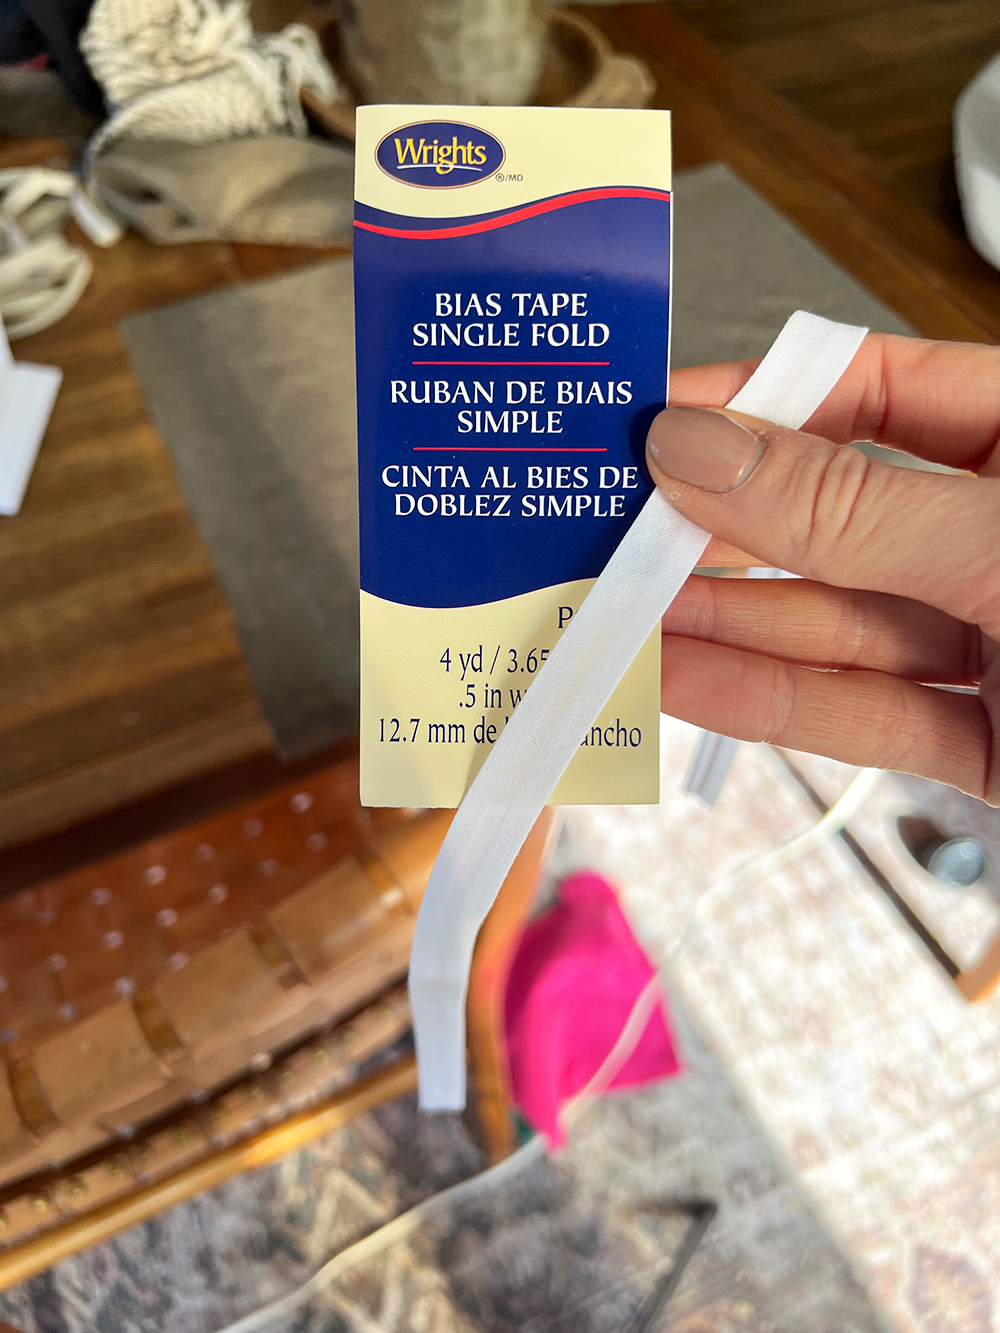
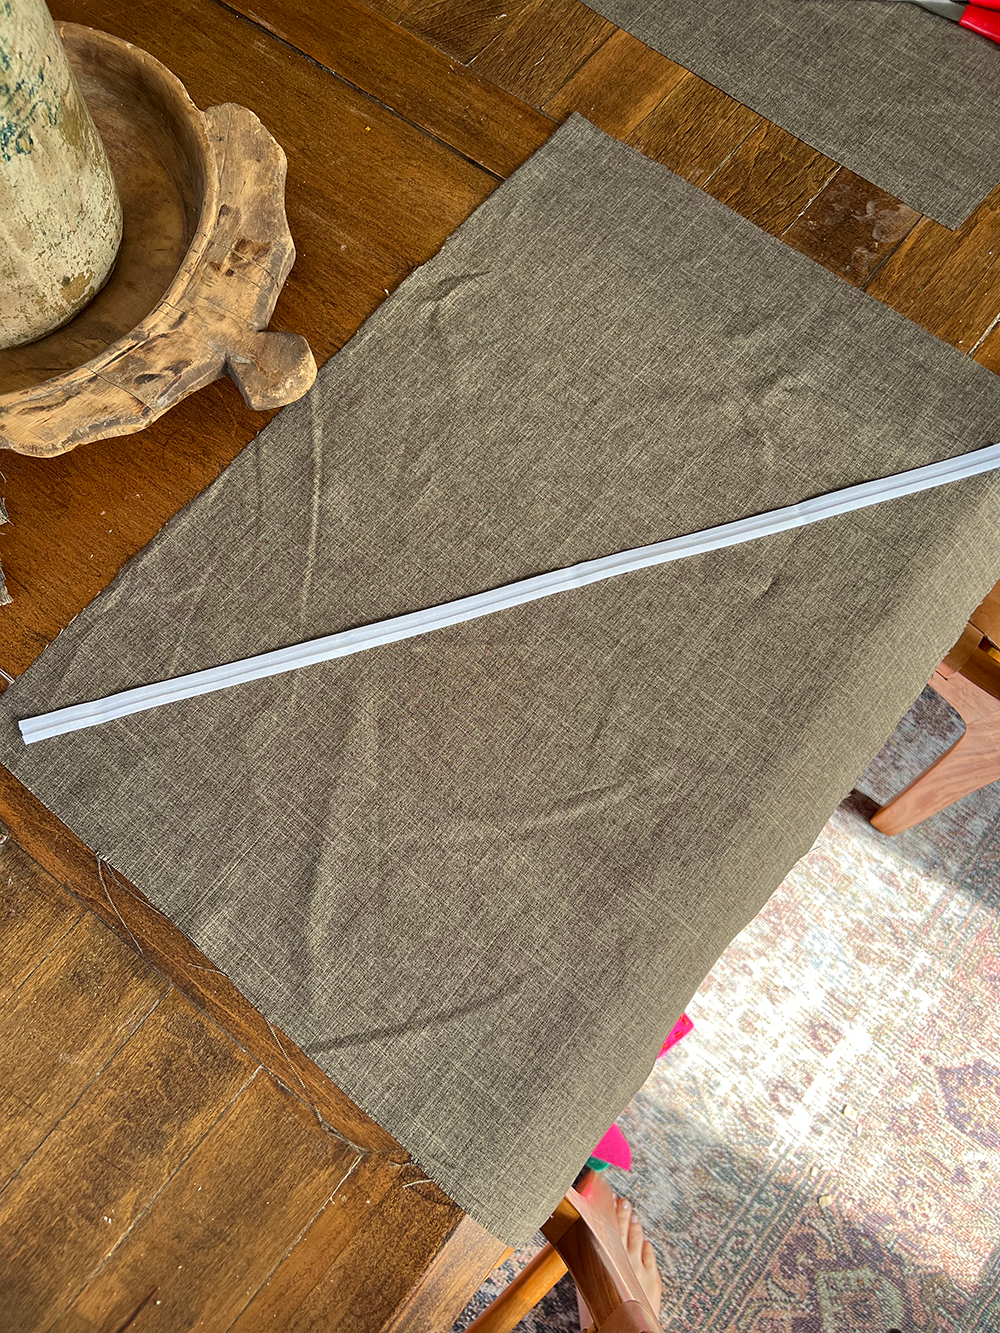
STEP 7
Utilizing an iron, press the material right down to mimic the form of the tape.
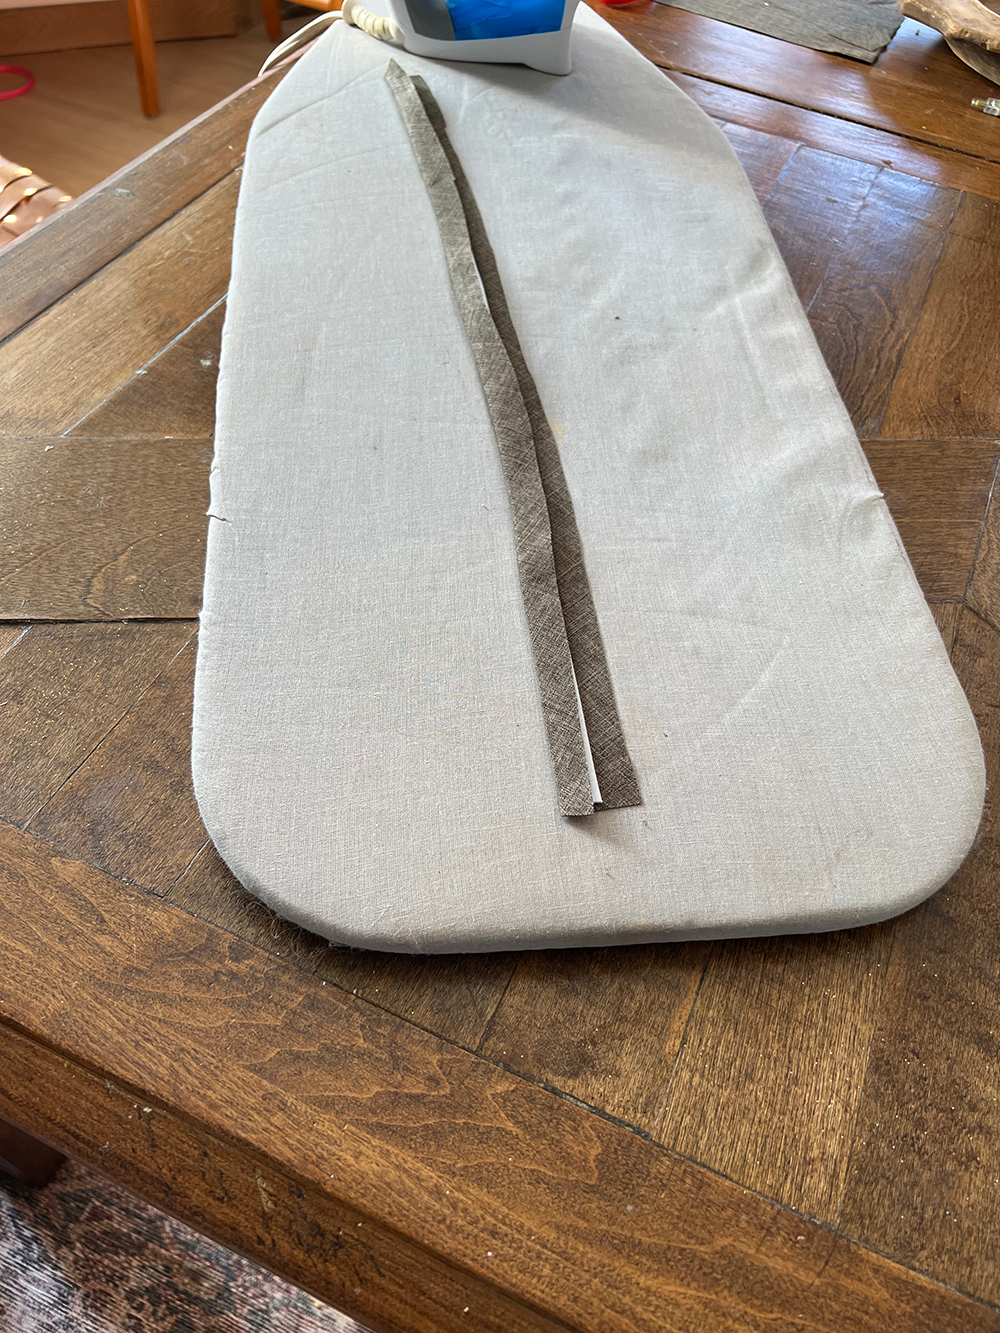
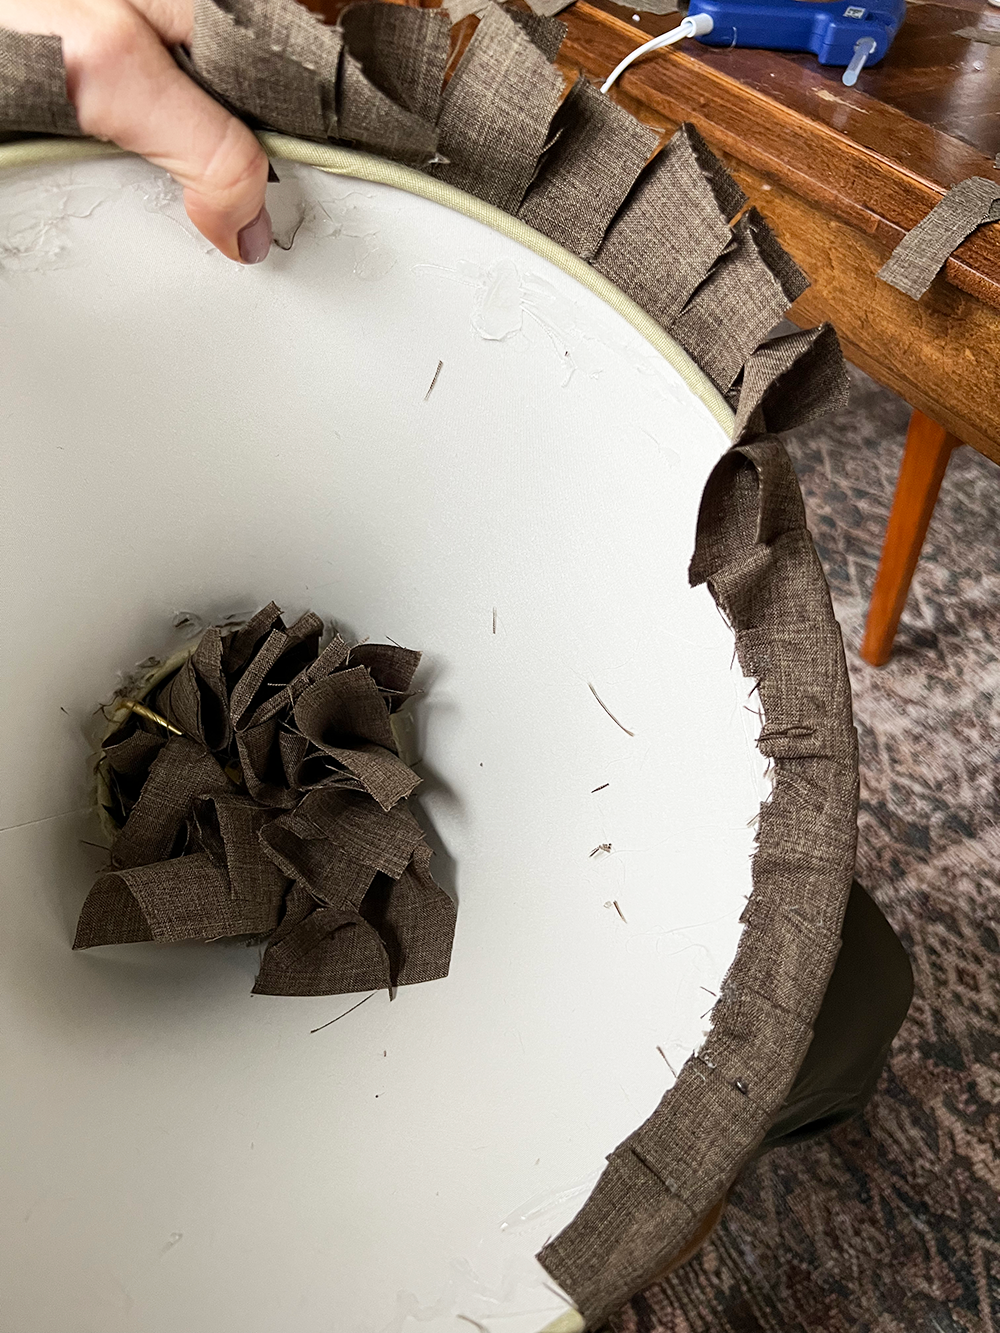
STEP 8
Utilizing your scorching glue gun, glue down the bias tape across the inside edge of material to cowl up the frayed edges.
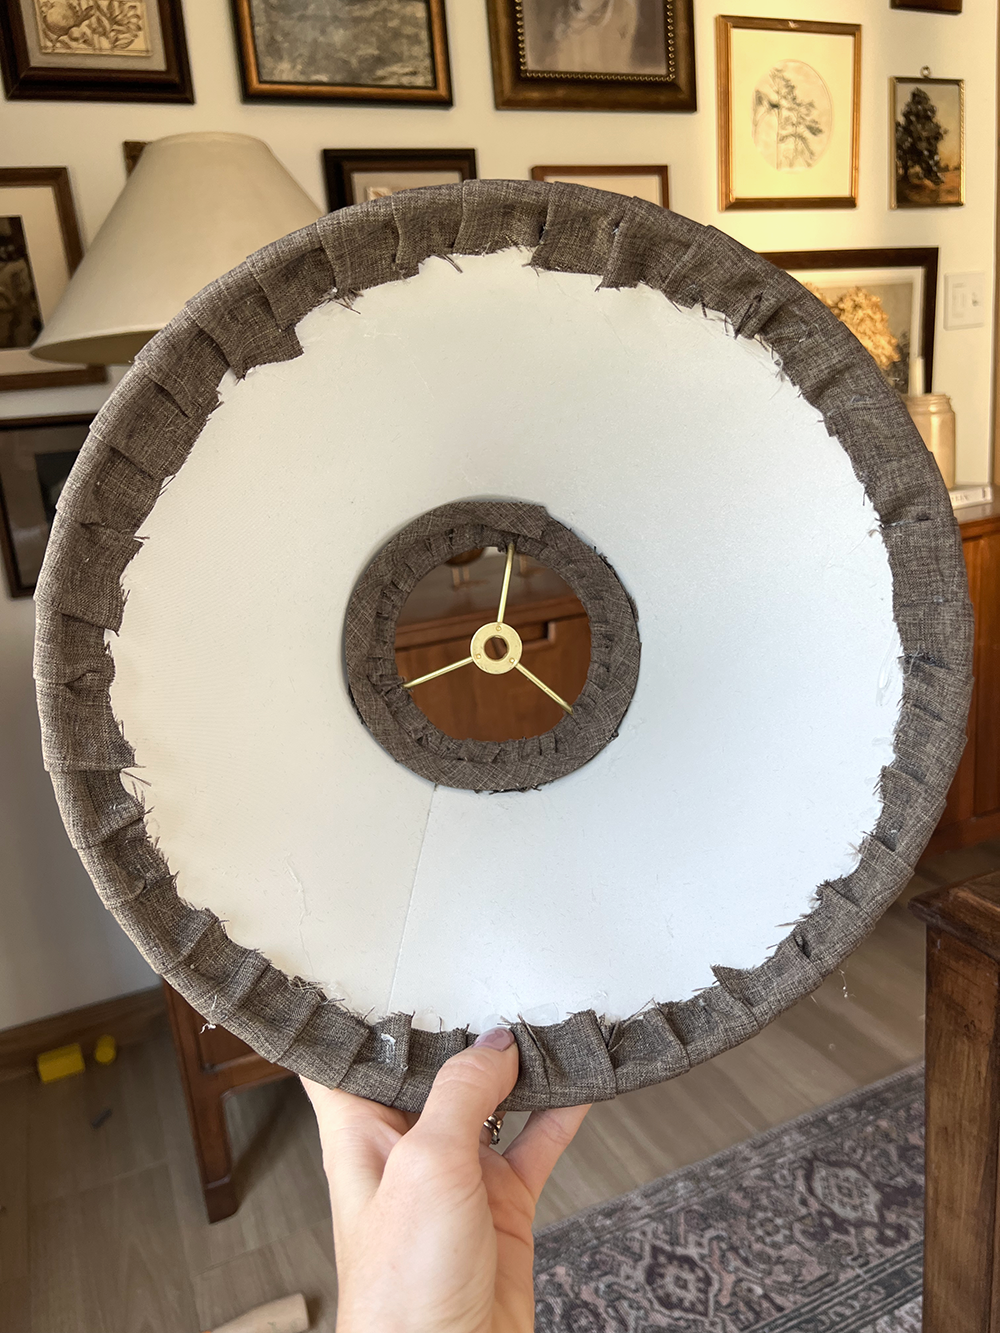
You would additionally do the underside edge however I opted to not because it’s not seen. Look how cute it seems!! I really like that the pleats aren’t absolutely glued down and it offers the shade some extra dimension.
I gave my base a fast paint replace utilizing an array of paint samples I had and mixing in some baking soda for some added texture.
That is how the highest seam seems from above – good and clear!
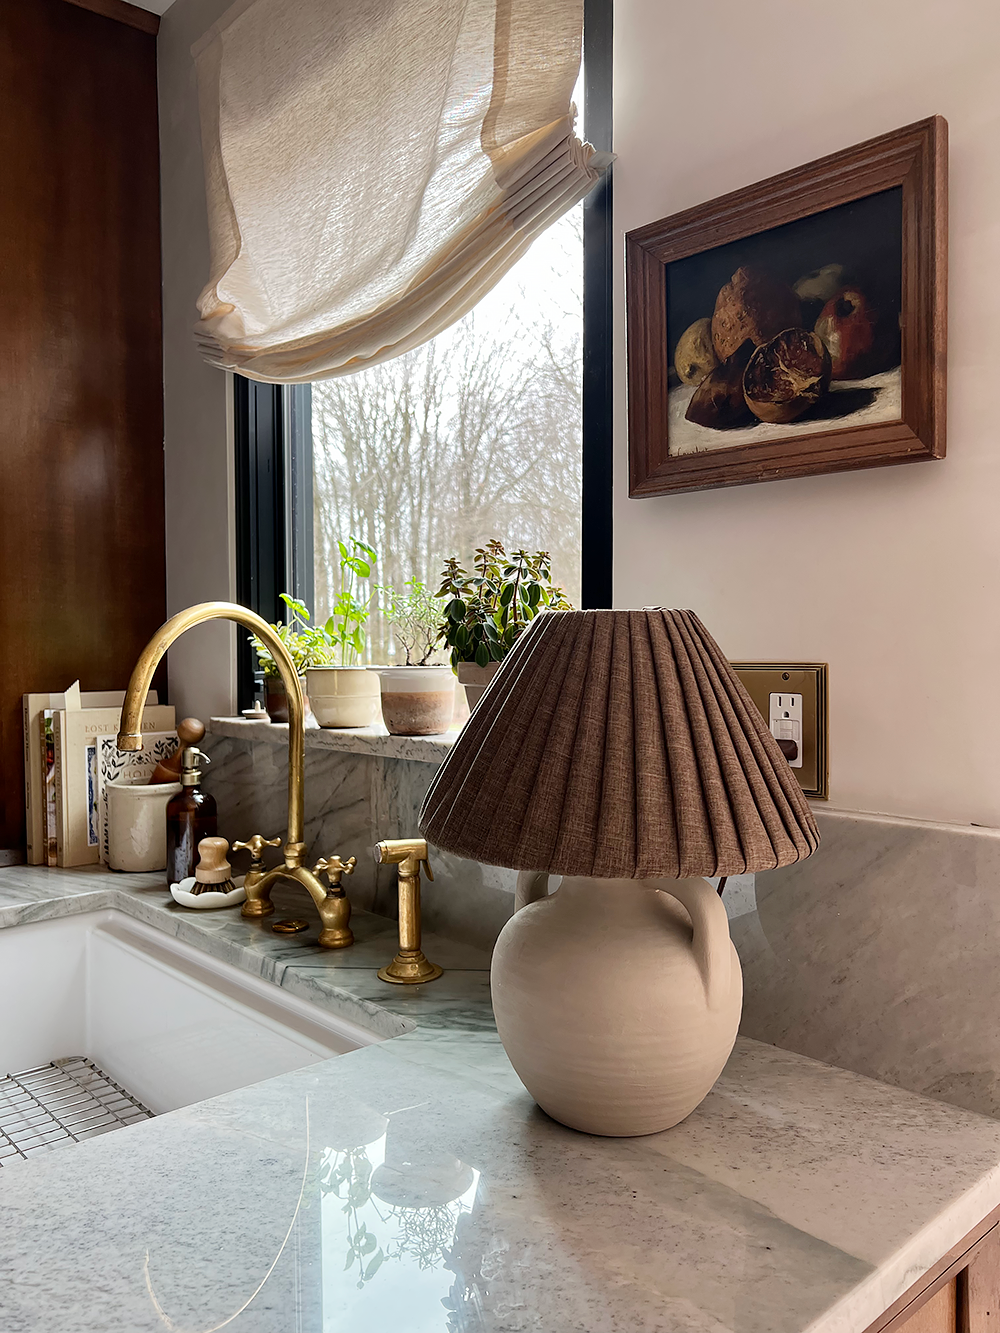
And viola! I’m obsessive about this cute little lamp with a pleated shade! Isn’t it cute?
I bought some questions asking if the warmth from the sunshine bulb is secure with the material on the shade. My bulb is fairly low wattage and doesn’t appear to get too scorching however you possibly can additionally use an LED bulb which might be very secure!
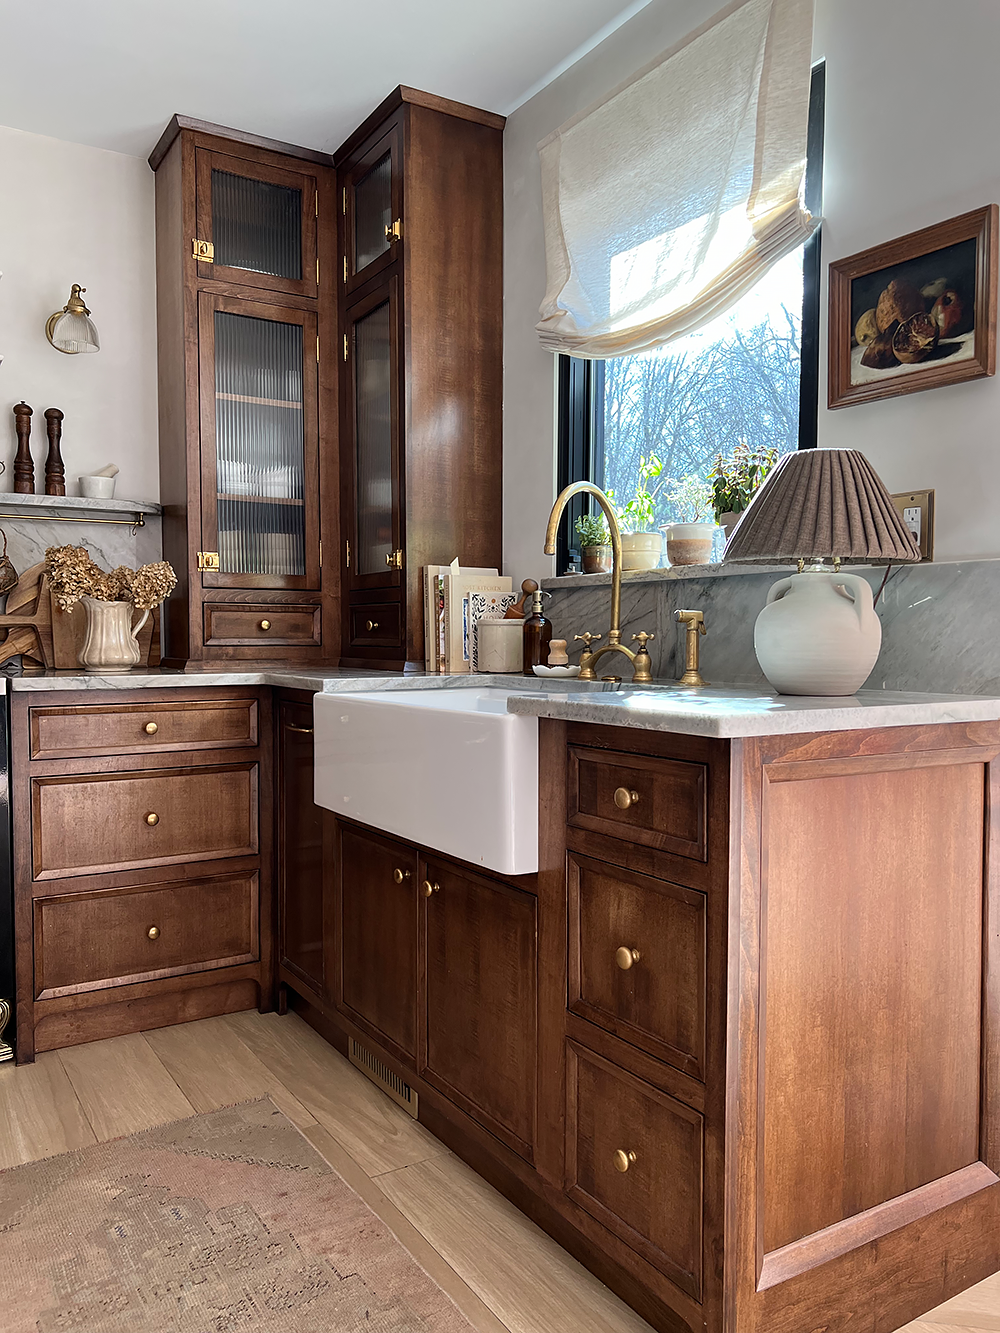
From the beginning, I knew precisely the place I wished to place this little lamp. It seems so good in our new kitchen and for those who don’t have a lamp in your kitchen, I extremely suggest it. I hope you’re impressed to make your personal pleated lamp shade!
Associated
[ad_2]
Source link
