[ad_1]
Y’all, the day is lastly right here! After a year-and-a-half of engaged on this grasp lavatory rework, it’s lastly finished, and I’ve a load of photographs to point out you. I will probably be writing a follow-up submit later this week that can embrace the whole value, sources, and so on. However for now, I simply wished to get to the images. We’ve all been ready means too lengthy for this!
That is positively a room rework. In any case, we took a room, tore it right down to the studs, flooring joists, and ceiling joists, and fully rebuilt it.
But it surely’s a bit deceptive to name it a grasp lavatory rework. That suggests that we took a grasp lavatory and fully redid it. What we truly did is take the previous grasp bed room and switch it into a brand new, massive grasp lavatory.
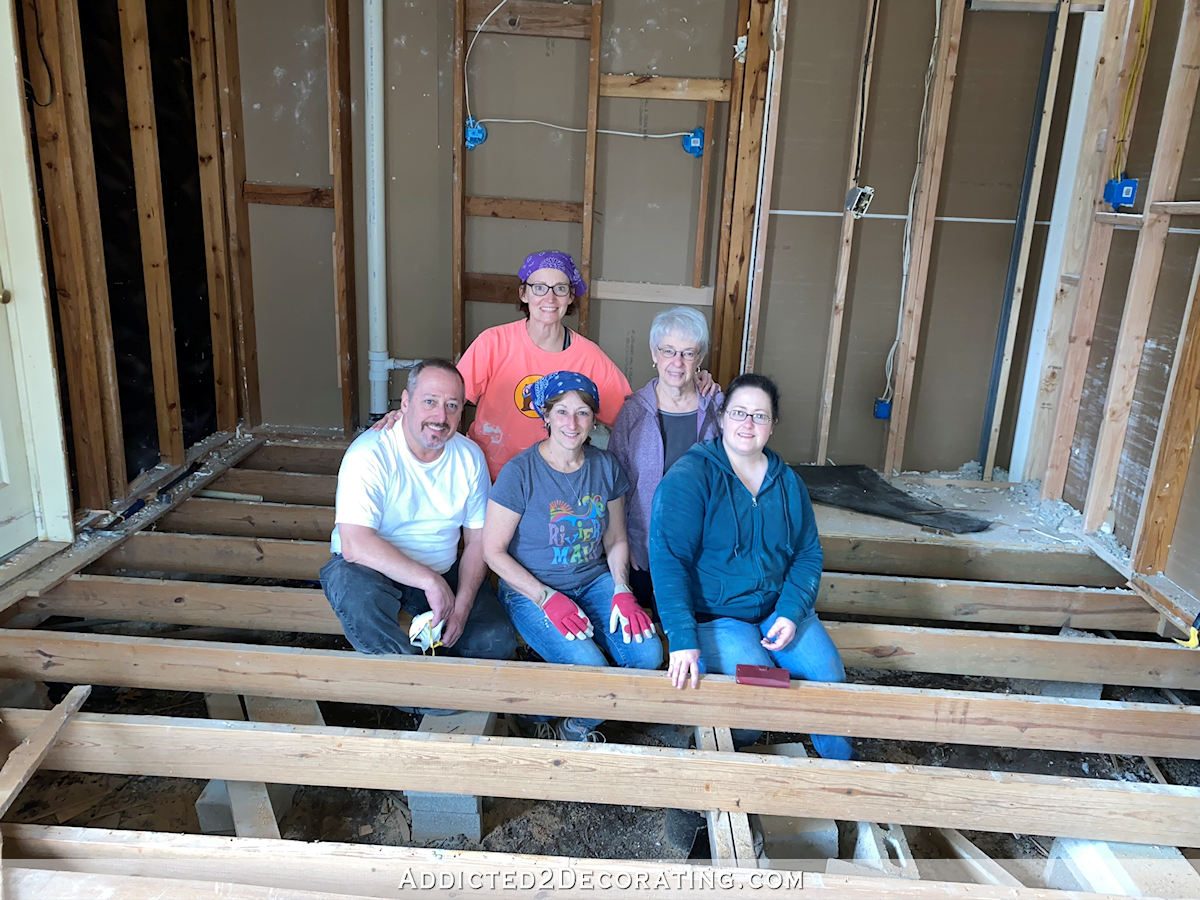
As a result of we fully modified the perform of the room, and since we turned it into a really massive wheelchair-accessible grasp lavatory, this was not an affordable rework, even with me doing half of the work myself. My household helped me with the demolition of the room, after which my contractor took over and his guys did all the fundamental, foundational work to show the room into a toilet. His guys did all the work as much as and together with transferring a wall, constructing new partitions, plumbing rough-in, drywall, concrete board on the lavatory flooring and bathe partitions, and pouring the concrete bathe pan.
As soon as their half was finished, I took over and did all the finishes — putting in tile (lavatory flooring and the entire bathe), hanging the wallpaper mural, doing the Venetian plaster wall end, putting in all the trim, constructing the vanities and two storage cupboards, making a bubble chandelier, and so on.
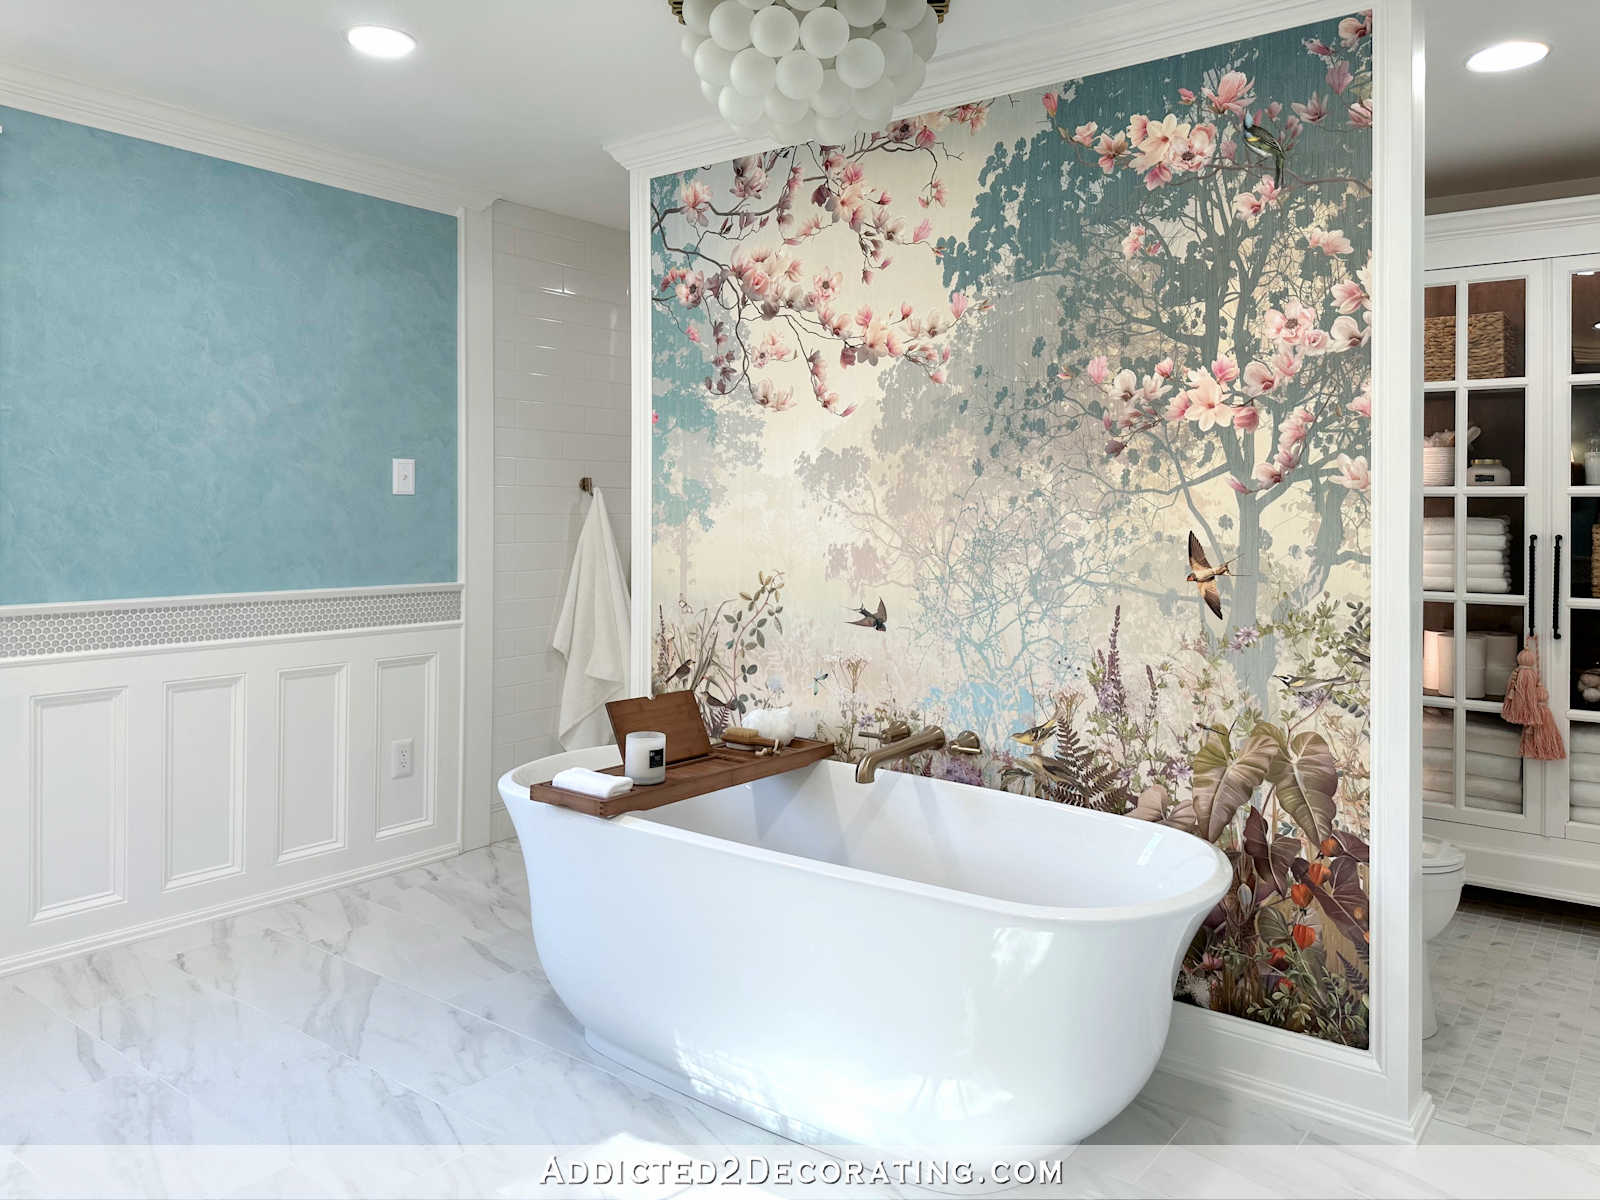
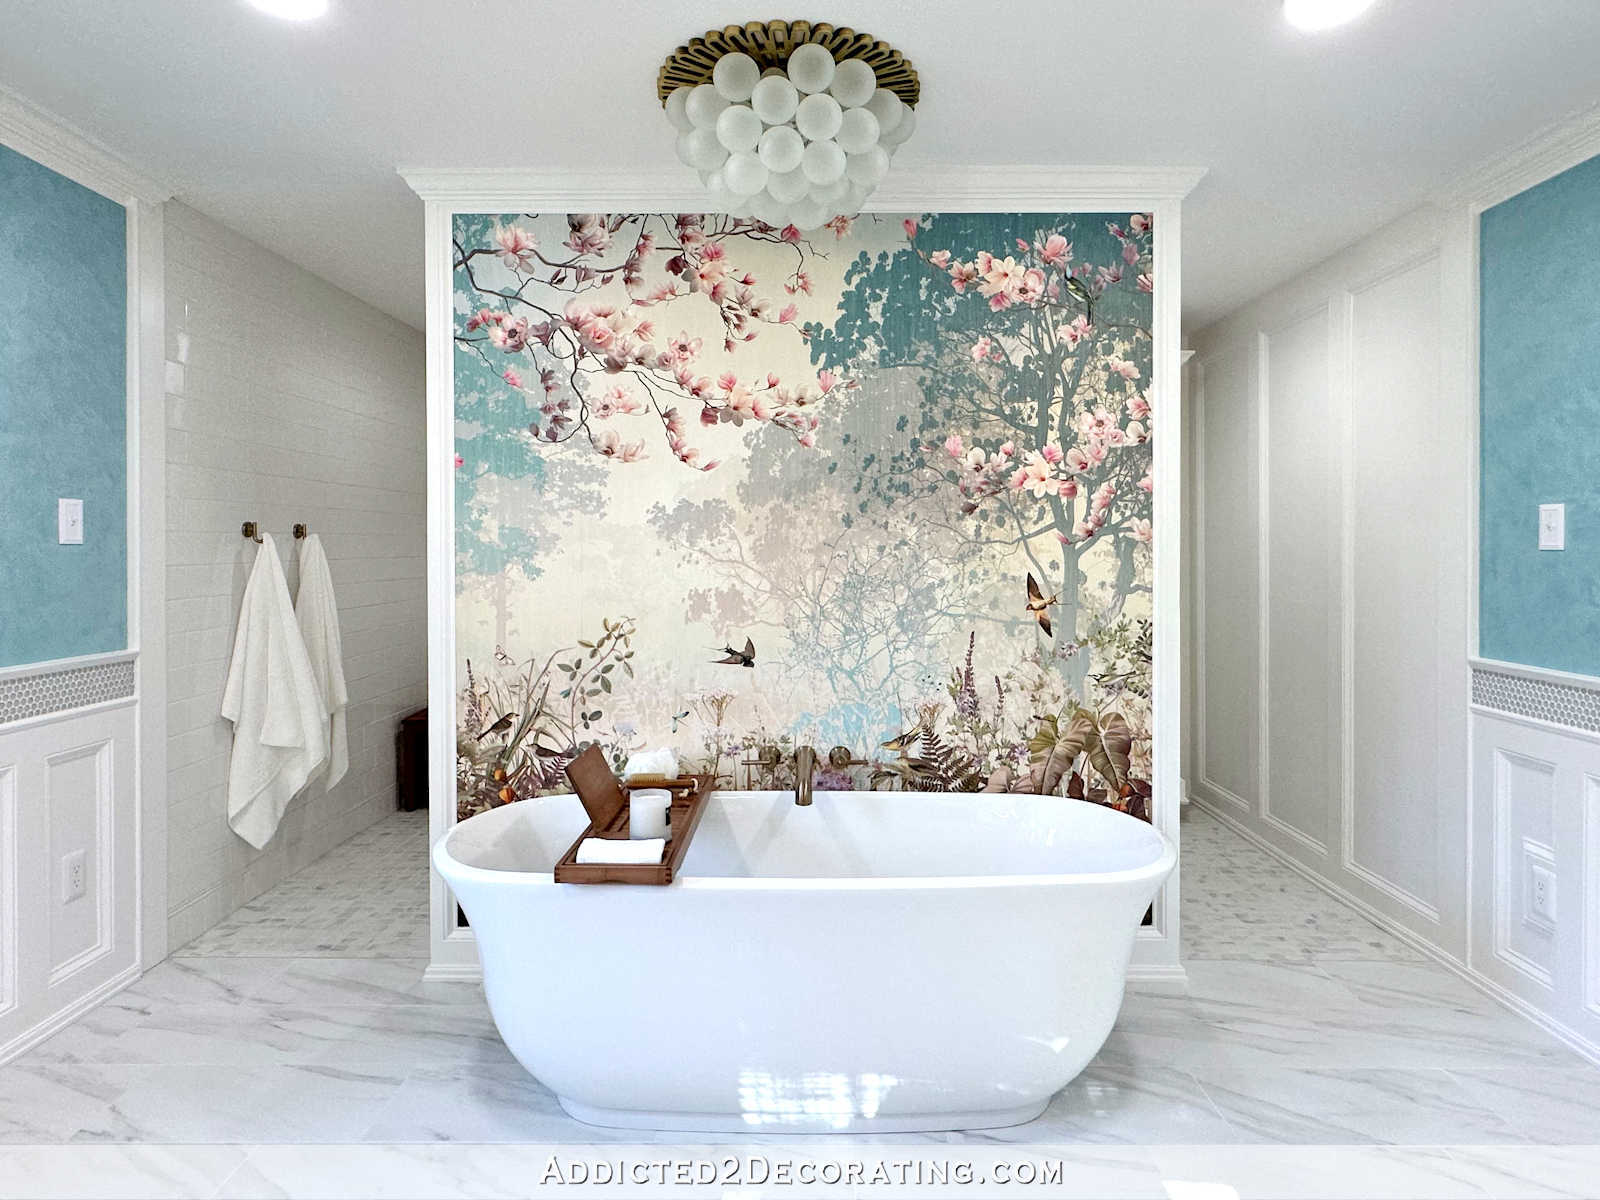
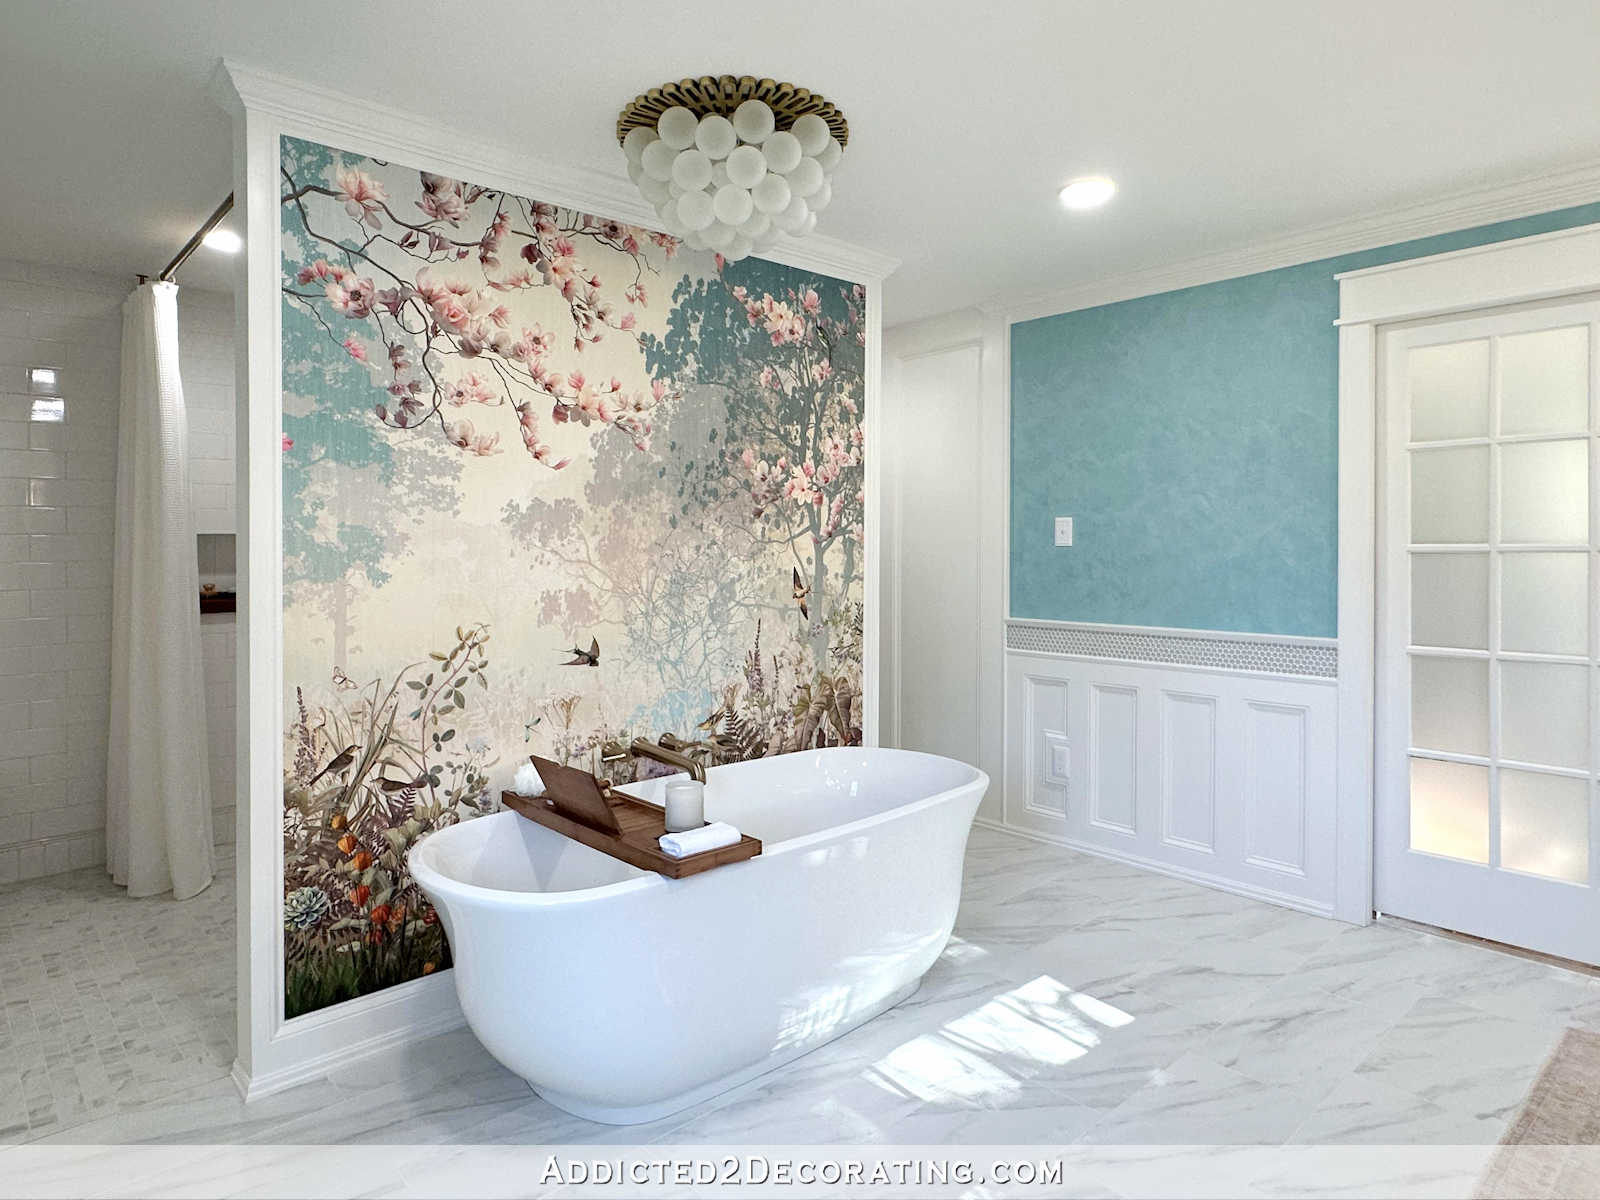
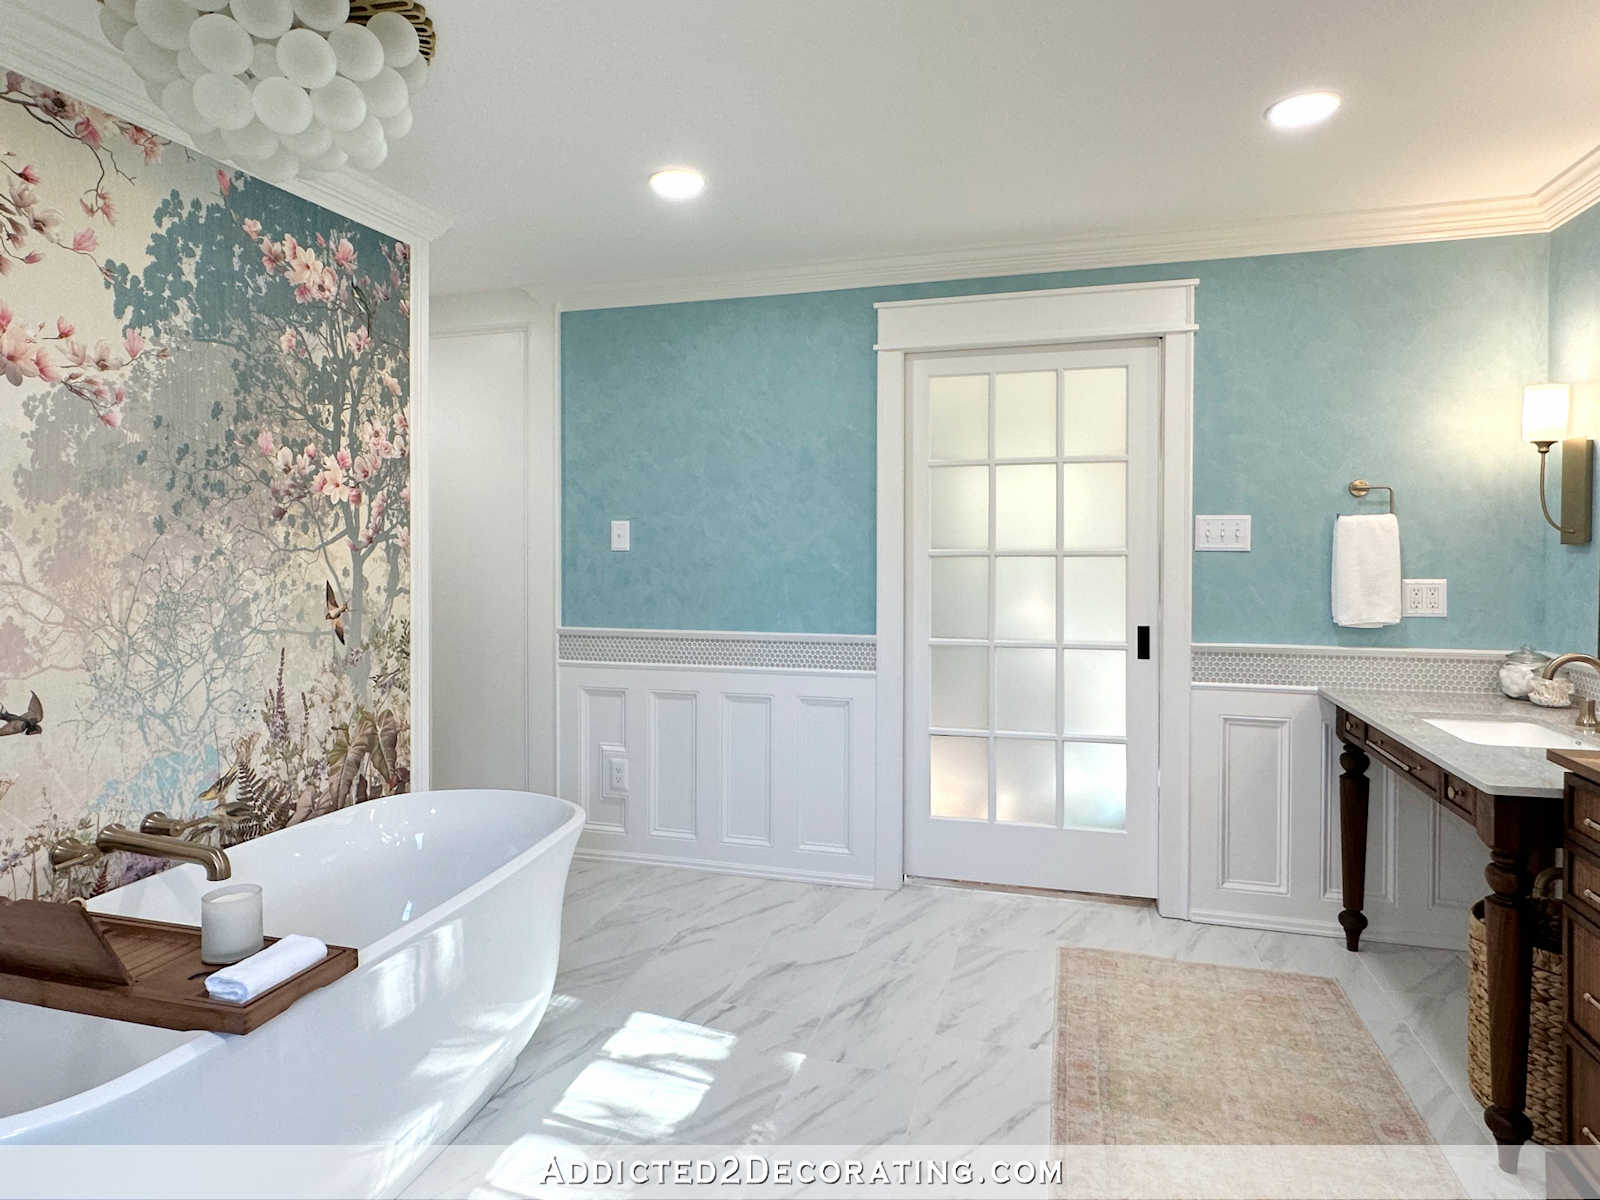
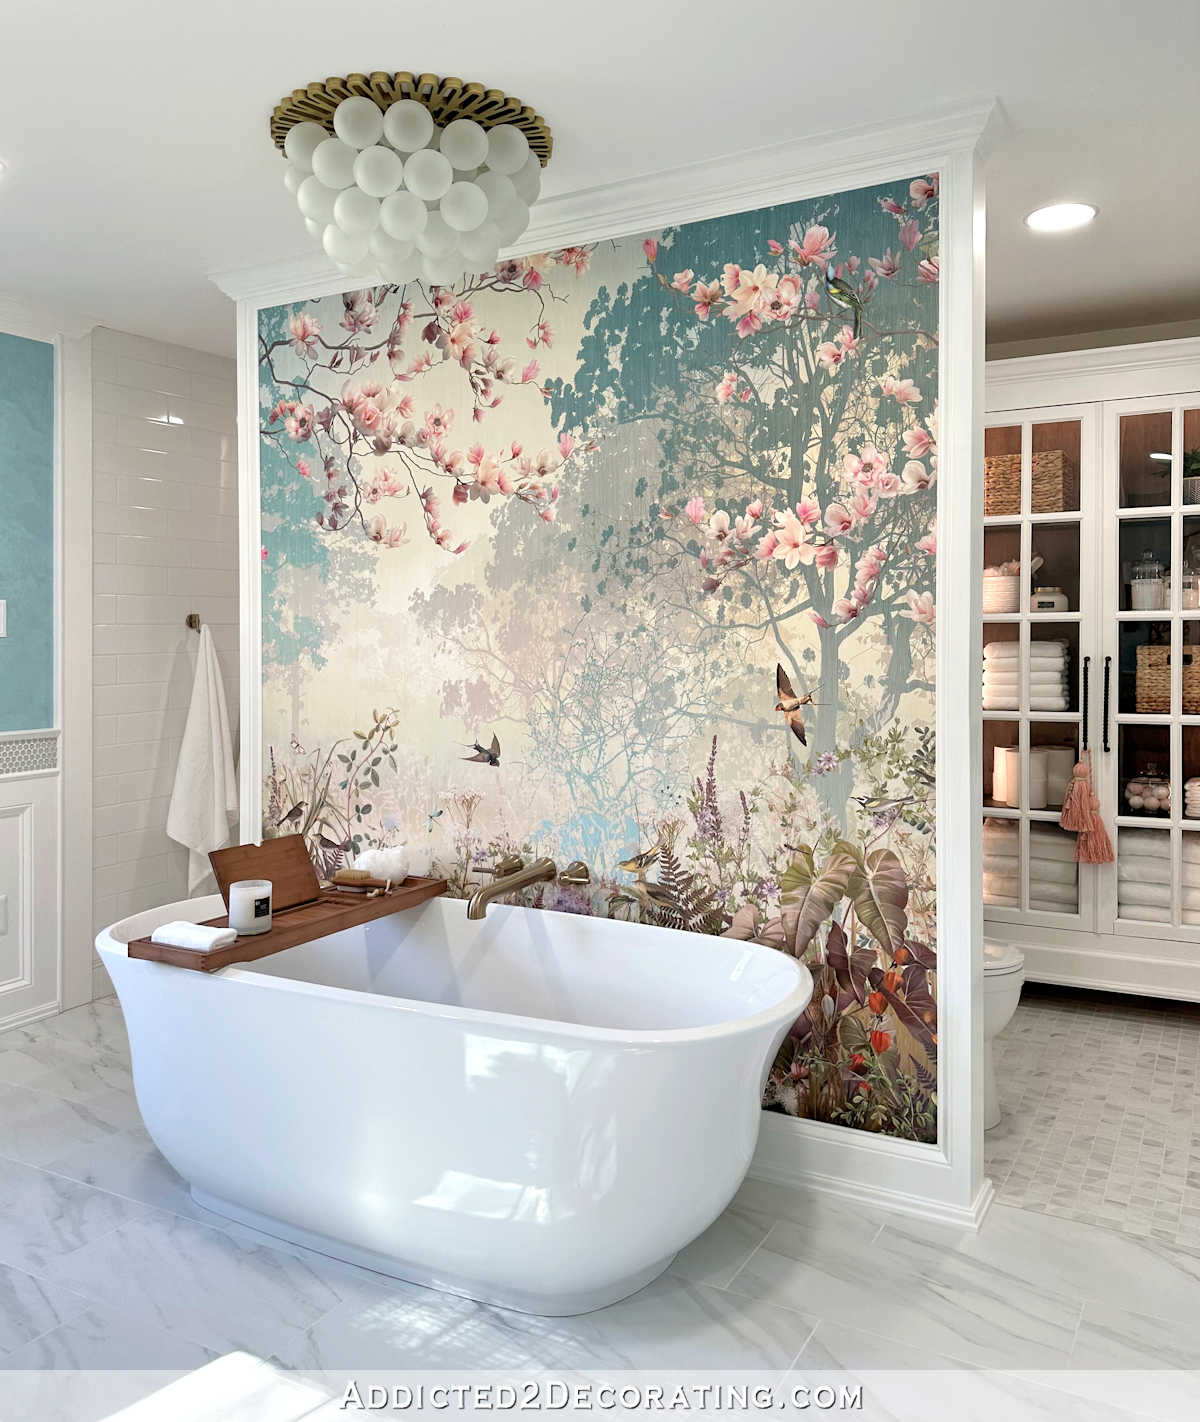
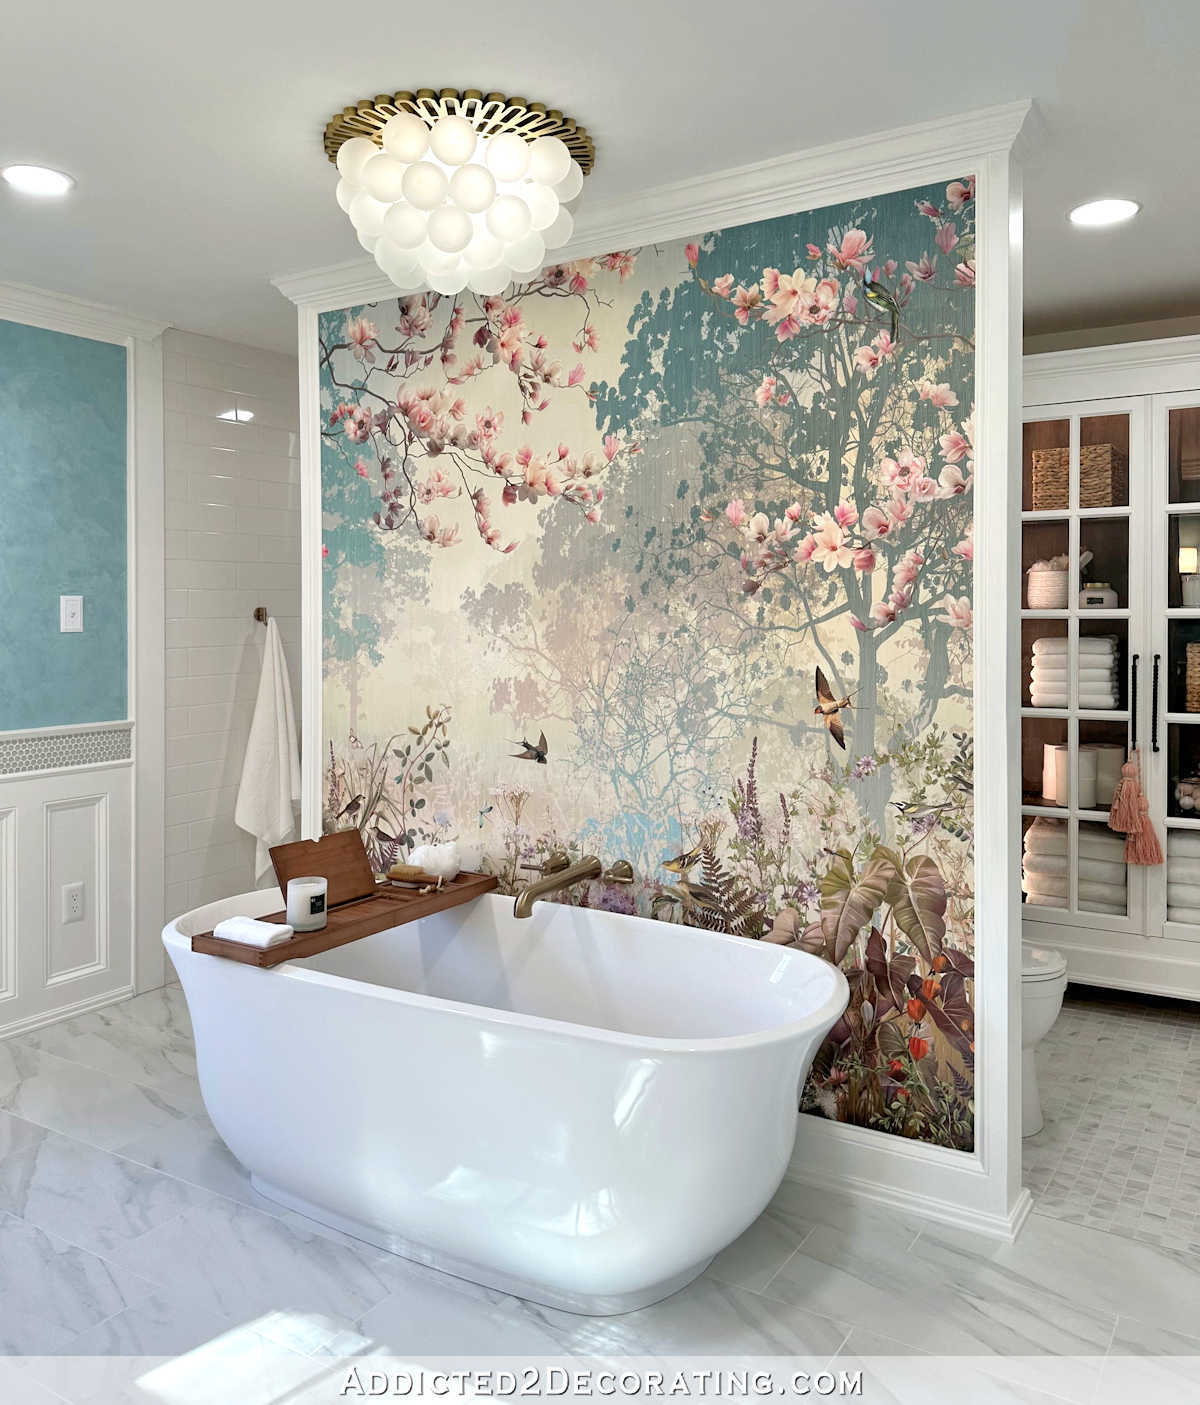
So in spite of everything of that, let me present you the way it turned out. First up is my favourite factor about this grasp lavatory rework — the mural wall with the bath. To the left of the mural wall is the bathe, and to the appropriate of the mural wall is the water closet (bathroom room).

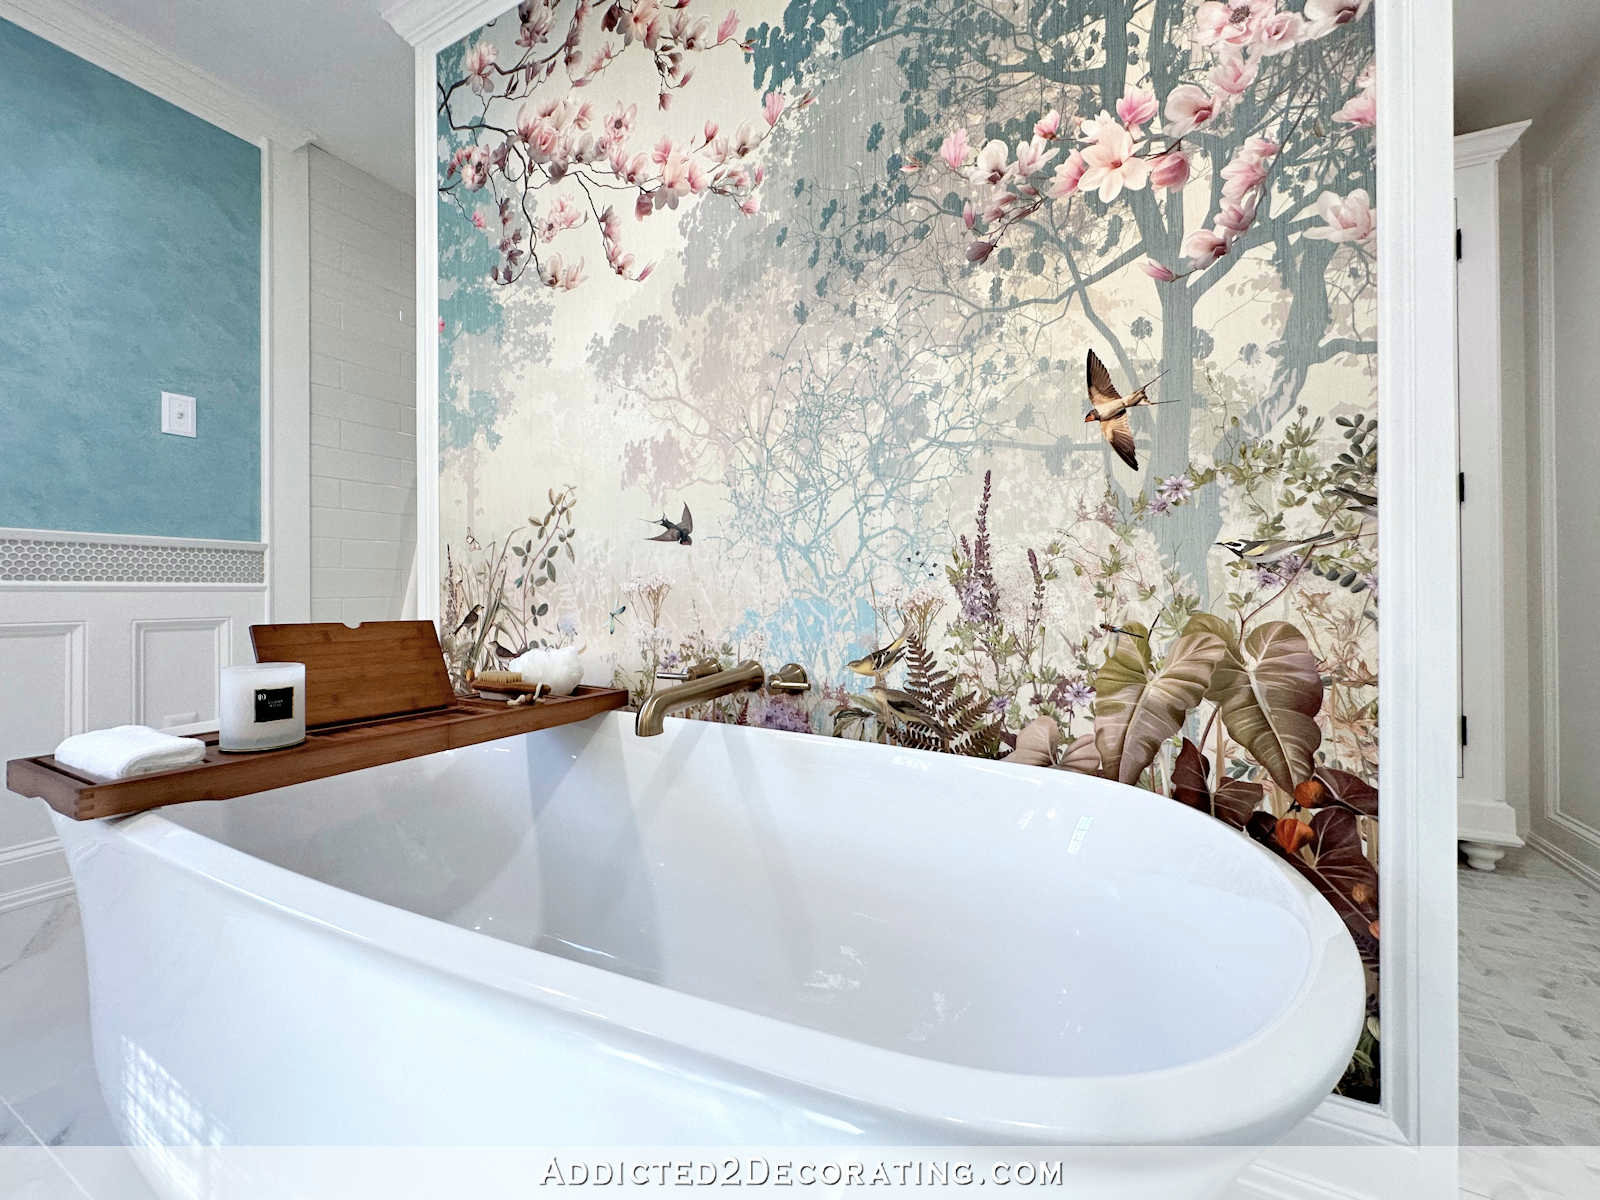
After which with me standing within the bathtub and searching the wrong way, that is the view (taken with a large angle lens to get the entire view)…
Now we are able to again up a bit, and I’ll present you some earlier than and after views.
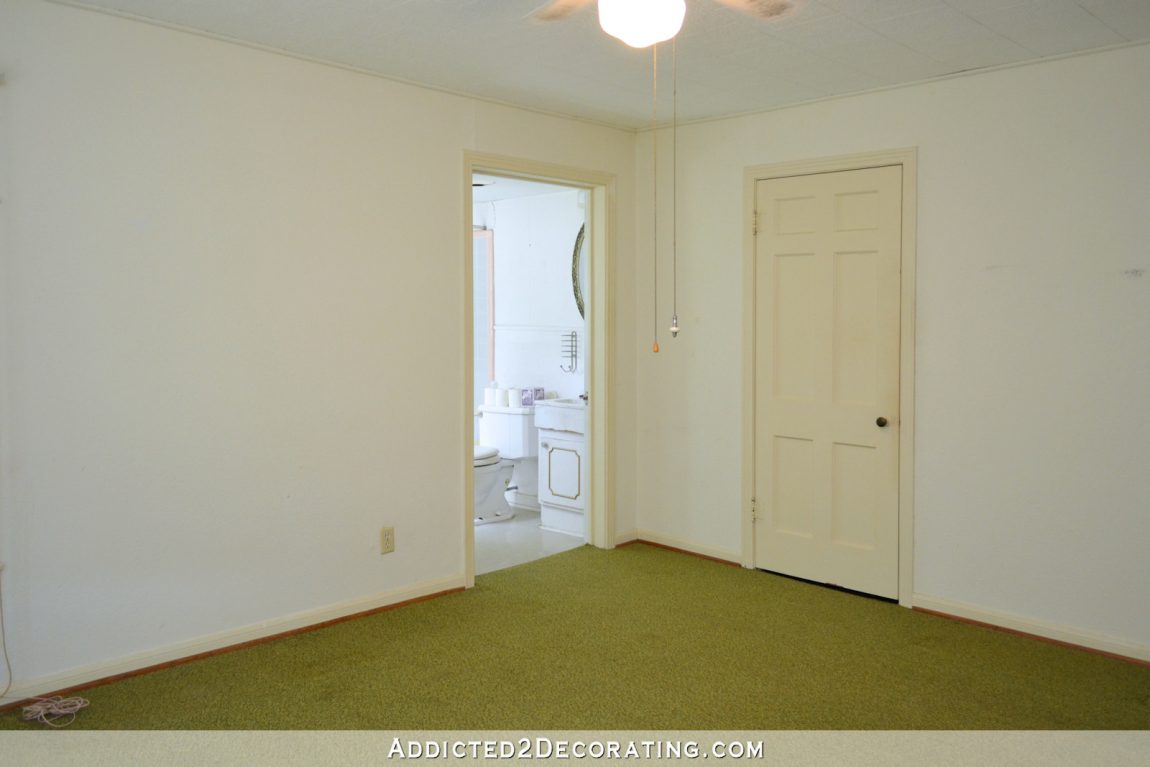
That is what the room used to seem like when standing within the bed room doorway and searching in direction of the again proper nook and proper aspect of the room. You possibly can see the very tiny authentic grasp lavatory there. ? I’d say we acquired fairly the improve.
Immediately, if I stand in that very same place and take an image in that very same route, most of what I’m going to see is the water closet, with the brief wall of the water closet immediately in entrance of me. It’s not a lot to see. ?
So I’ve to step outdoors of the water closet so that you can get a good suggestion of what that very same (or very comparable) view seems to be like at this time…
This subsequent view of the unique main bedroom is wanting in direction of the unique tiny grasp lavatory. Behind the closed door was the reasonably small walk-in closet.
And that very same view at this time seems to be like this.
The humorous factor is that the unique grasp lavatory continues to be there behind the wall of the bathe, however there’s no entry to it in any respect. It’s fully walled off. (Don’t fear, there’s no electrical energy or water going to that room anymore, so no concern of leaks or burst pipes that we are able to’t get to.) That room, together with the massive sunroom, will probably be torn down previous to us constructing the addition onto the again of the home.
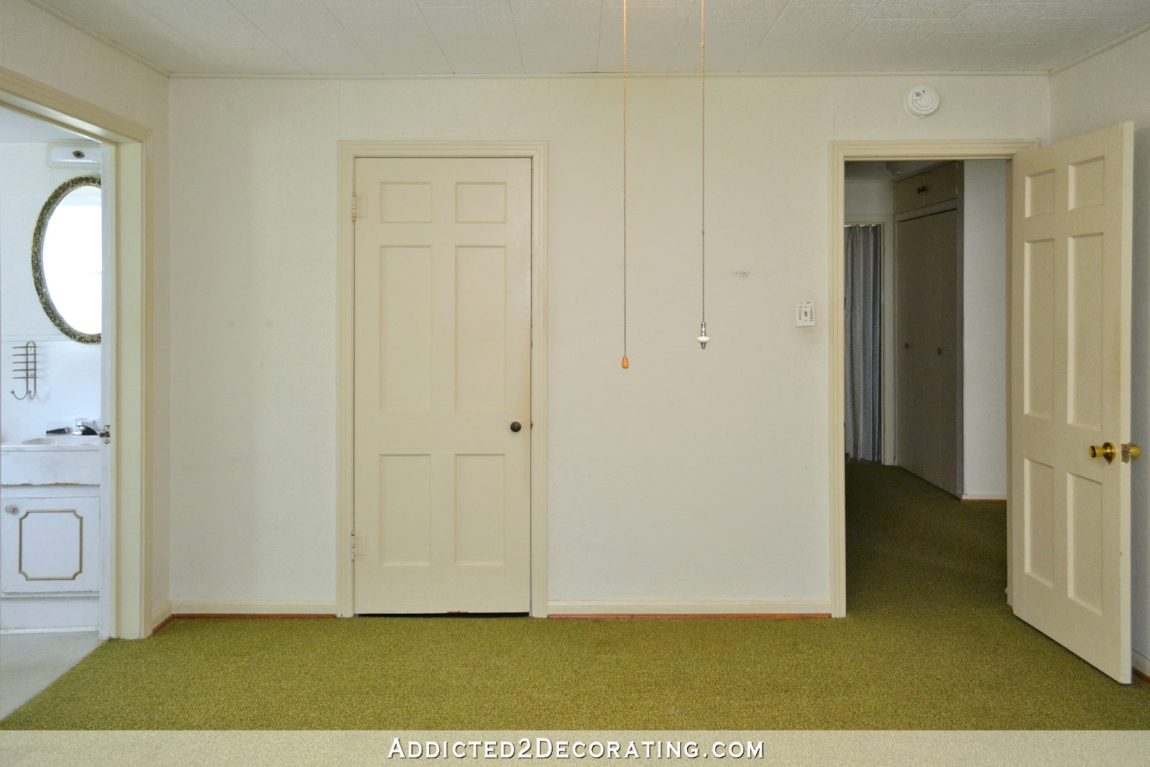
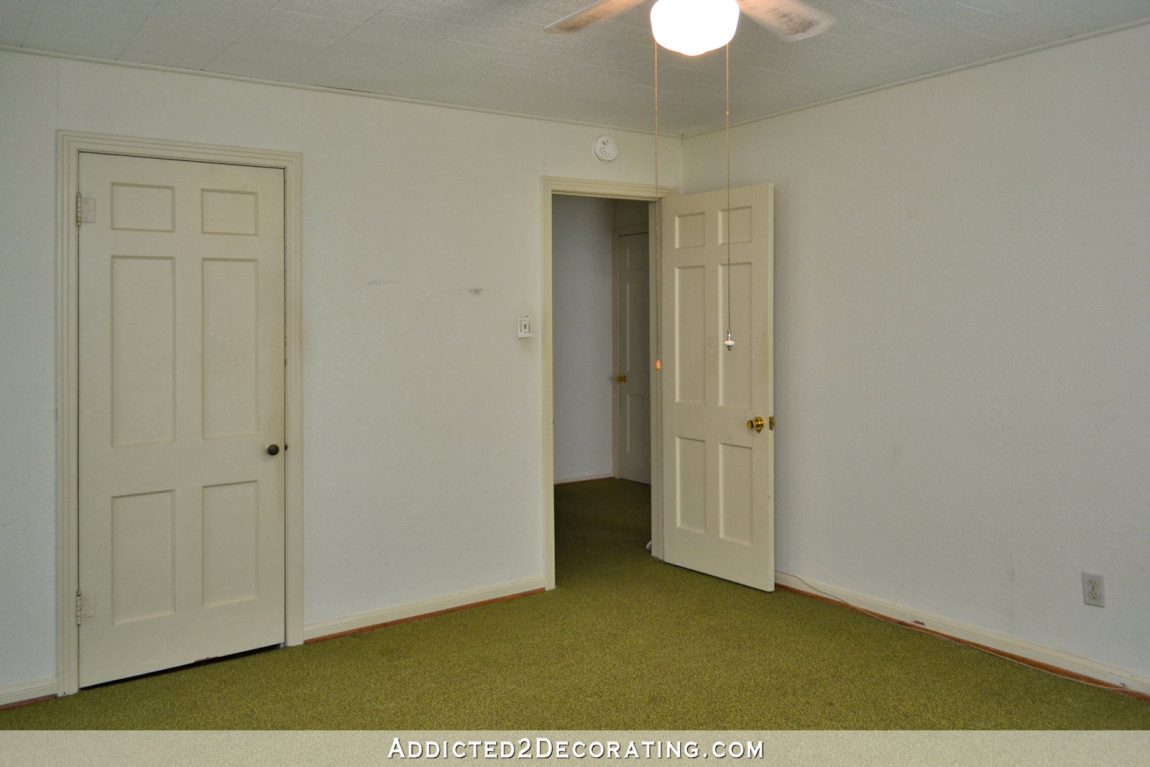
This subsequent photograph is wanting again in direction of the wall that had the walk-in closet on the left, and the bed room doorway that led to the hallway on the appropriate…
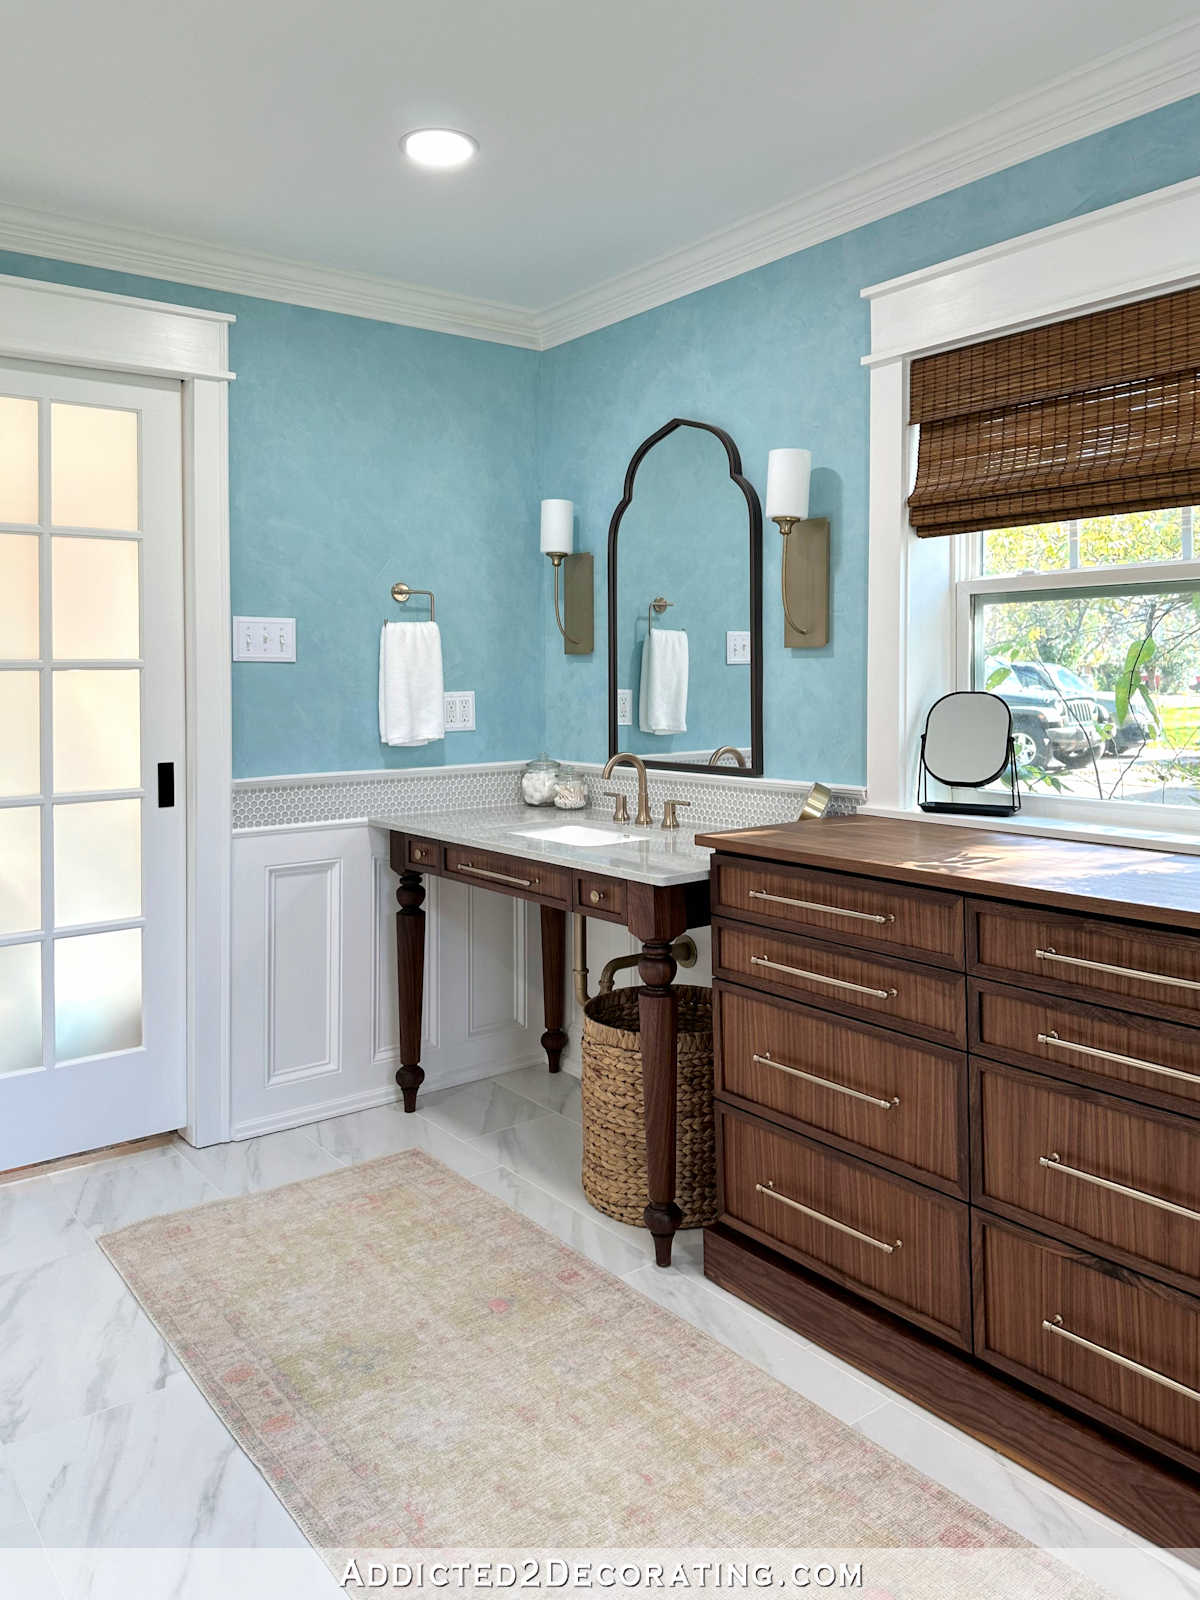
The closet was fully eliminated, the appropriate half of the wall was moved again about 4 ft (our hallway is far smaller at this time), and the doorway into this room was closed up. That view now seems to be like this…
Right here’s a little bit of an angled view in direction of the unique bed room doorway.
With the closet eliminated, the doorway closed up, and the half of that authentic wall that had the bed room doorway moved again and squared up with the again wall of the closet, that gave us loads of room for the massive curbless bathe on the left, and the water closet on the appropriate.
For now, the one inside entrance into the lavatory is thru the door that you just see within the photograph above. That doorway results in our dwelling gymnasium. However after our addition is constructed, which can embrace a brand new main bedroom, the bed room will probably be our primary entry to the lavatory. For now, issues are a little bit unconventional. ?
You possibly can see right here that this wall of the bed room was was once a strong wall.
However now that wall has the one inside entrance into the lavatory.
However even after we construct our addition, and have regular entry into the lavatory by the master suite, I believe we’re nonetheless going to maintain this doorway. It simply makes good sense in my thoughts to have direct entry from the house gymnasium into the lavatory.
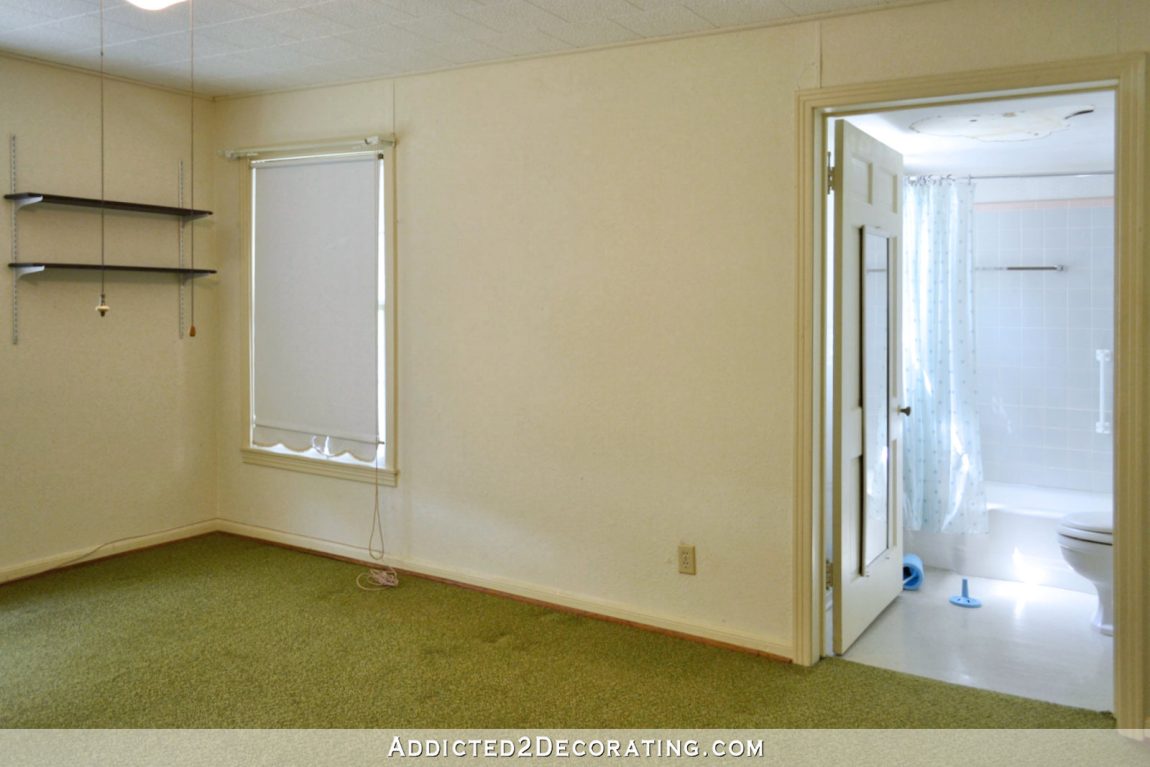
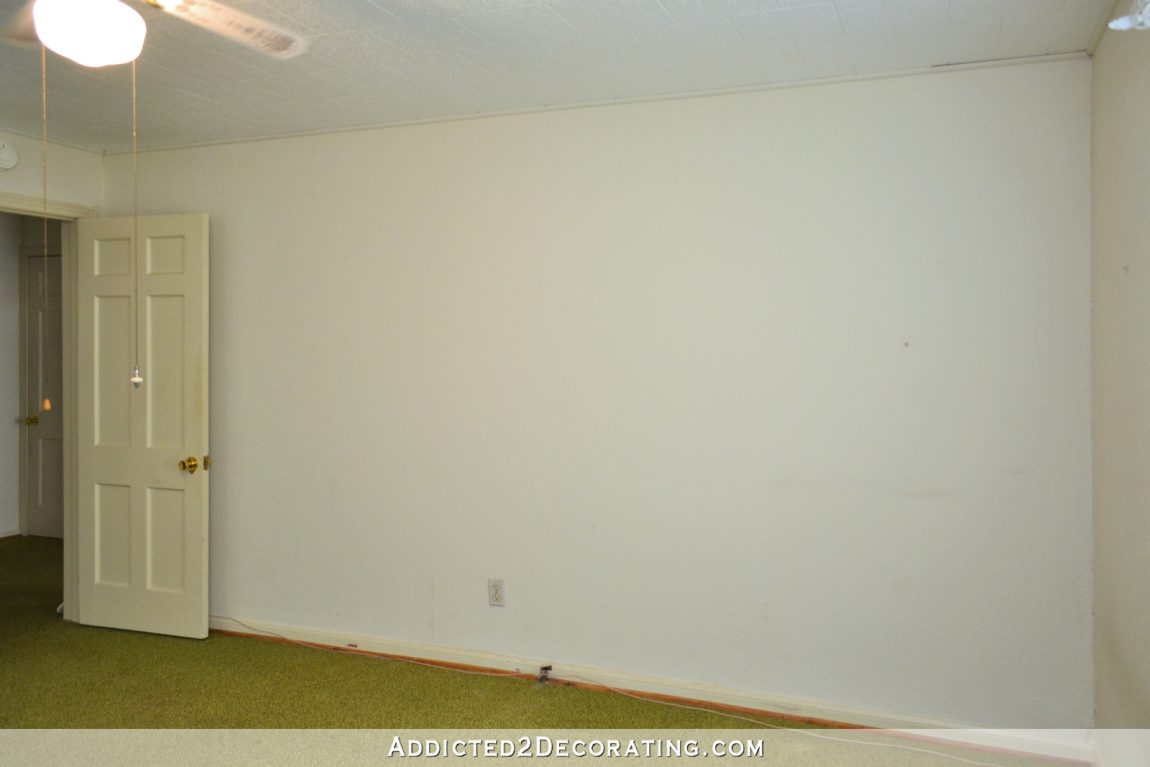
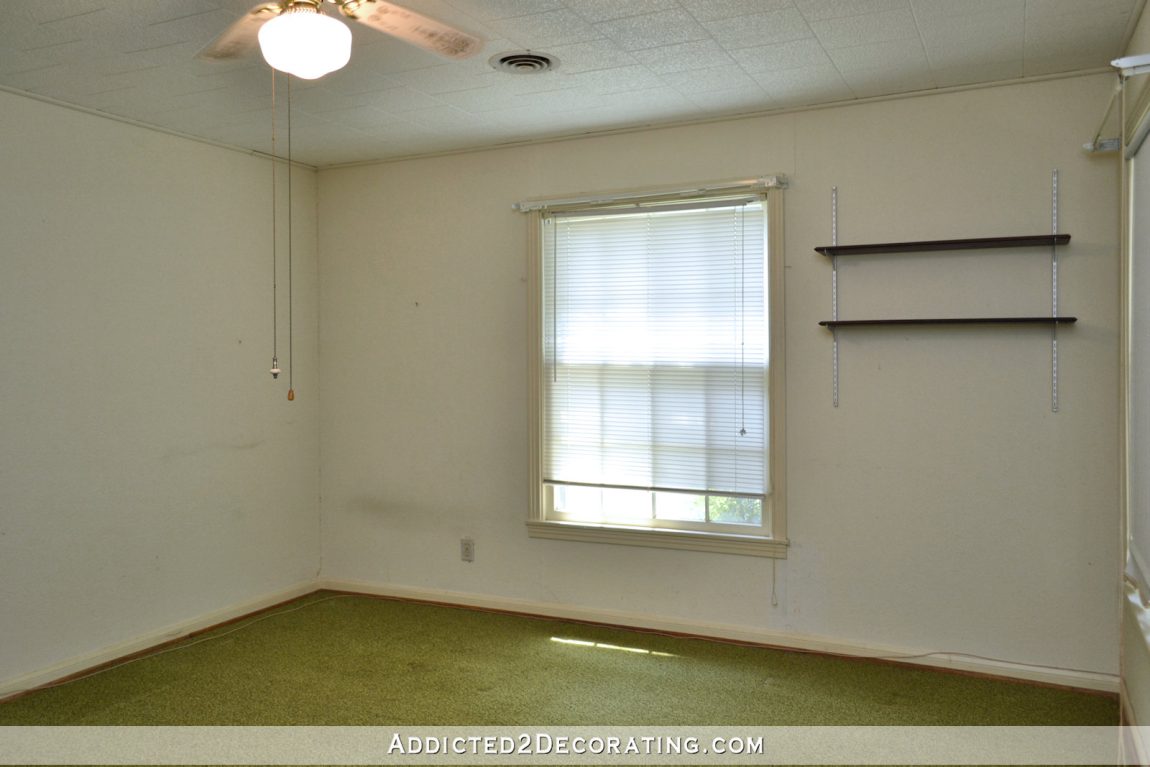
And that is the ultimate earlier than and after of this grasp lavatory rework. That is what the window wall used to seem like…
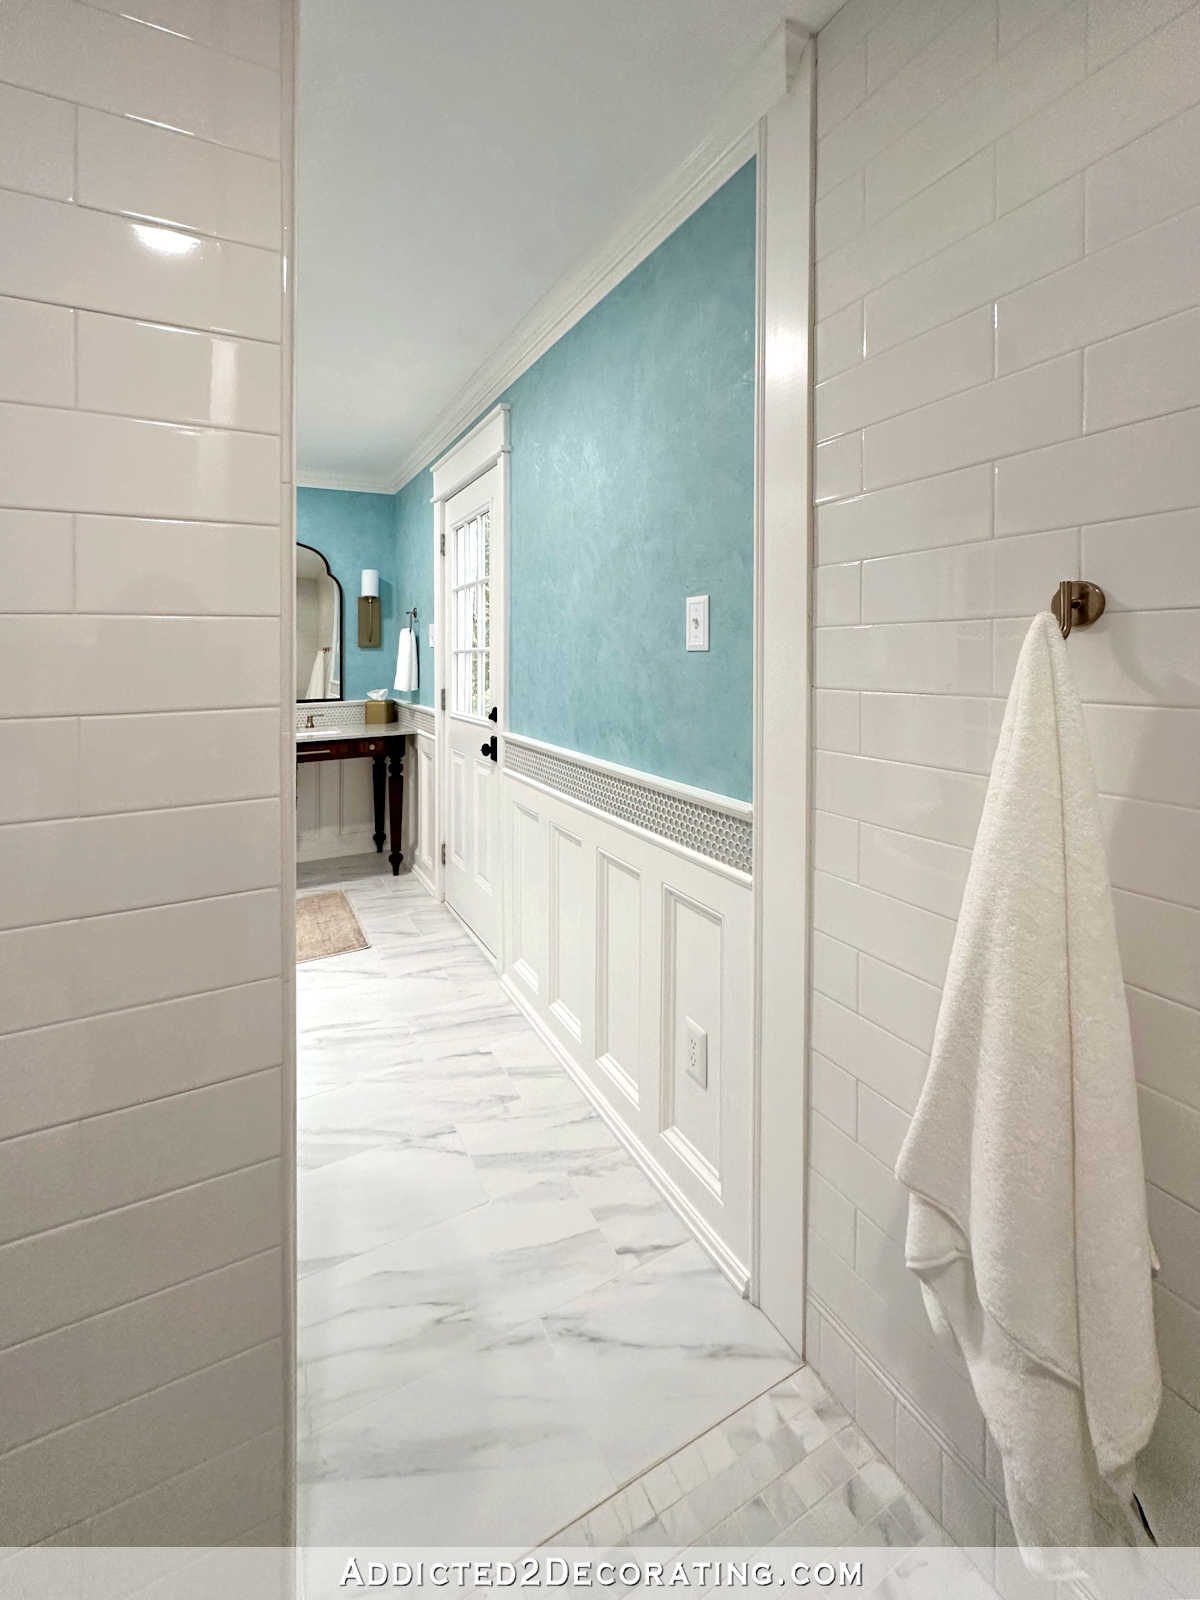
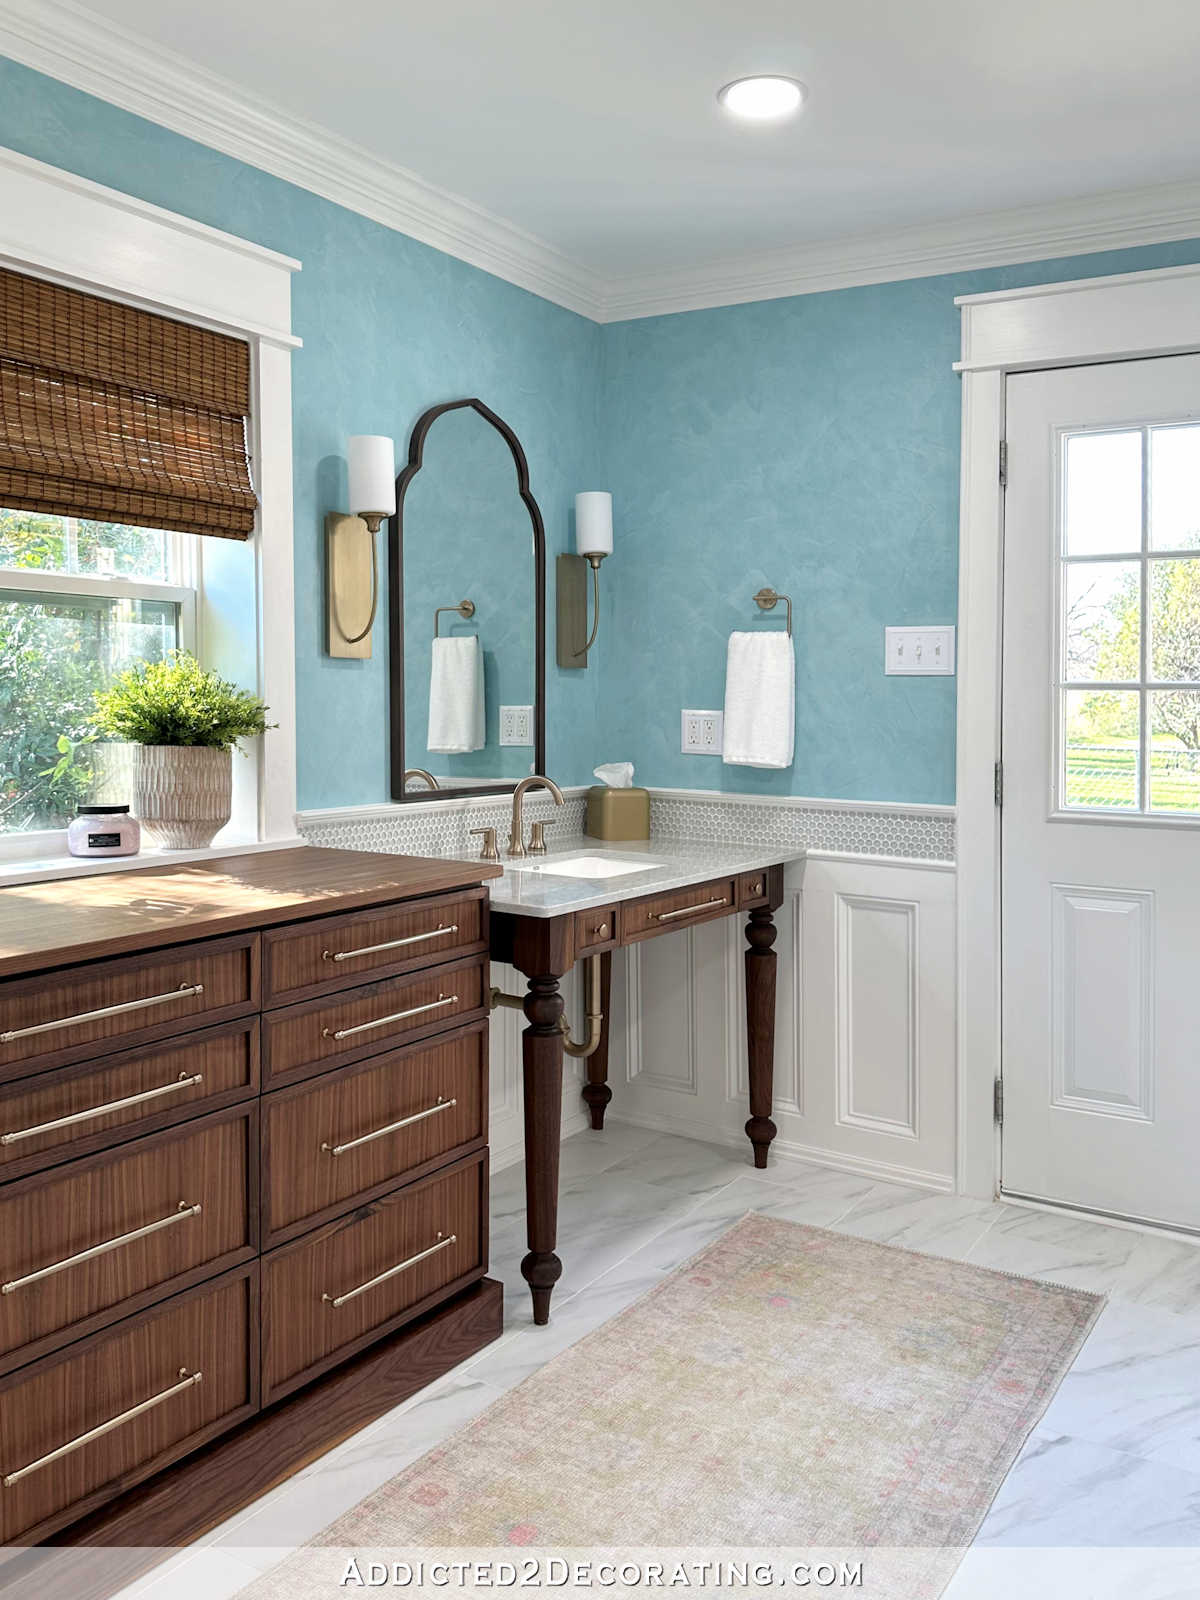
And right here’s what that wall seems to be like now. You possibly can see the outside door on the appropriate under.

It’s a bit unconventional to have an exterior door in a grasp lavatory, however we now have to stay with it for now. That can ultimately be an inside pocket door similar to the one on the left wall within the image above.
So these are all the earlier than and after photos, however I’ve lots extra photos to point out you!
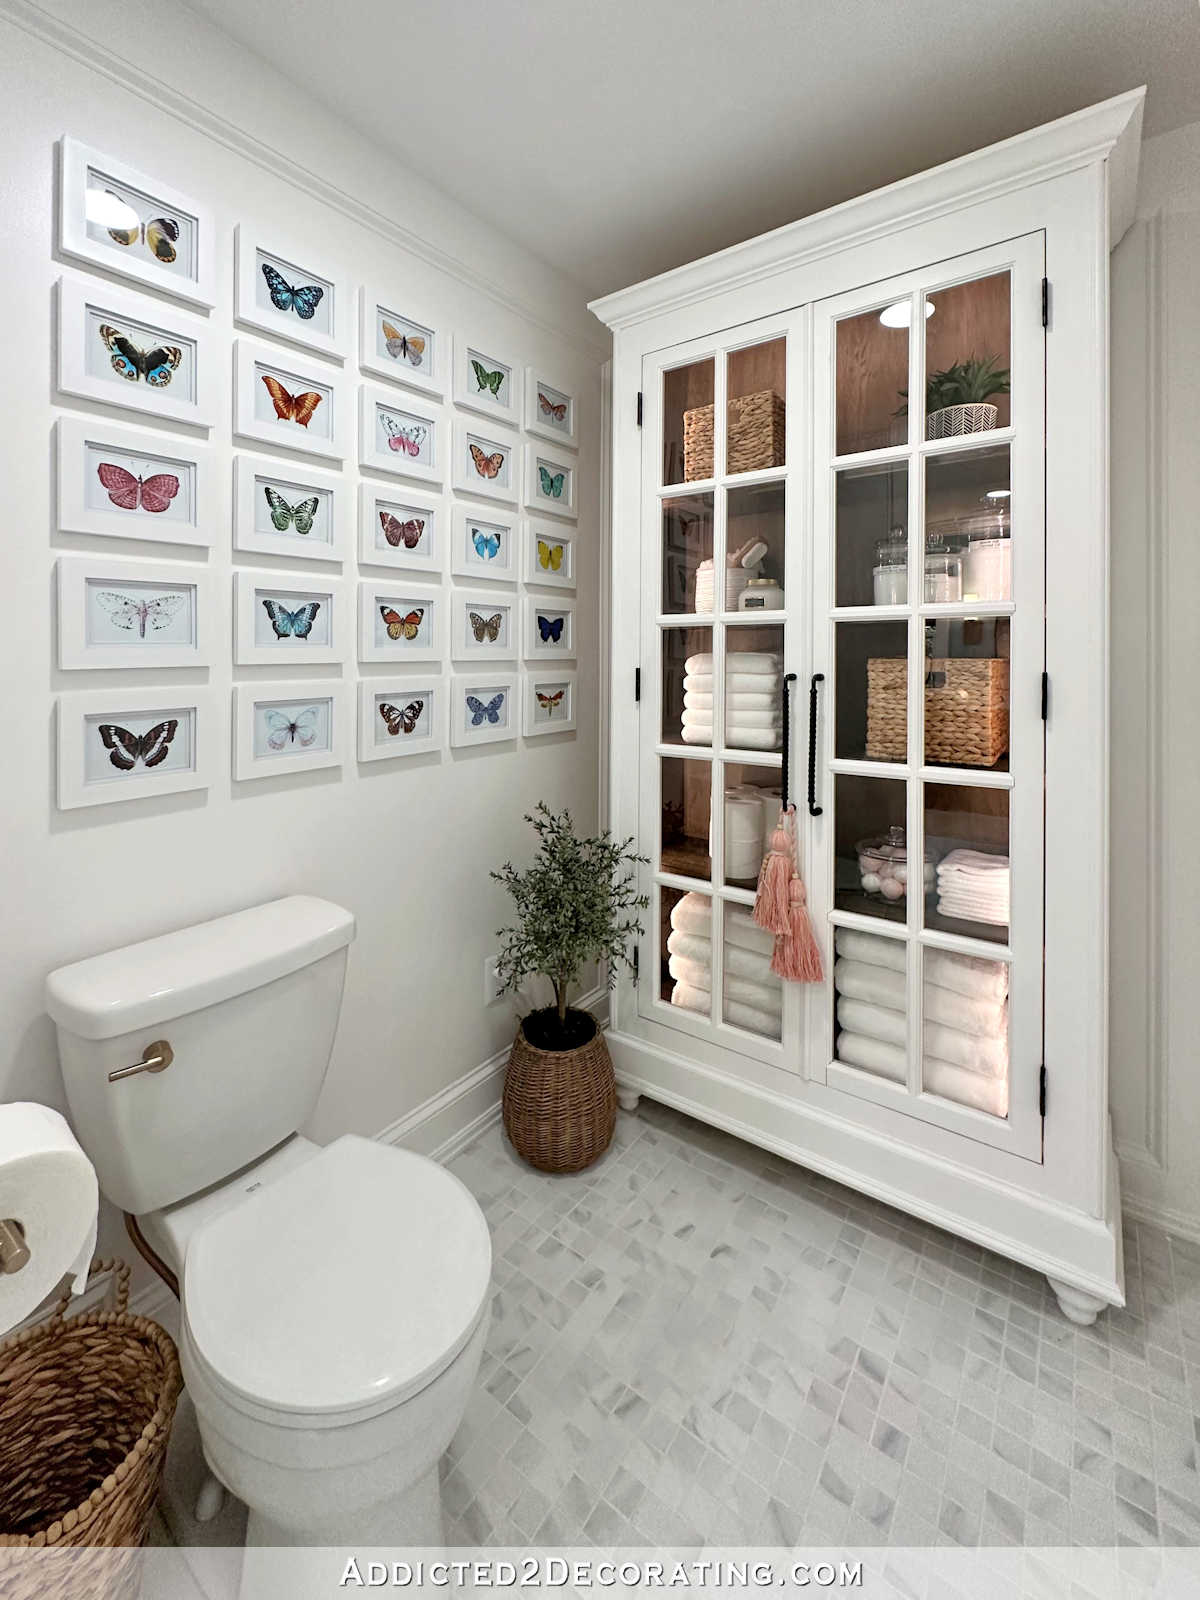
Let’s begin with the water closet. I simply love this room that’s tucked behind the mural wall. Since our bathe is so massive to accommodate Matt’s wheelchair, that made our water closet a bit bigger than most traditional water closets. And that gave me loads of room to get inventive.
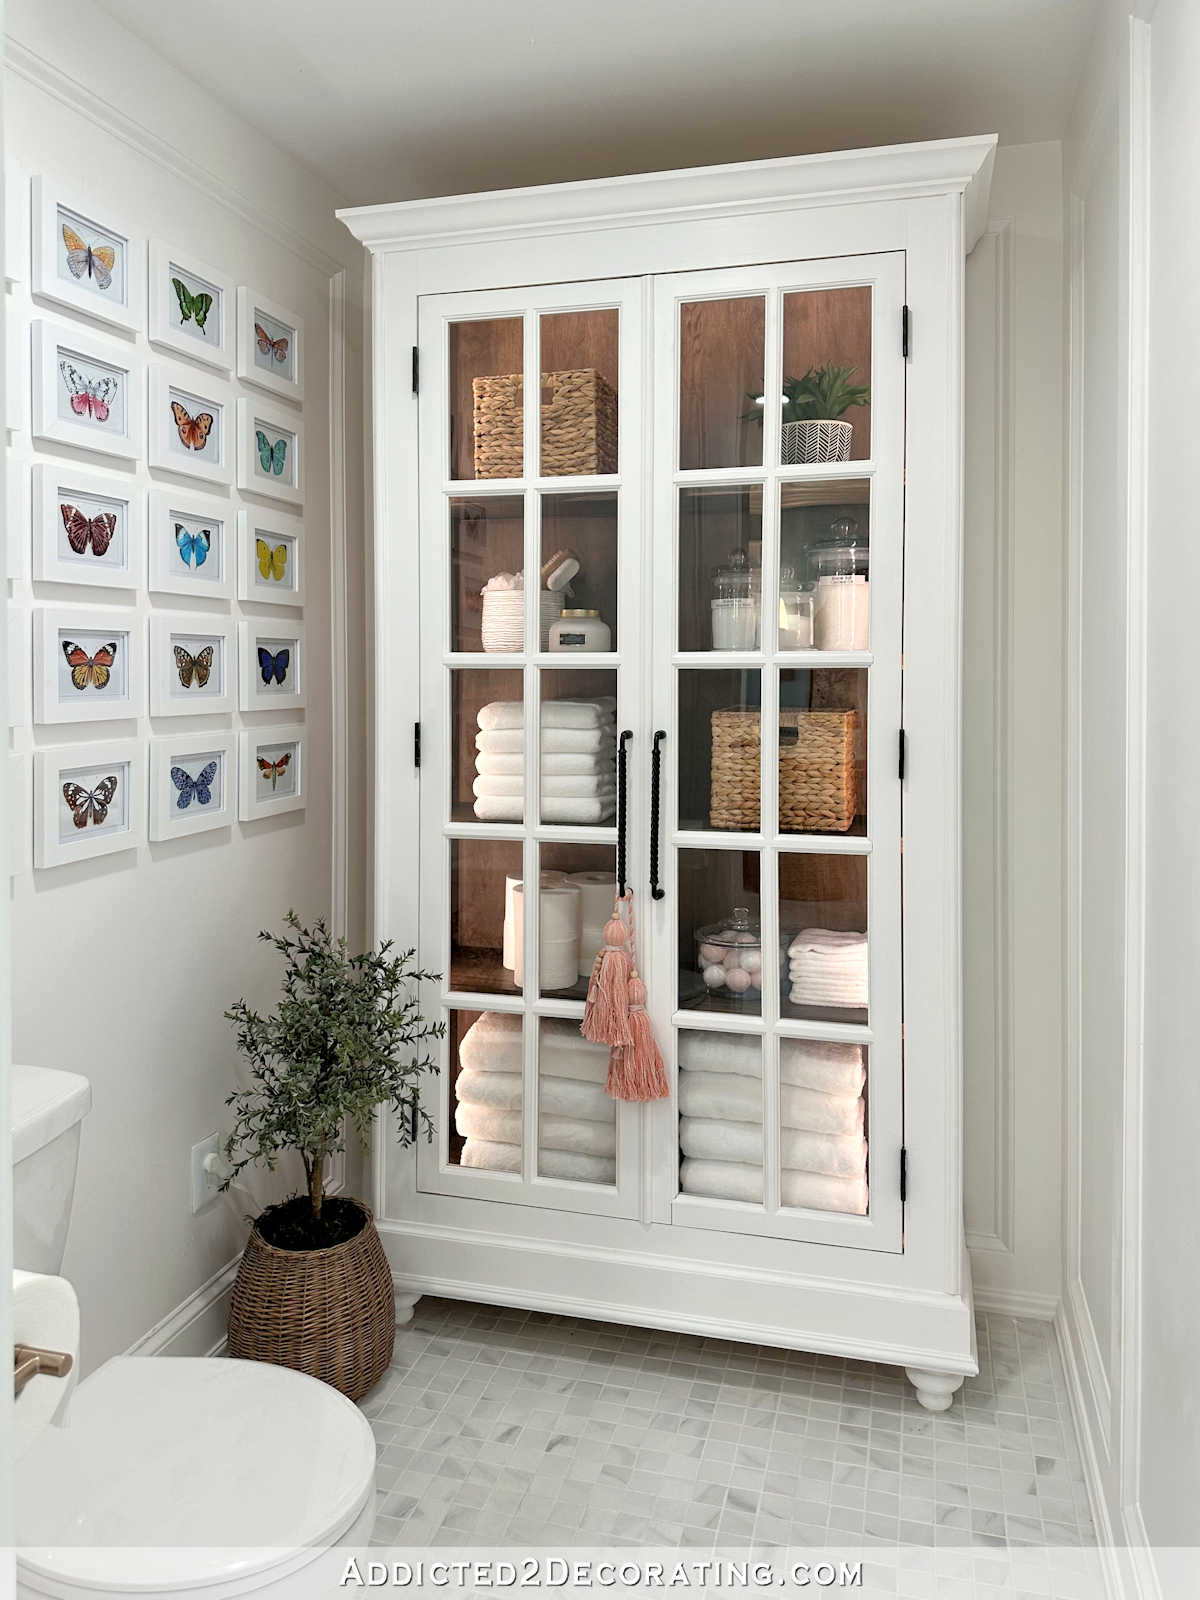
To take up a few of the room, make the world really feel much less cavernous, and so as to add some sensible storage to the room, I constructed this cupboard utilizing leftover French doorways that I had taken off of our walk-in pantry.
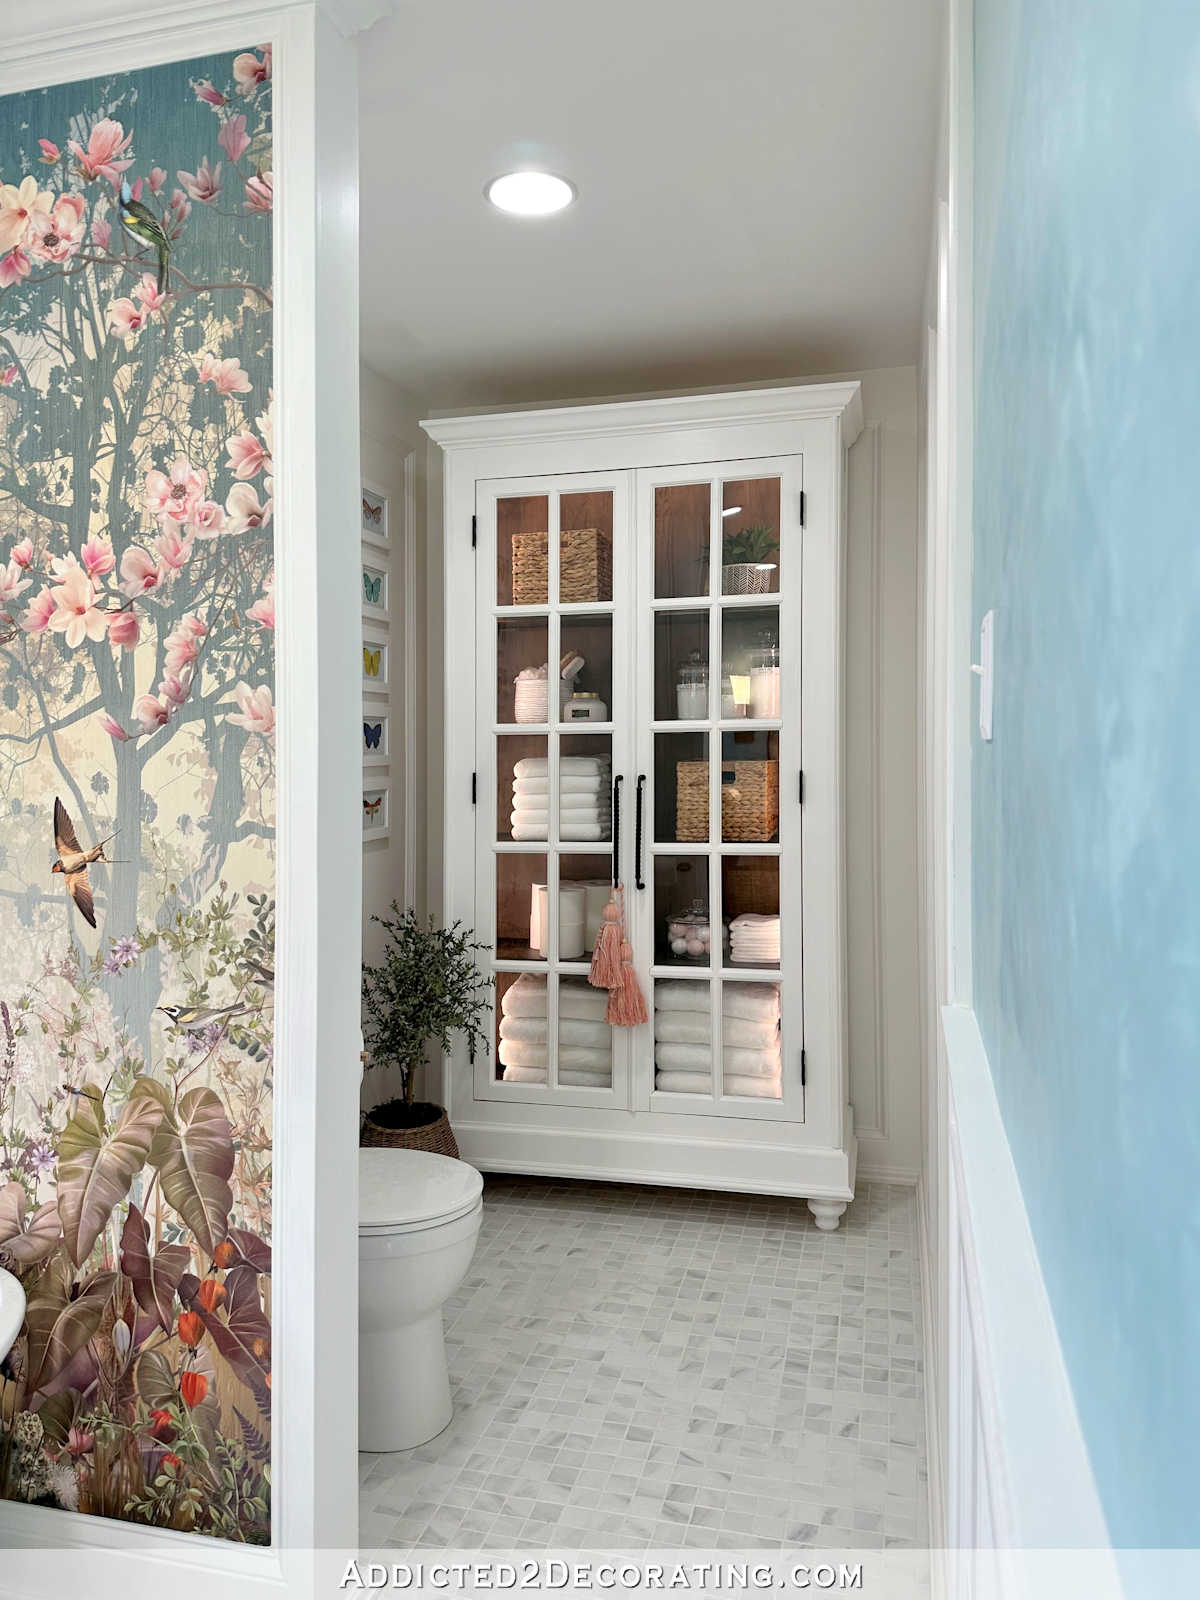
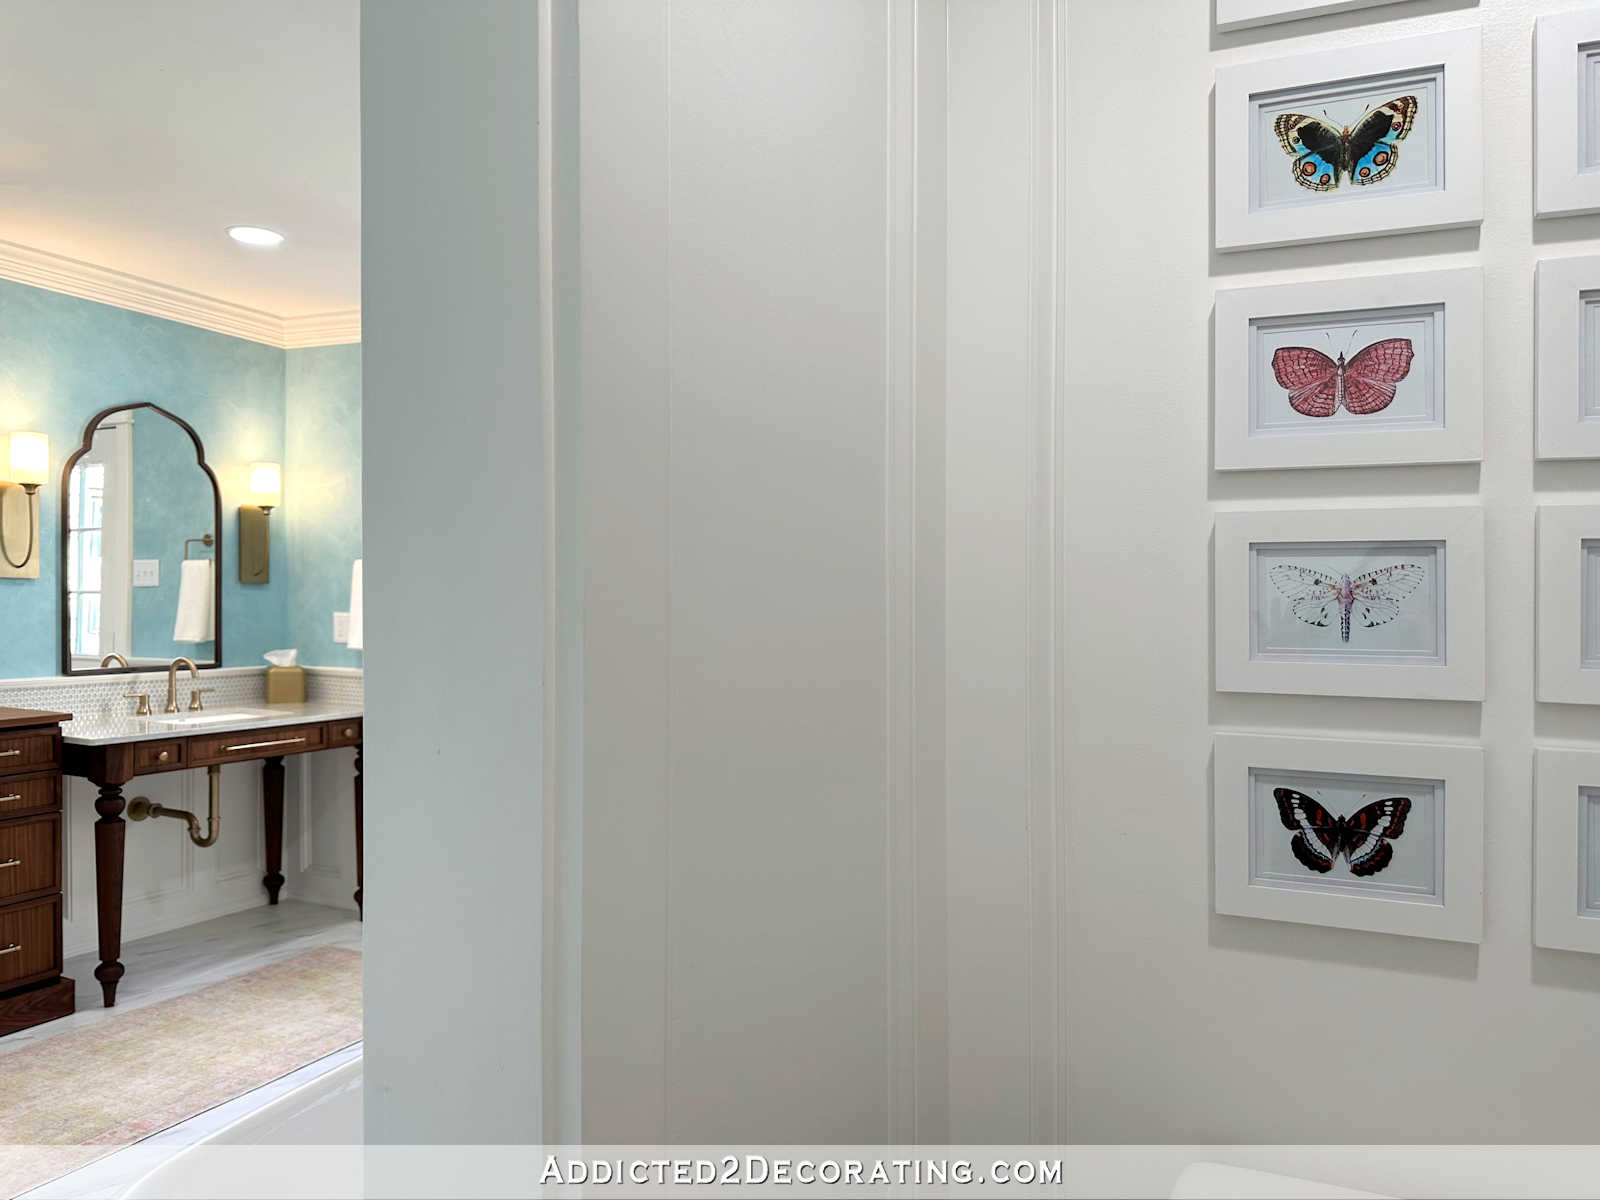
On the wall to the left, I added a gallery wall of colourful butterflies and moths.
This house is bigger than most traditional water closets, however it’s nonetheless a small room, so I used my vast angle lens to attempt to get the entire view of the cupboard and the butterfly wall. Large angle lenses all the time distort issues a bit, however no less than you may see all the pieces in a single photograph.
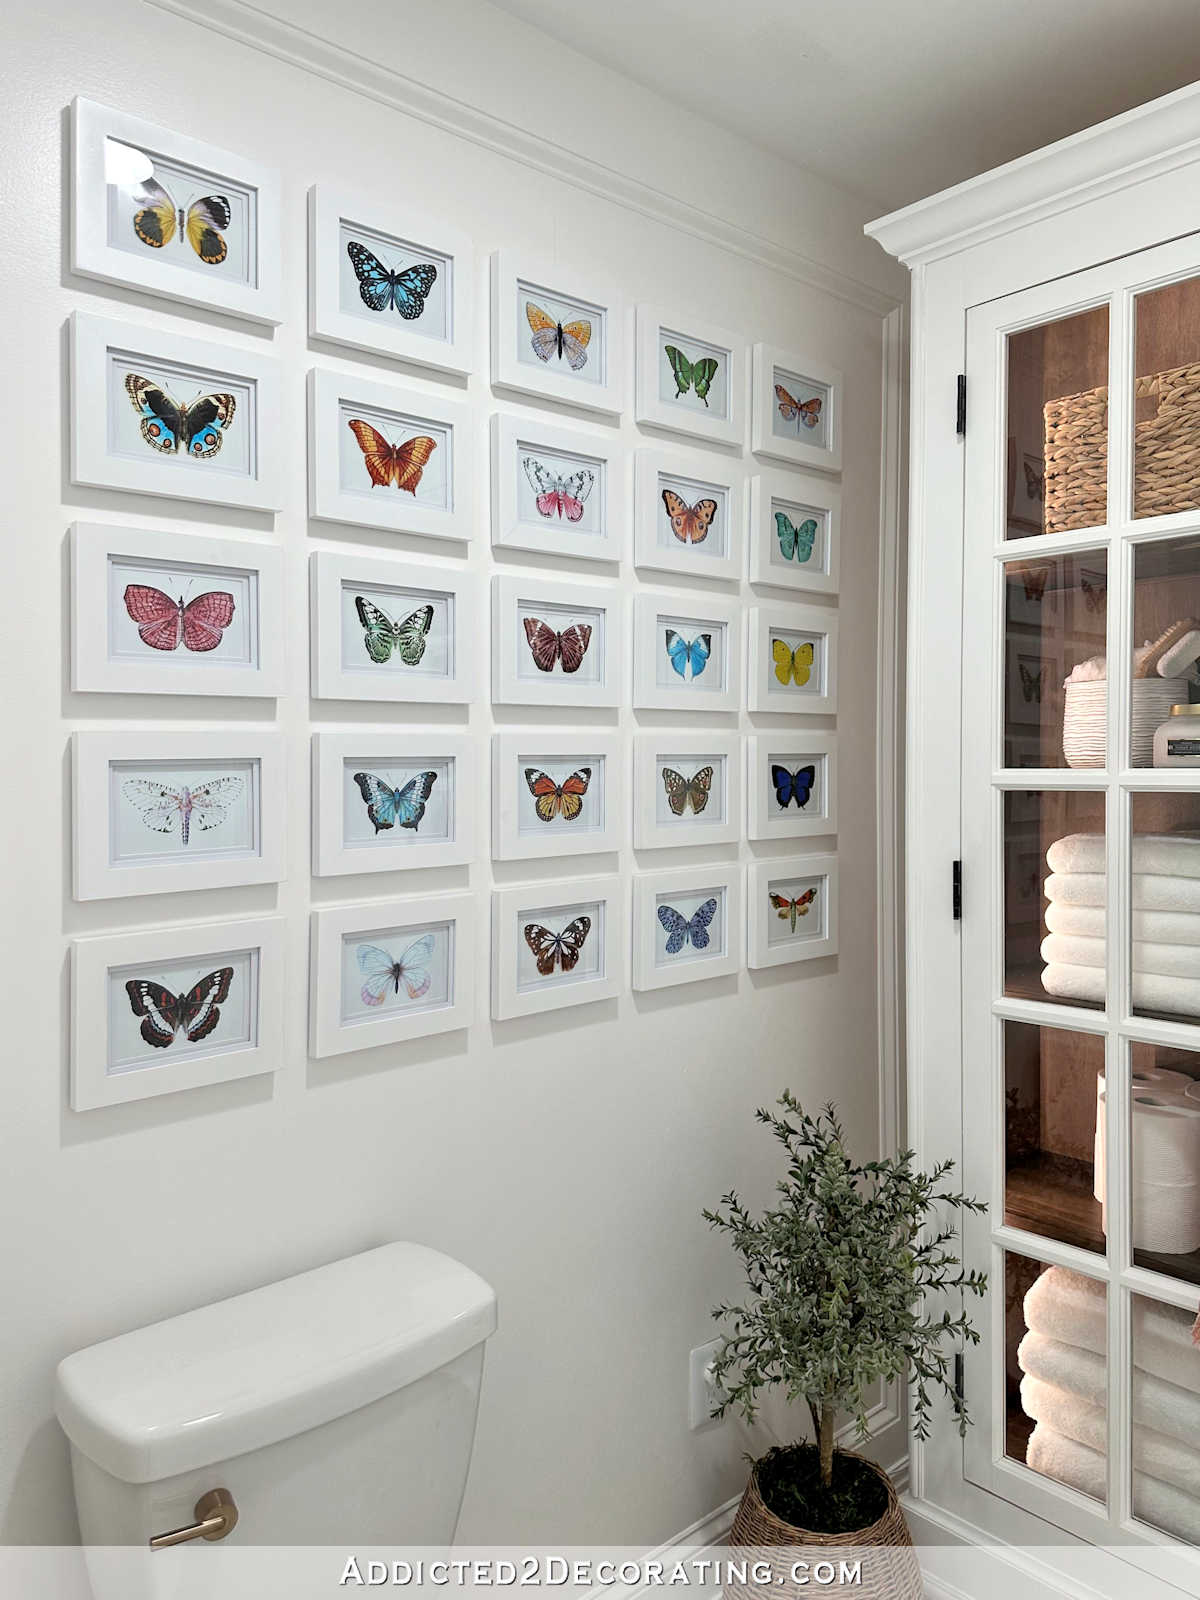
However right here’s a non-wide-angle, non-distorted view of the butterfly gallery wall…
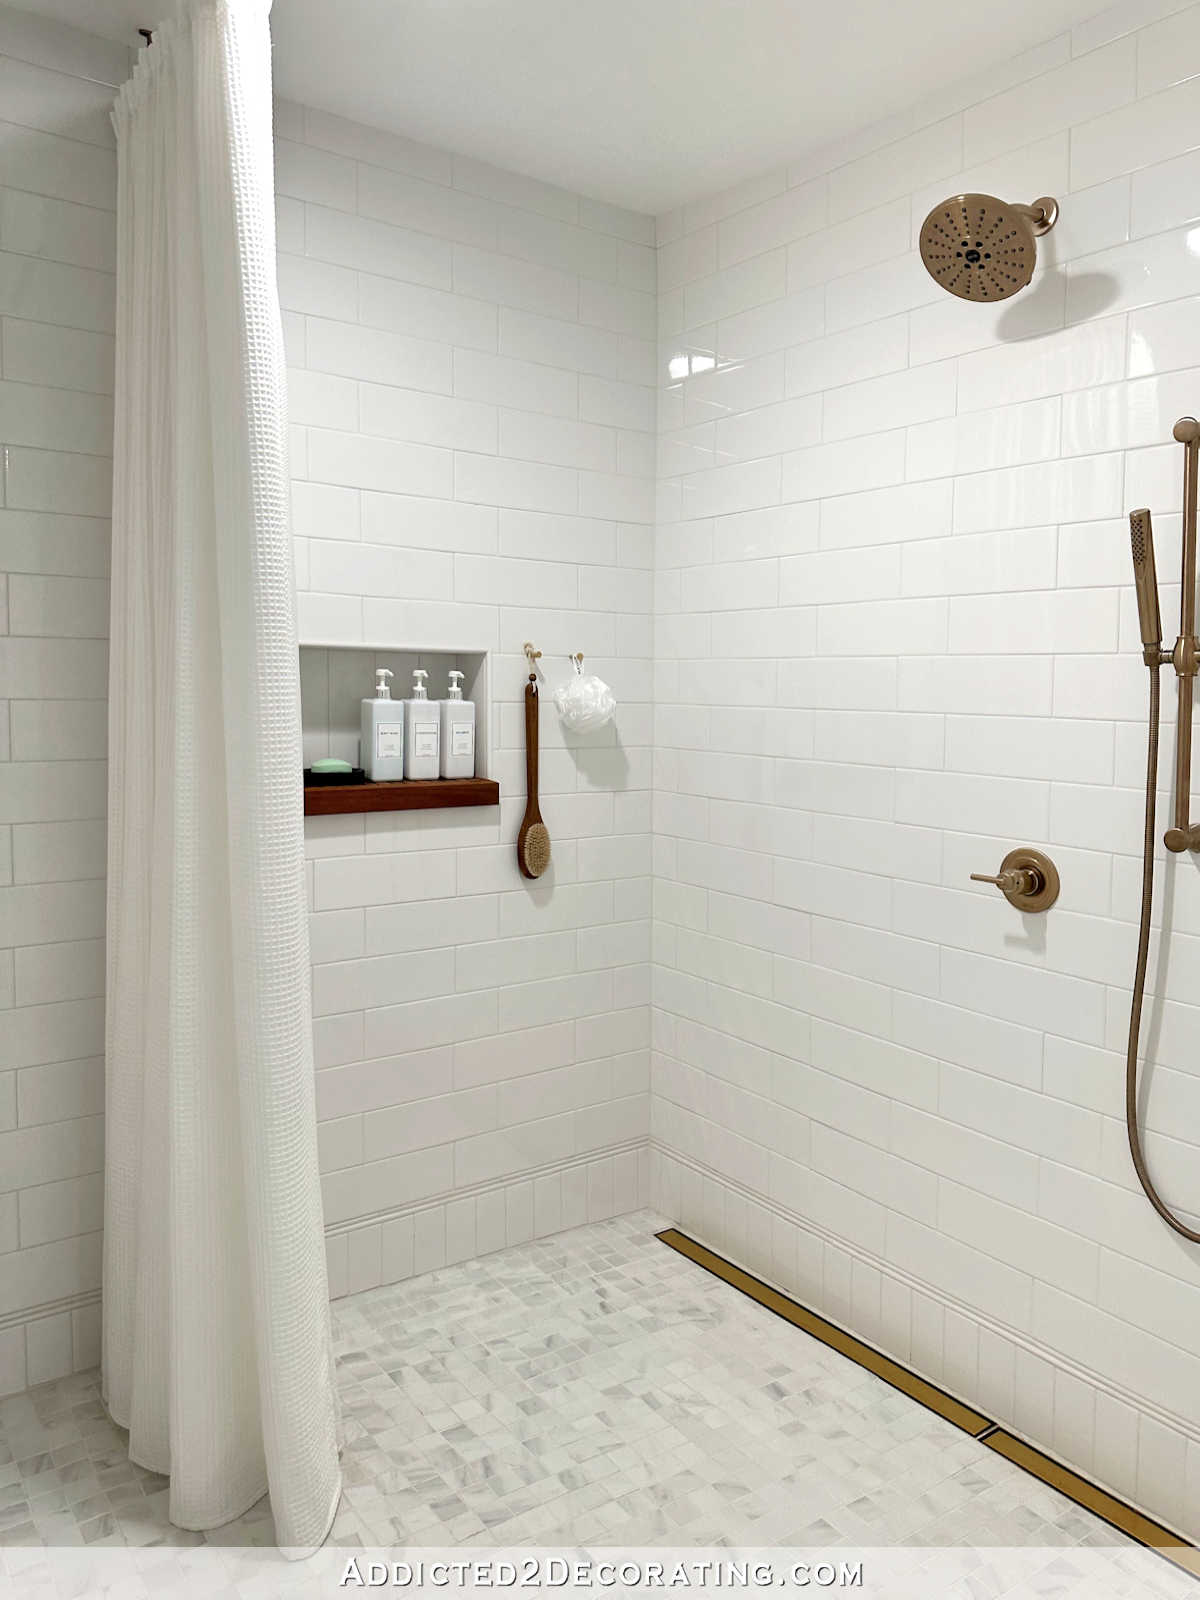
On the opposite aspect of the butterfly gallery wall is the massive curbless bathe. Since Matt (my husband who has M.S.) makes use of a wheelchair, it was crucial that we now have a big bathe the place he may have loads of room to maneuver round, and it completely needed to be curbless for straightforward accessibility.
This bathe is an absolute dream. It measures about 7′ x 7.5′, and this bathe alone is in regards to the dimension of our total hallway lavatory.
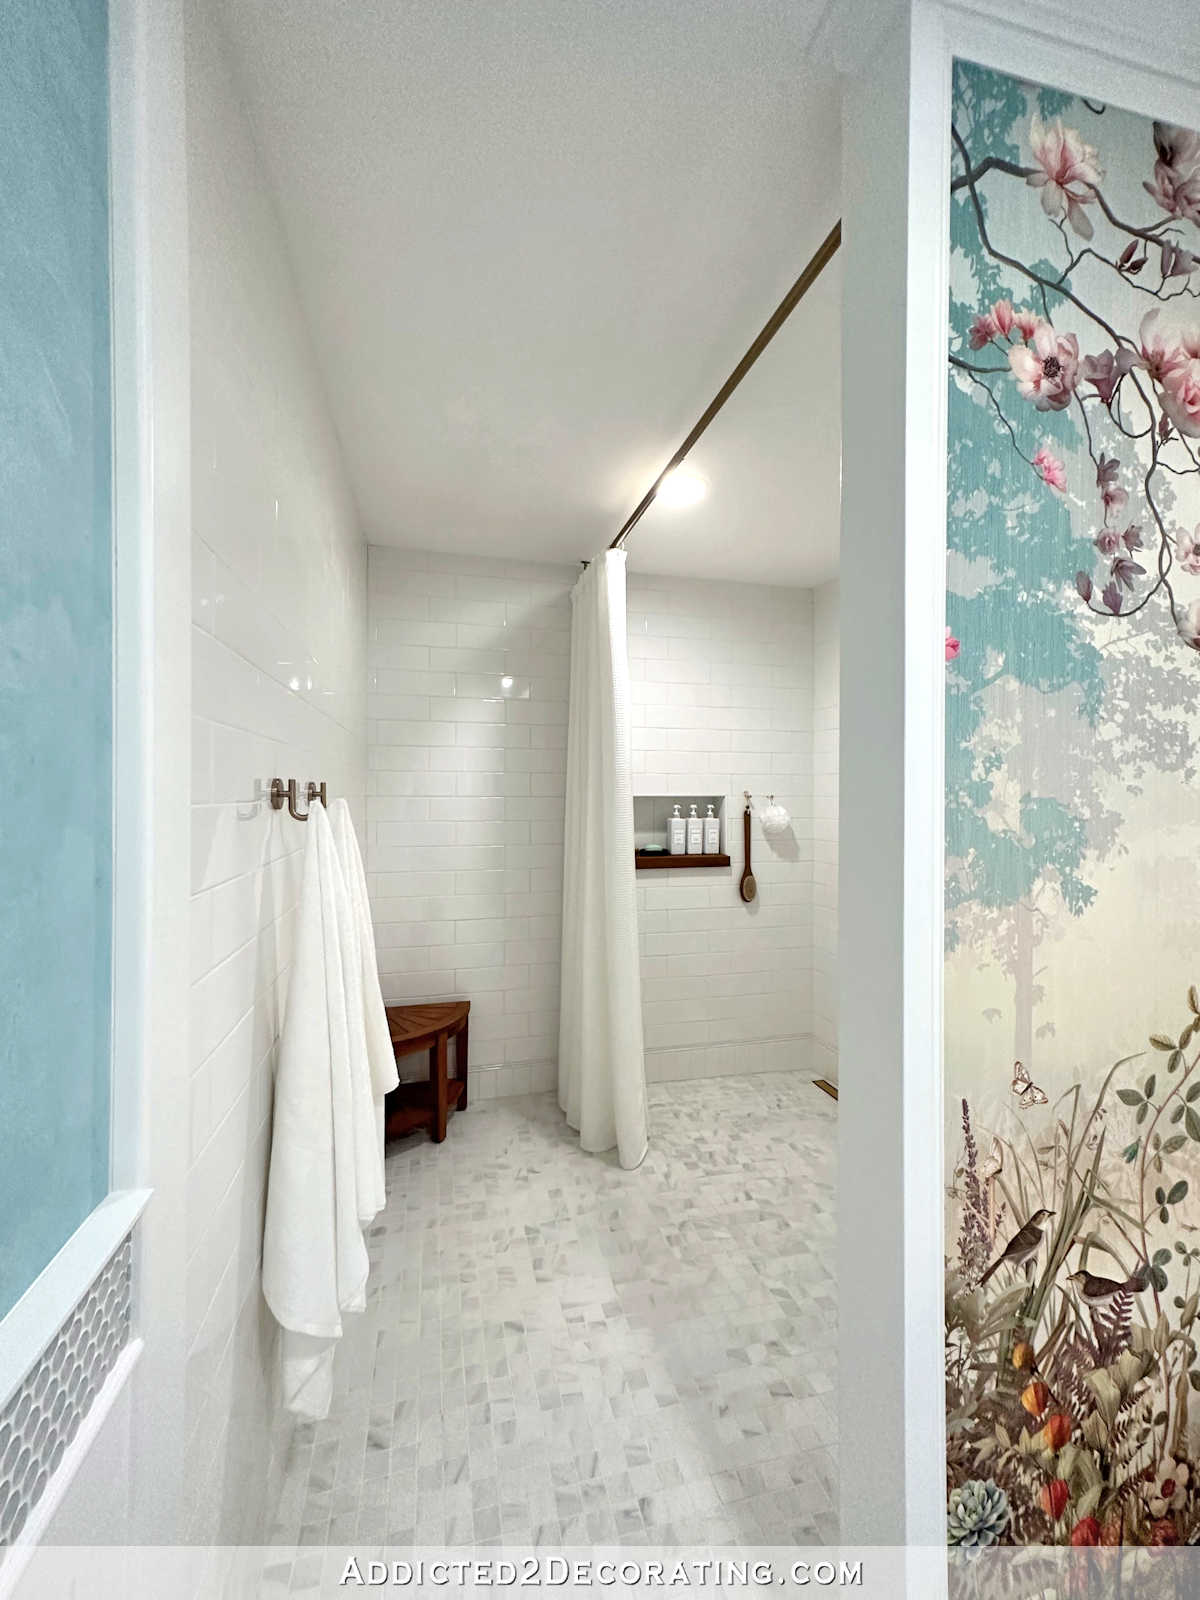
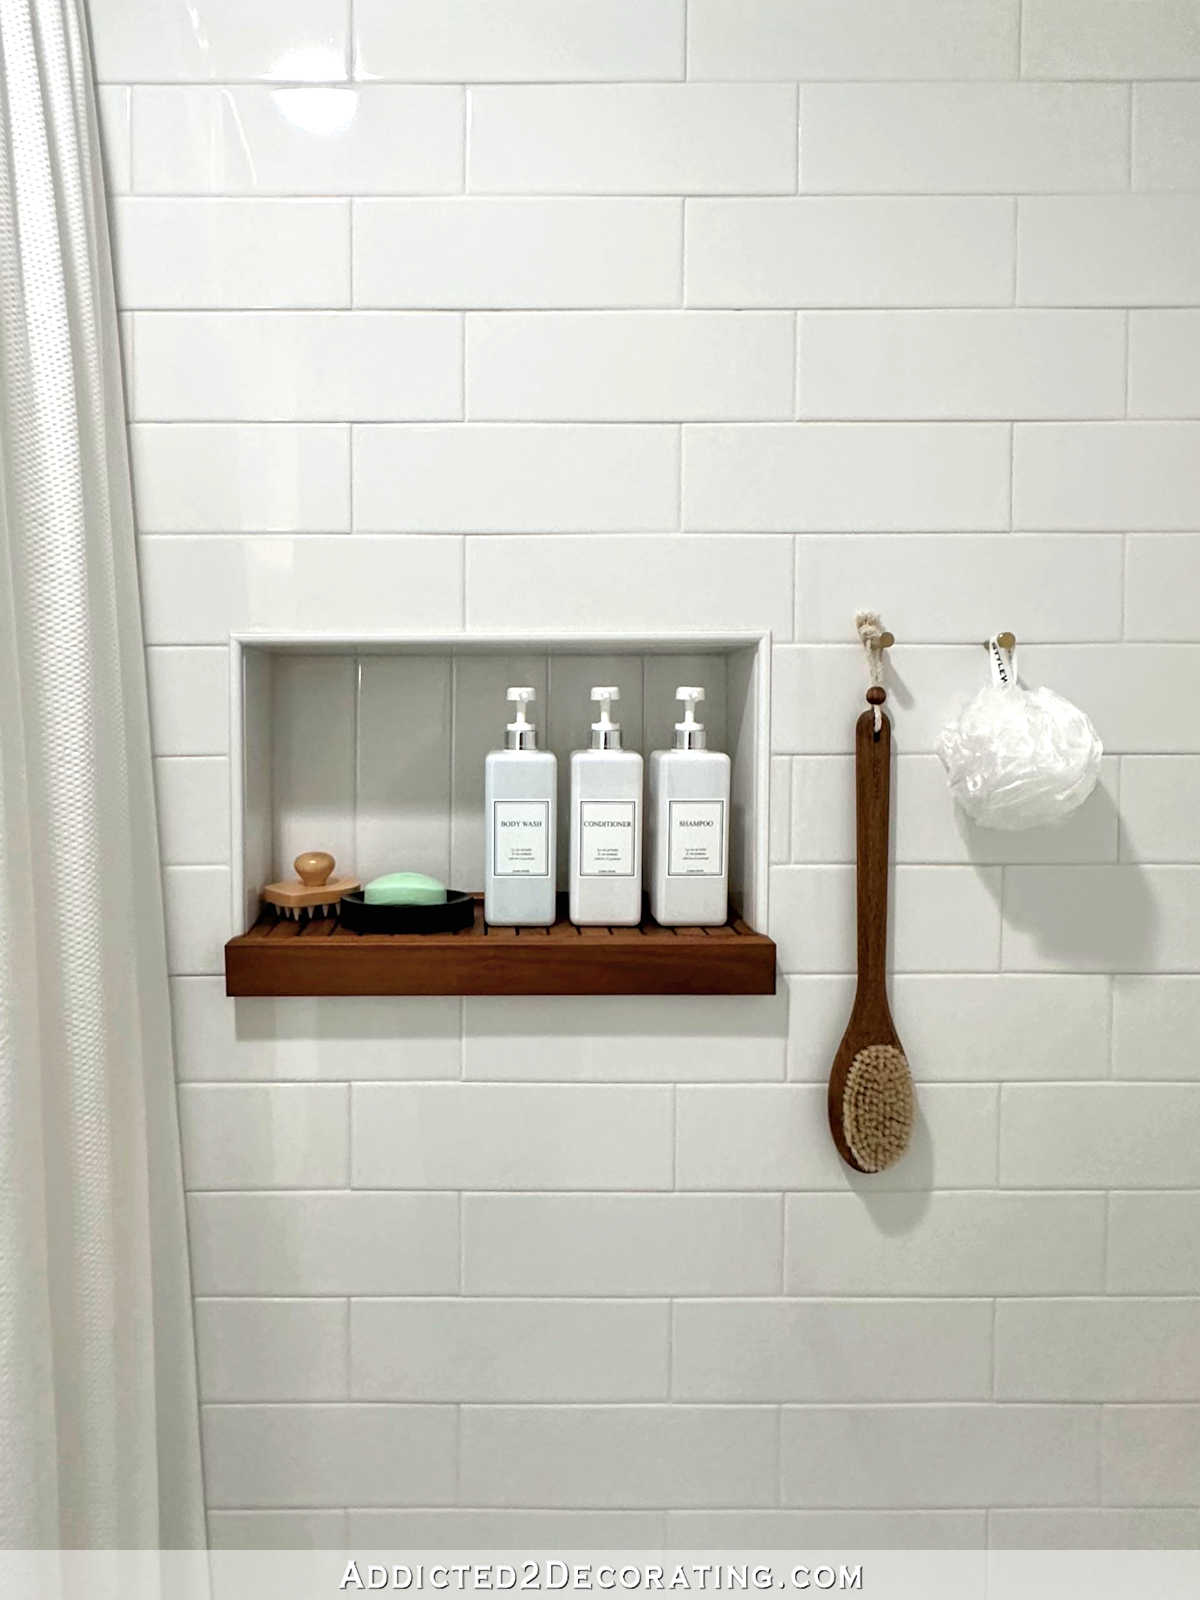
I didn’t need something obstructing his motion, so I didn’t need any type of glass door or something like that. However I did determine so as to add a bathe curtain to separate the massive bathe into two areas — a moist space and a drying off space. Plus, the bathe curtain retains the nice and cozy air in. I truly love the softness and the spa-like really feel that the bathe curtain provides to the in any other case cold-looking bathe space.
The bathe could be very vast, so there are two 36-inch linear drains on the ground to span nearly your entire width. And so as to add extra heat to the bathe, I made a little bit teak wooden shelf for the bathe area of interest to match the teak bathe stool within the nook.
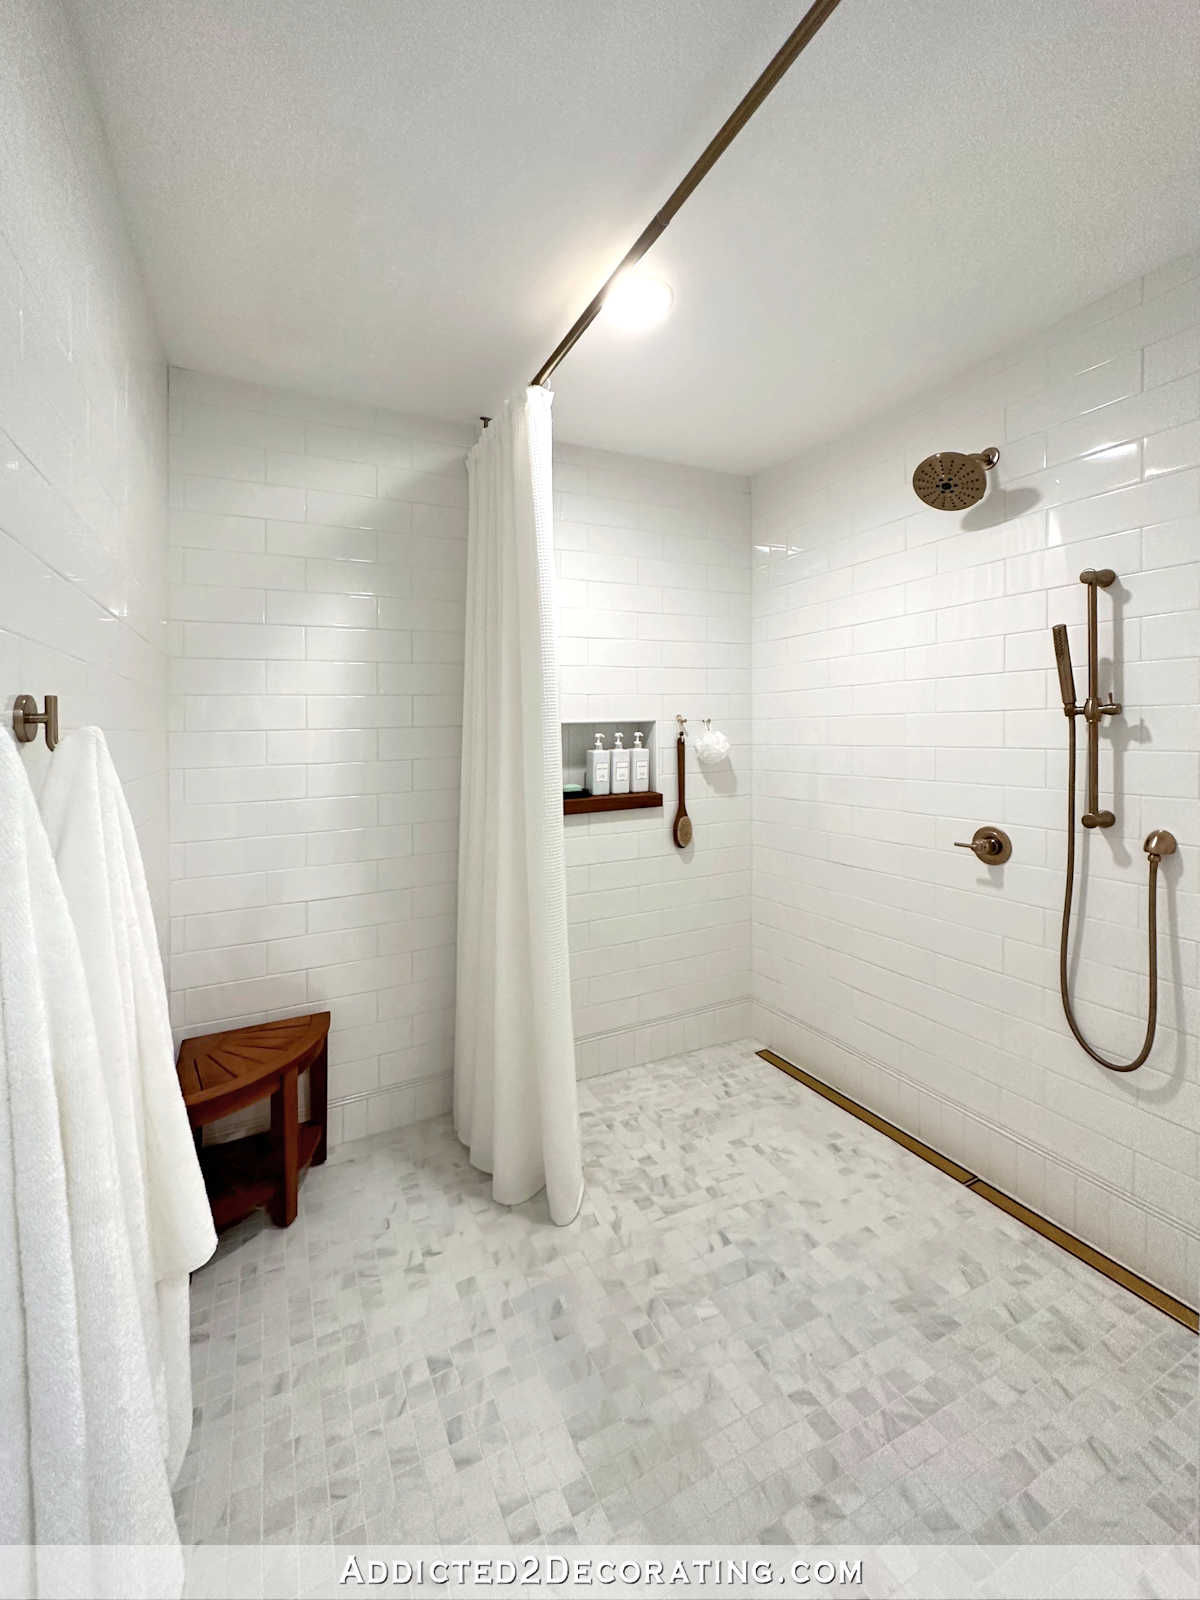
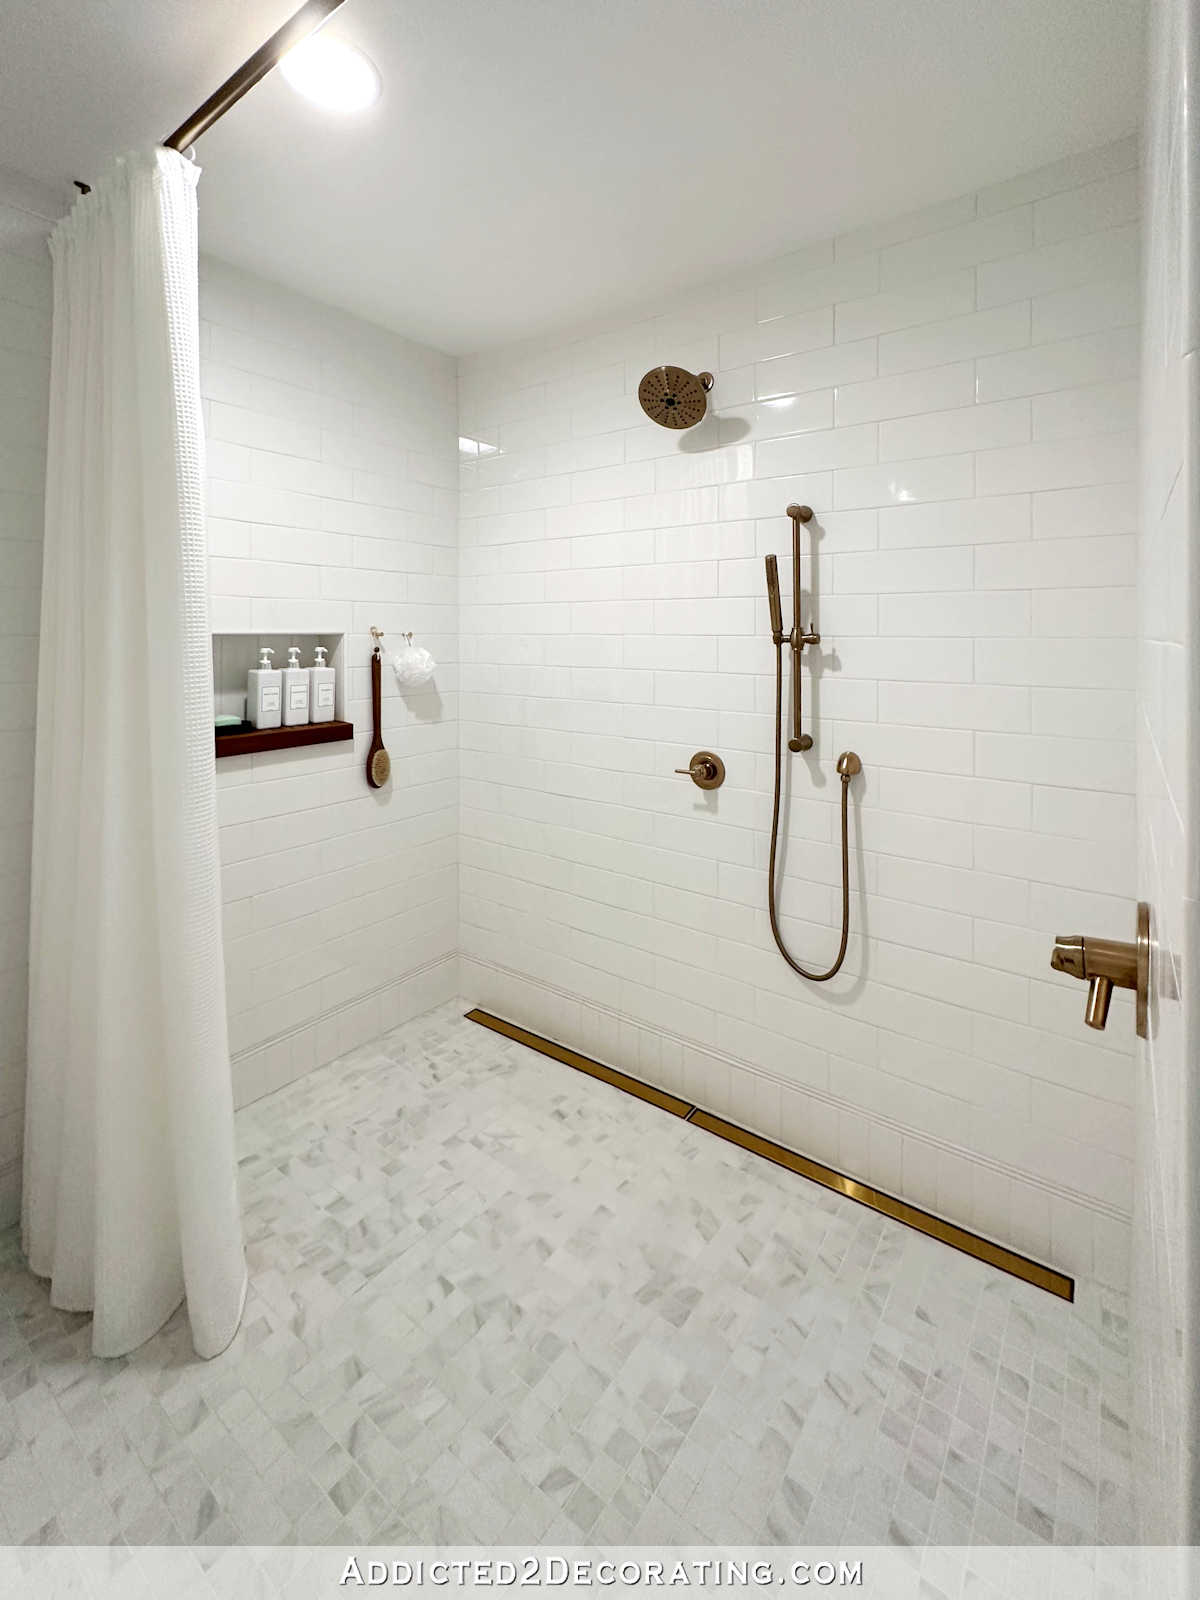
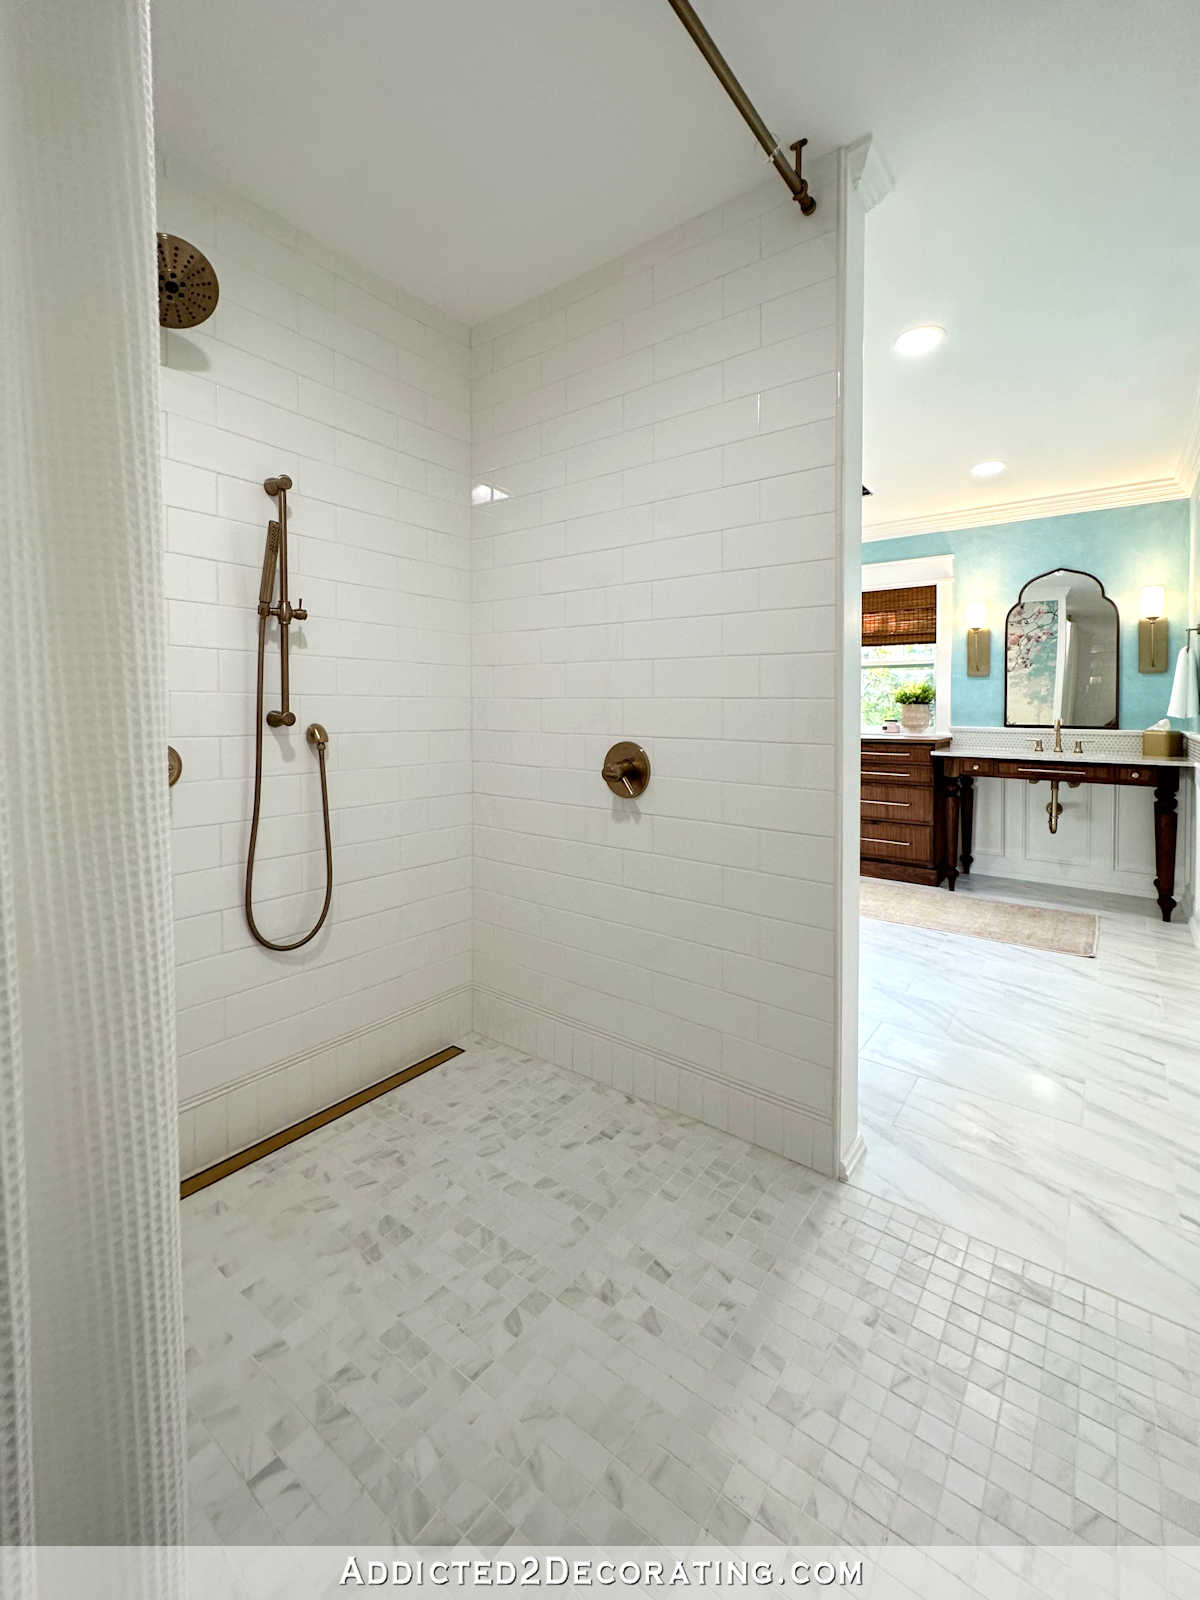
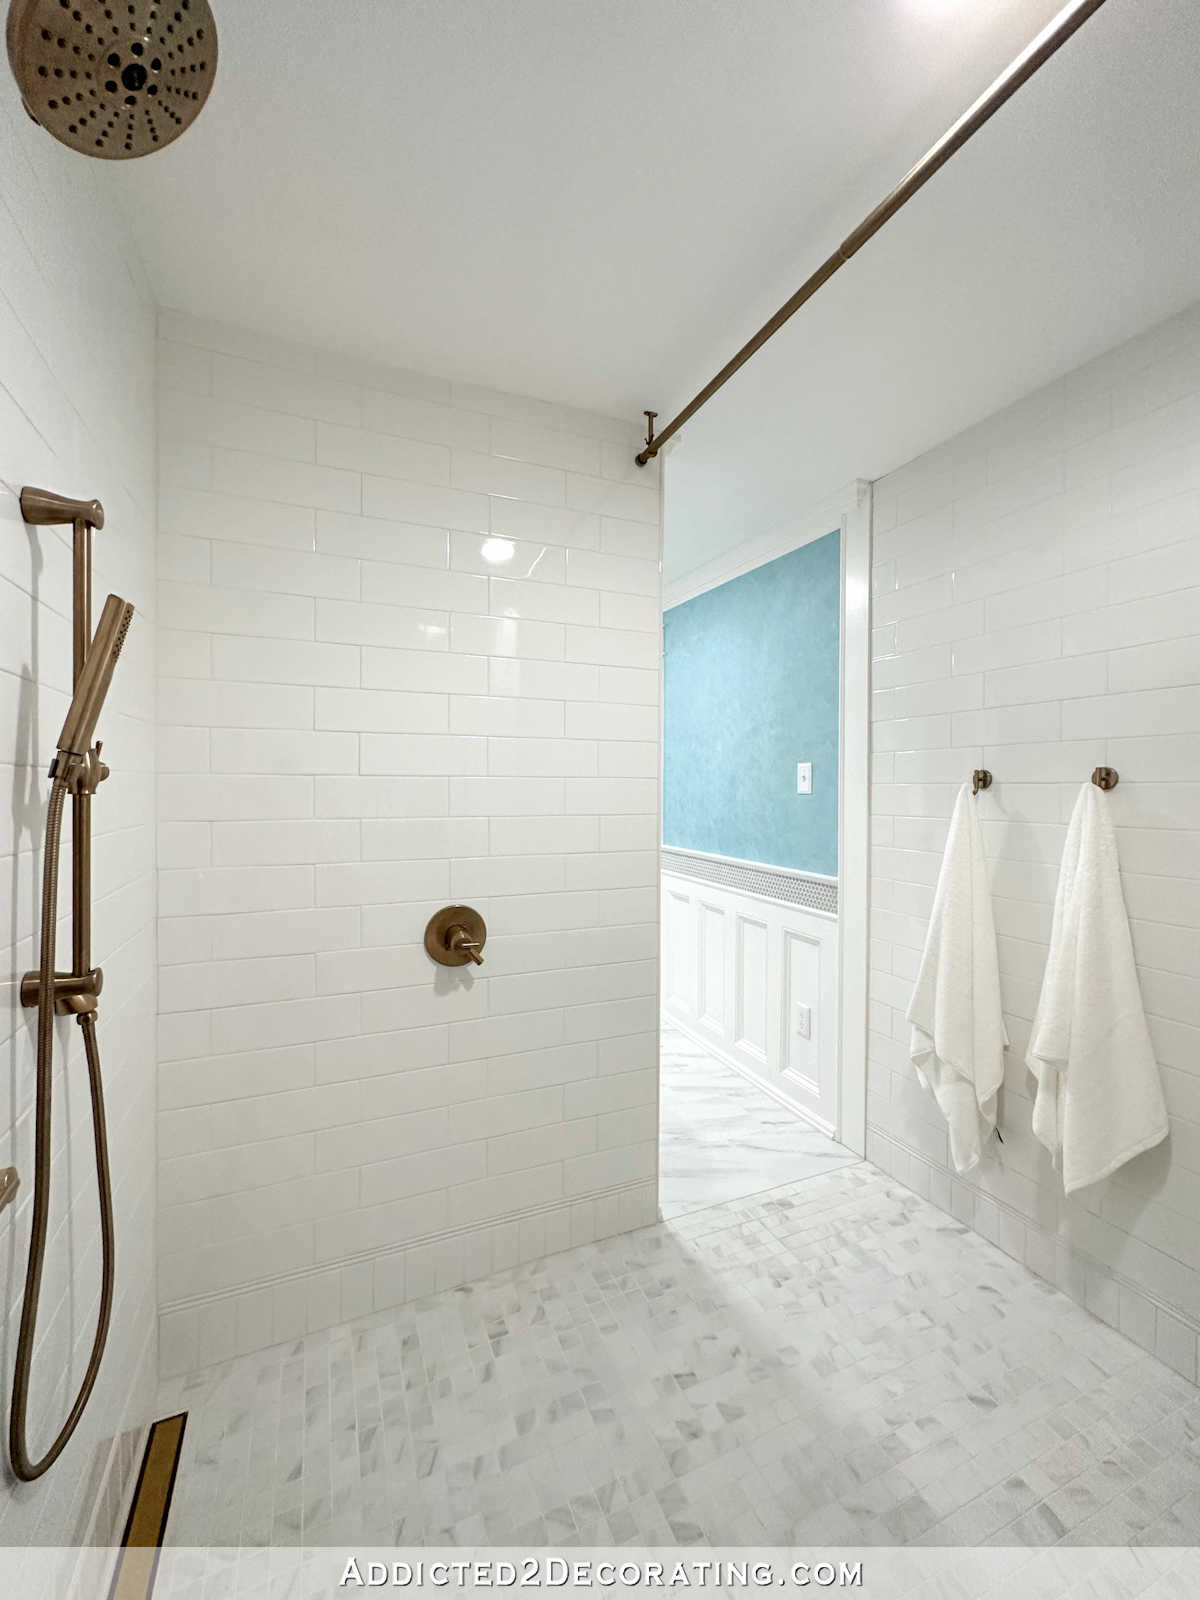
Listed below are a number of extra photos of the bathe, with out commentary…
Okay, sufficient in regards to the bathe. ? The primary a part of the grasp lavatory rework is far more enjoyable to have a look at than the bathe, so let’s get a number of extra seems to be at these areas. However first, let me present you the drawing that I did again in April of this 12 months…
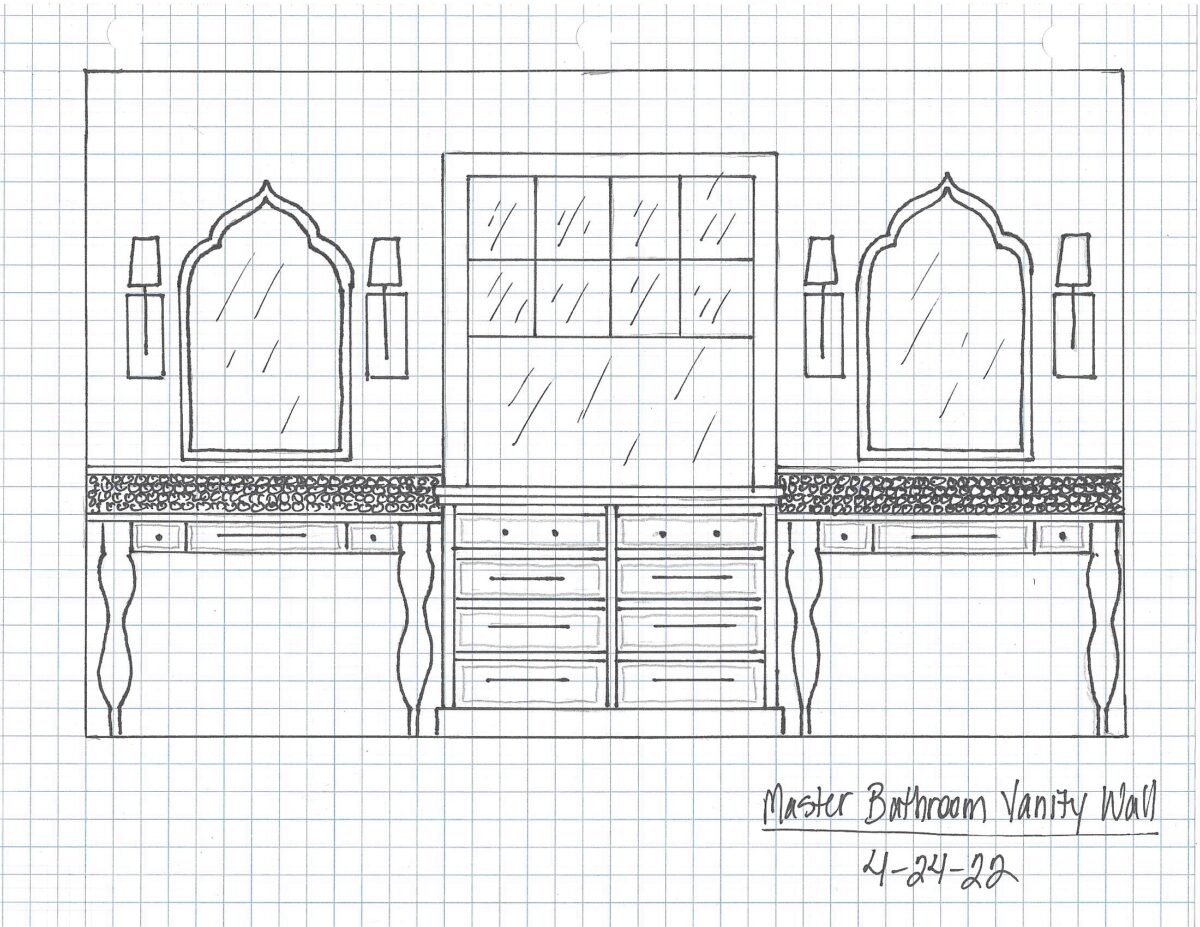
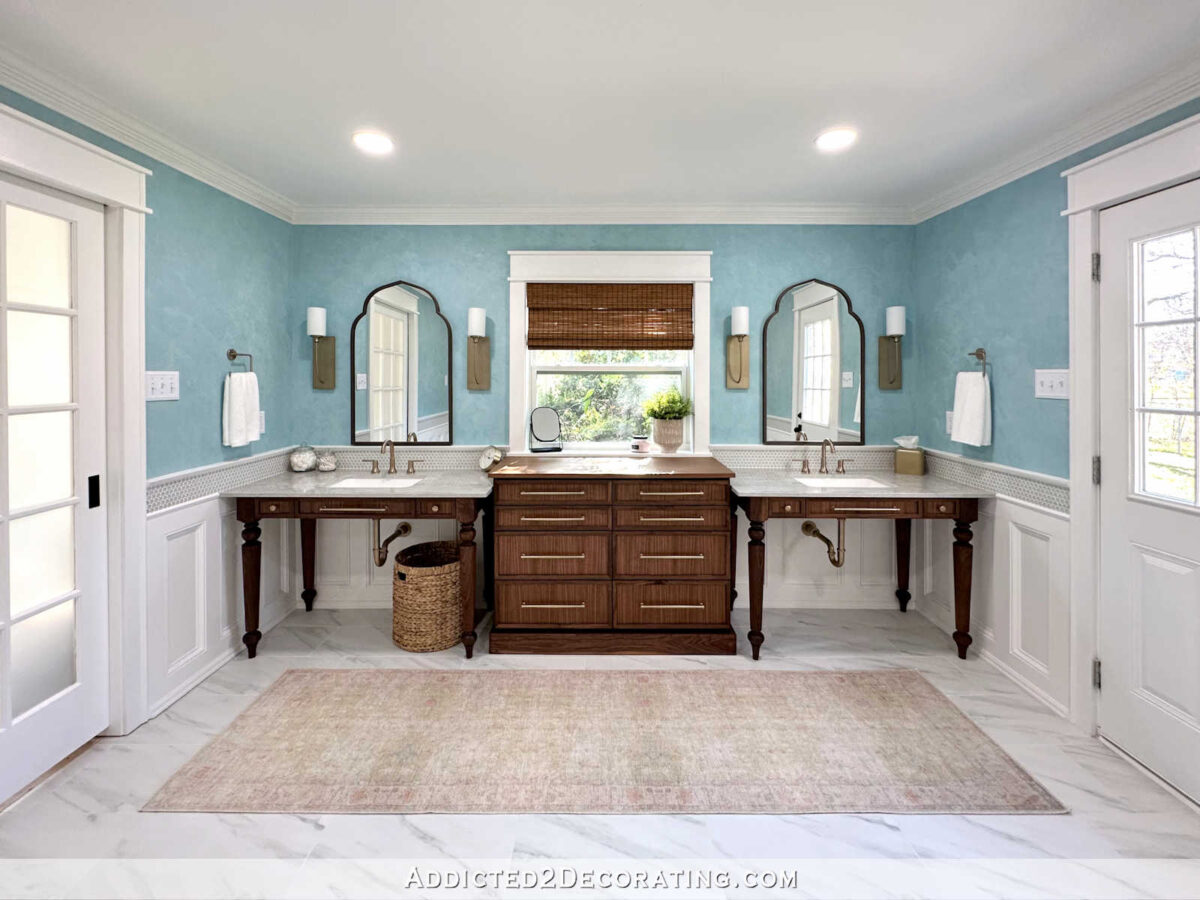
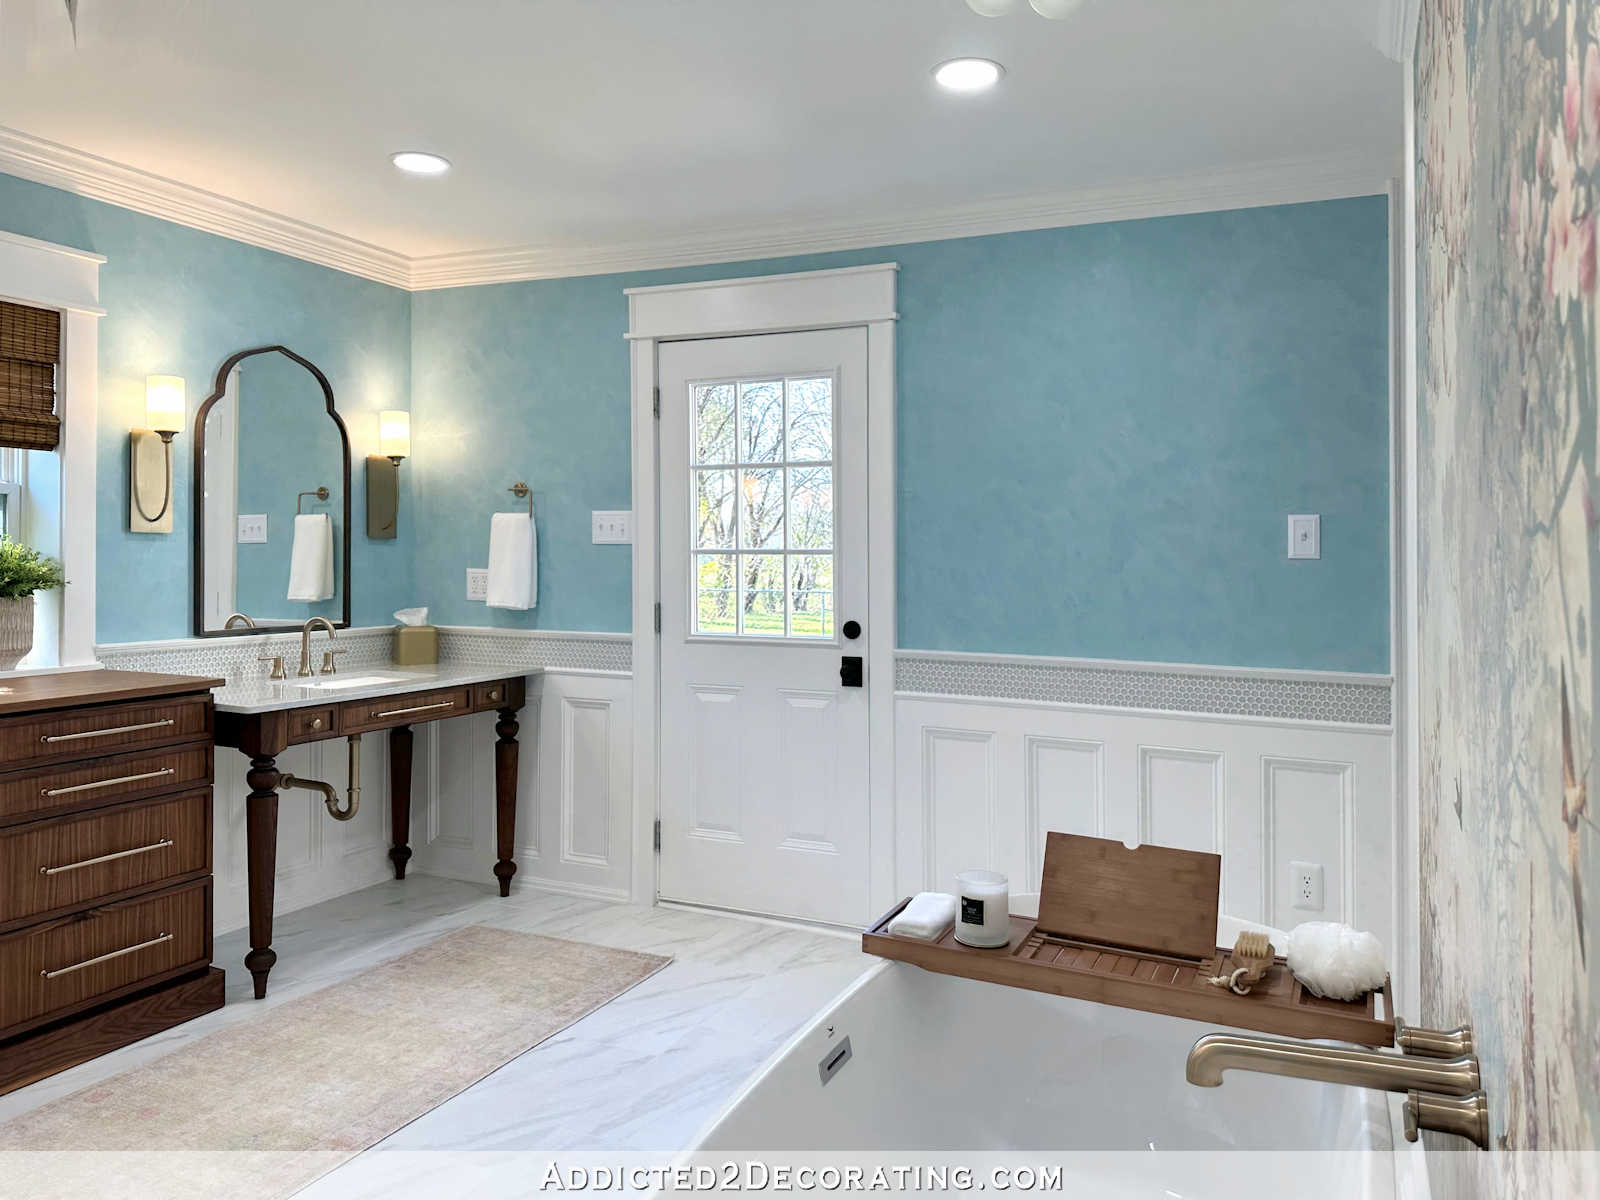
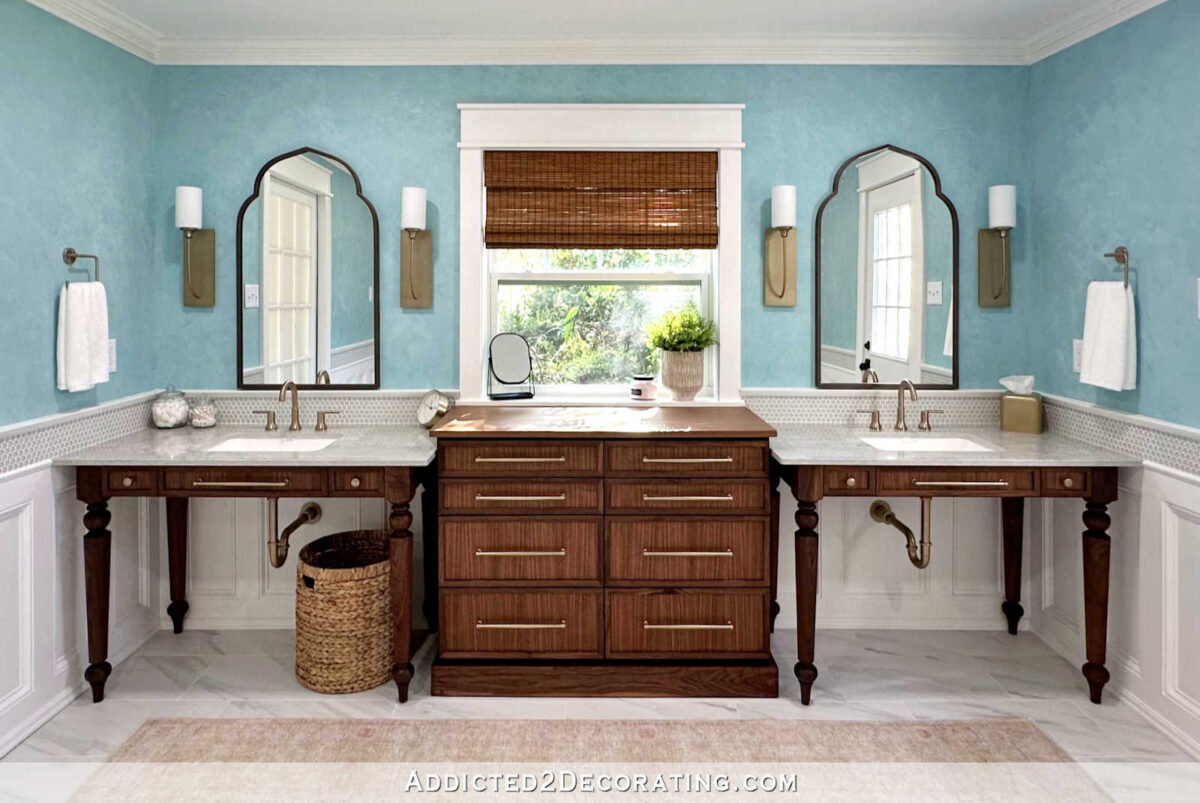
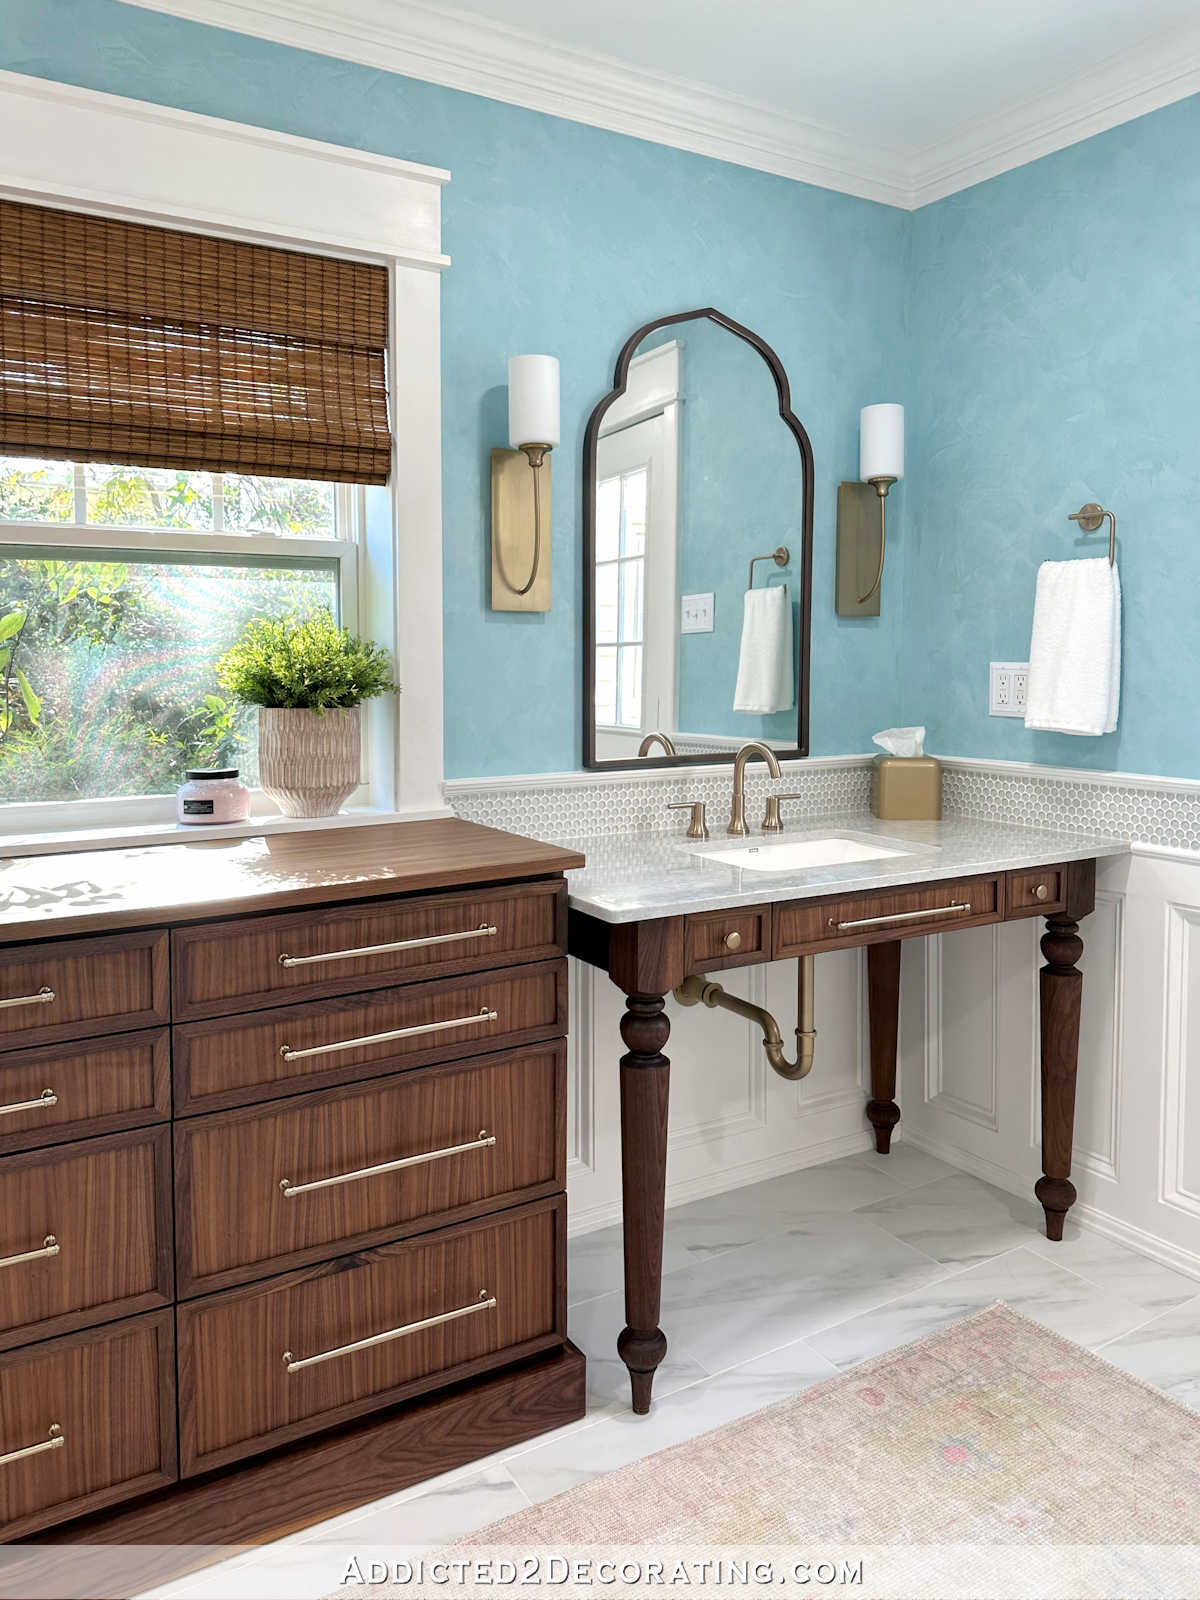
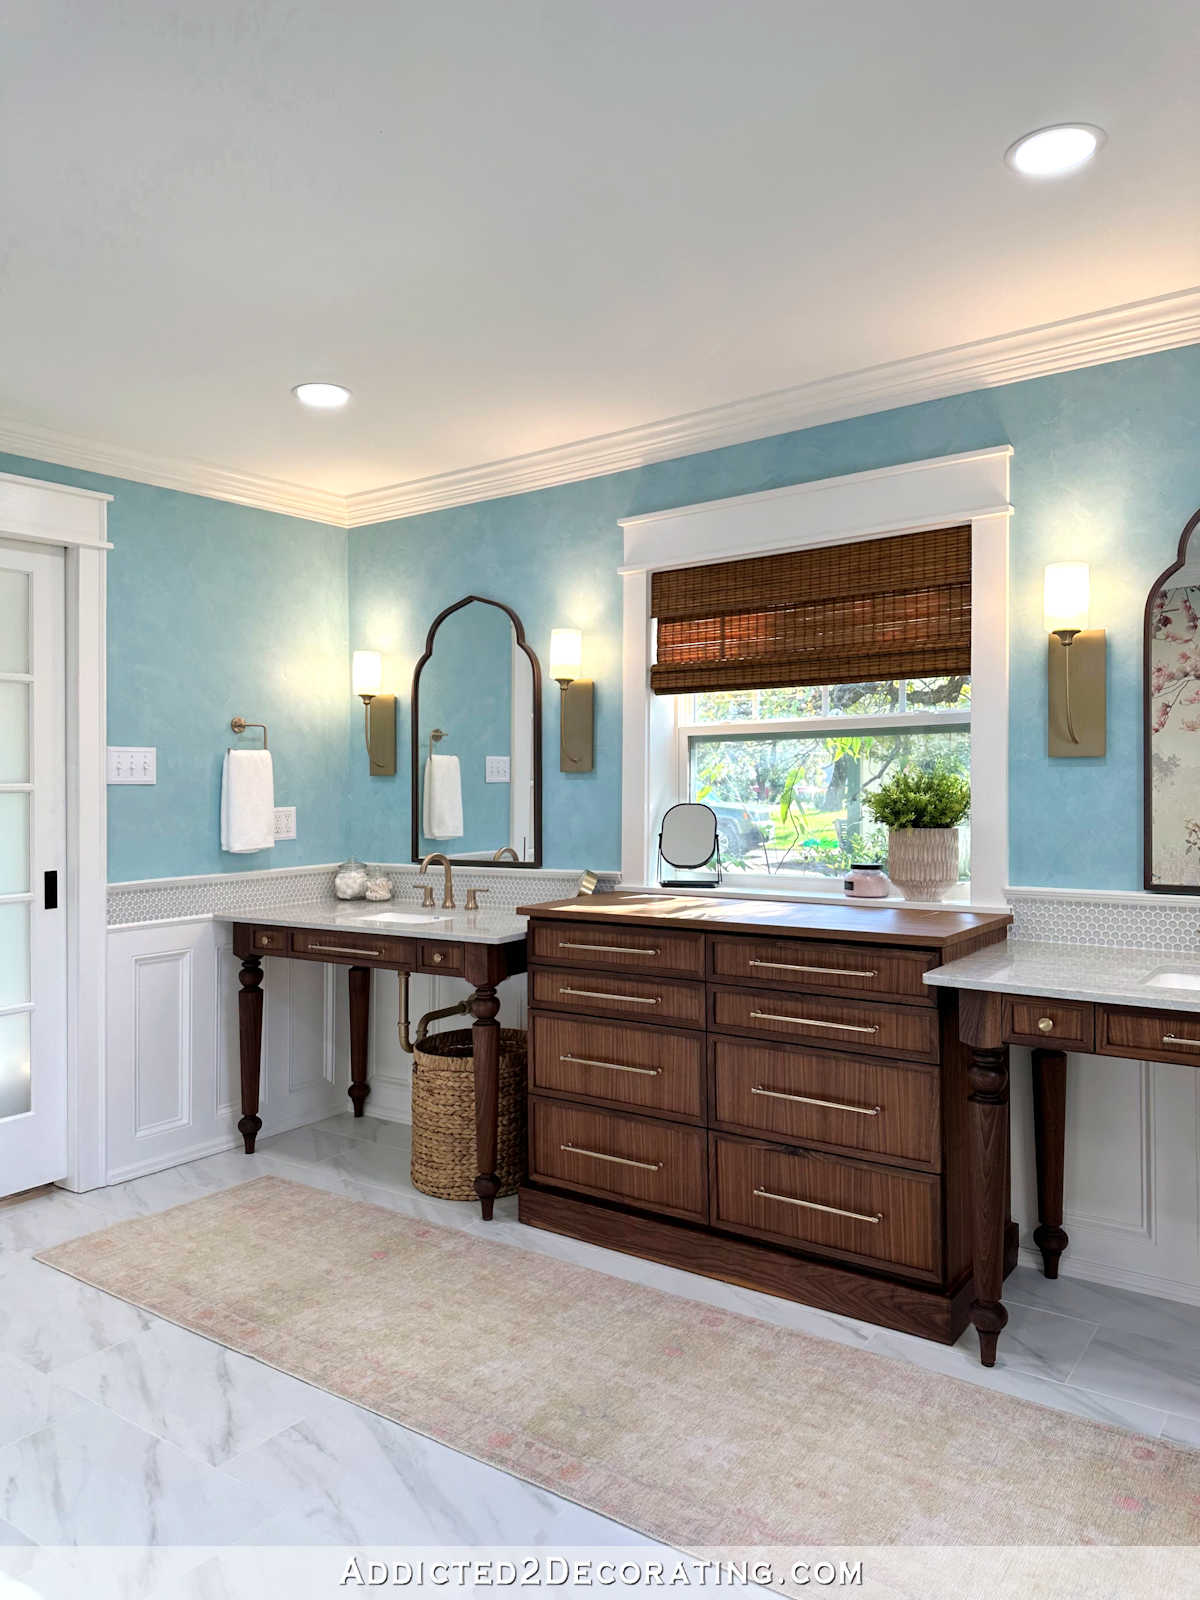
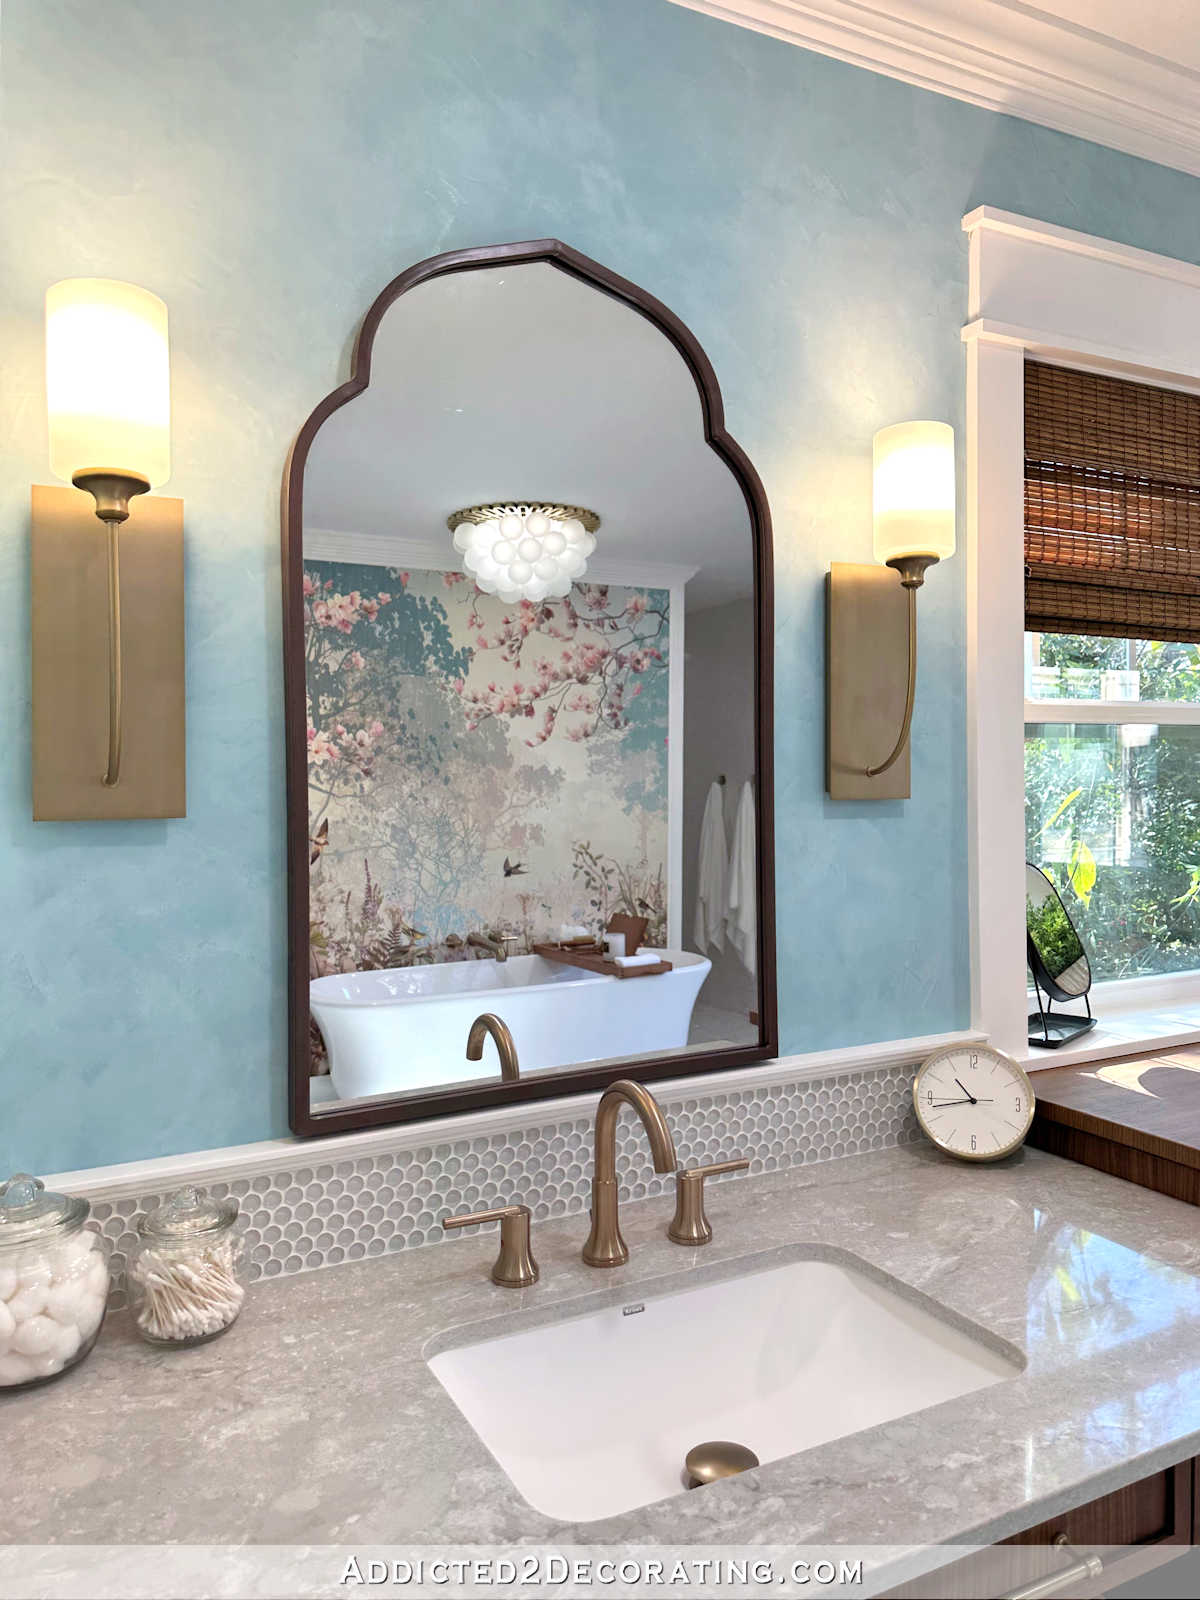
And right here’s the ultimate self-importance wall…
I like it when a plan comes collectively! ?
I had a heck of a time arising with a plan that I used to be happy with for this wall. I’m an individual who wants symmetry, so the vanities wanted to match. However since Matt is in a wheelchair, in addition they wanted to be wheelchair accessible.
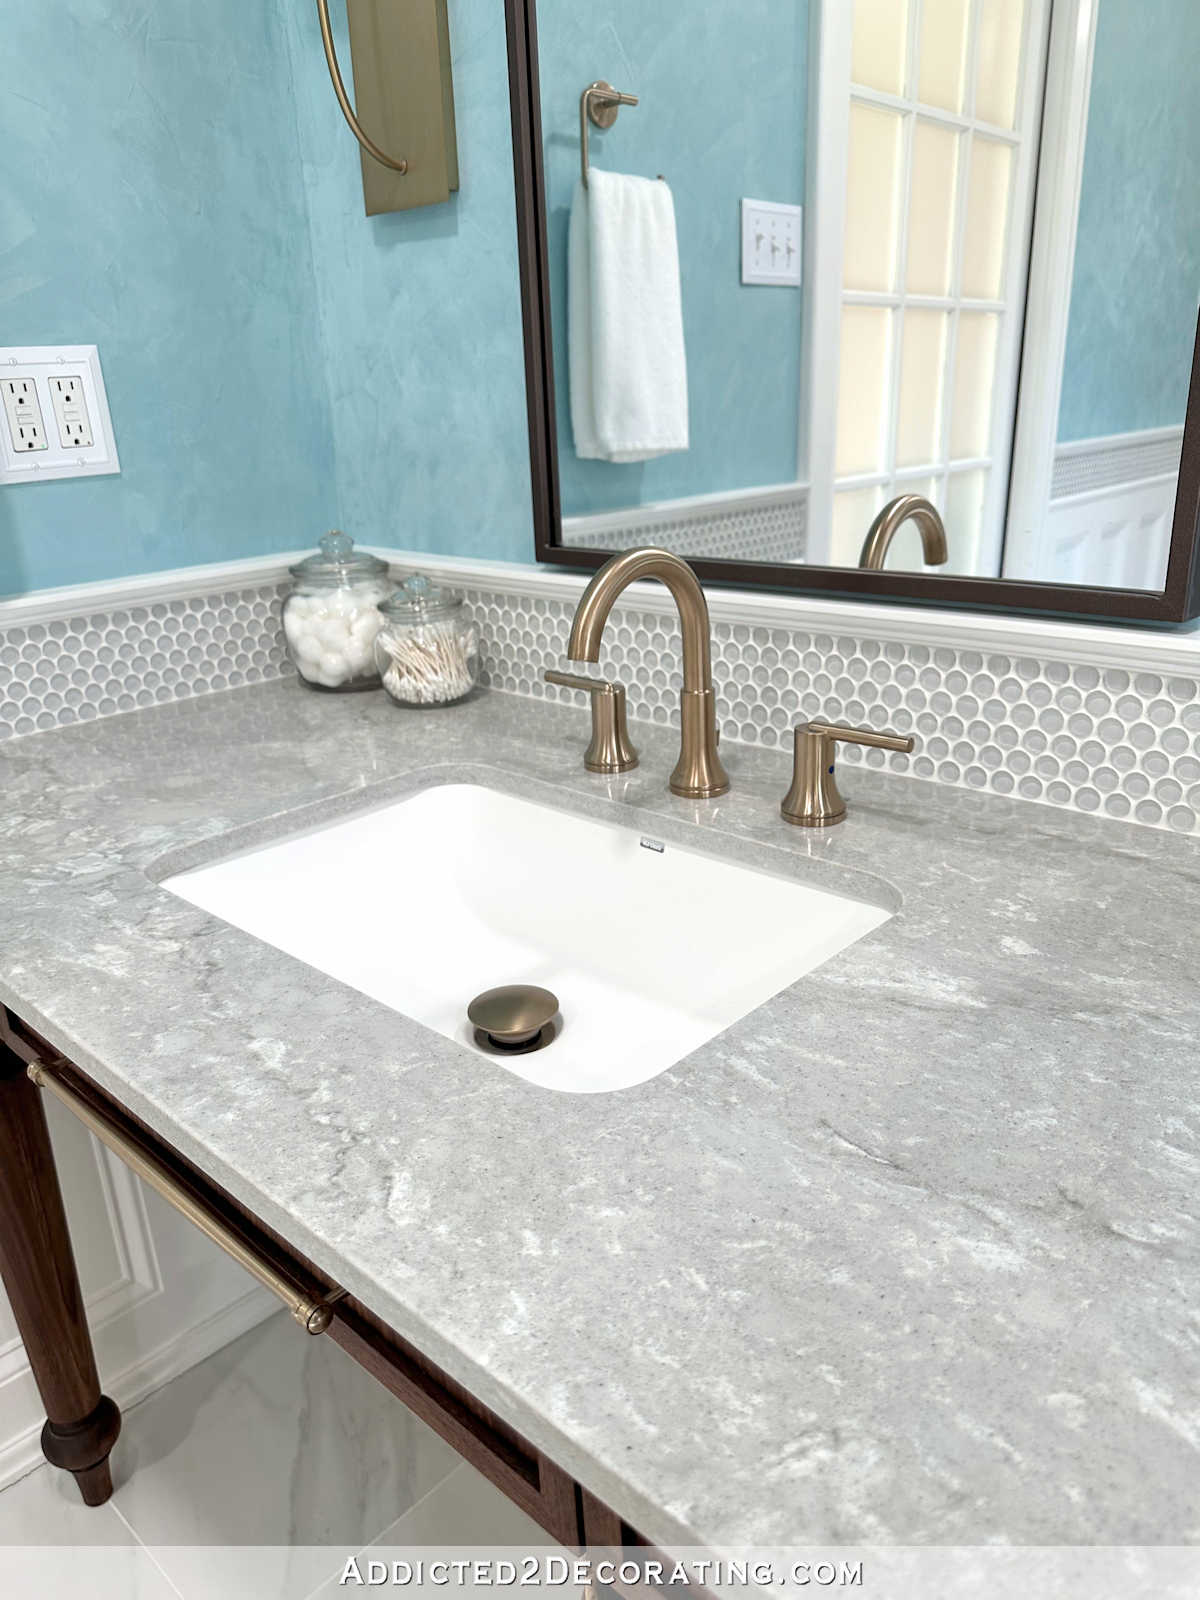
After wanting and taking a look at wheelchair accessible lavatory concepts, and never liking something I used to be seeing, I lastly determined to construct some easy (and never so clearly “wheelchair accessible”) table-style vanities. Every one has two little drawers in it for issues like toothbrush, toothpaste, and get in touch with lens stuff. However clearly that wasn’t going to be sufficient storage in a grasp lavatory.
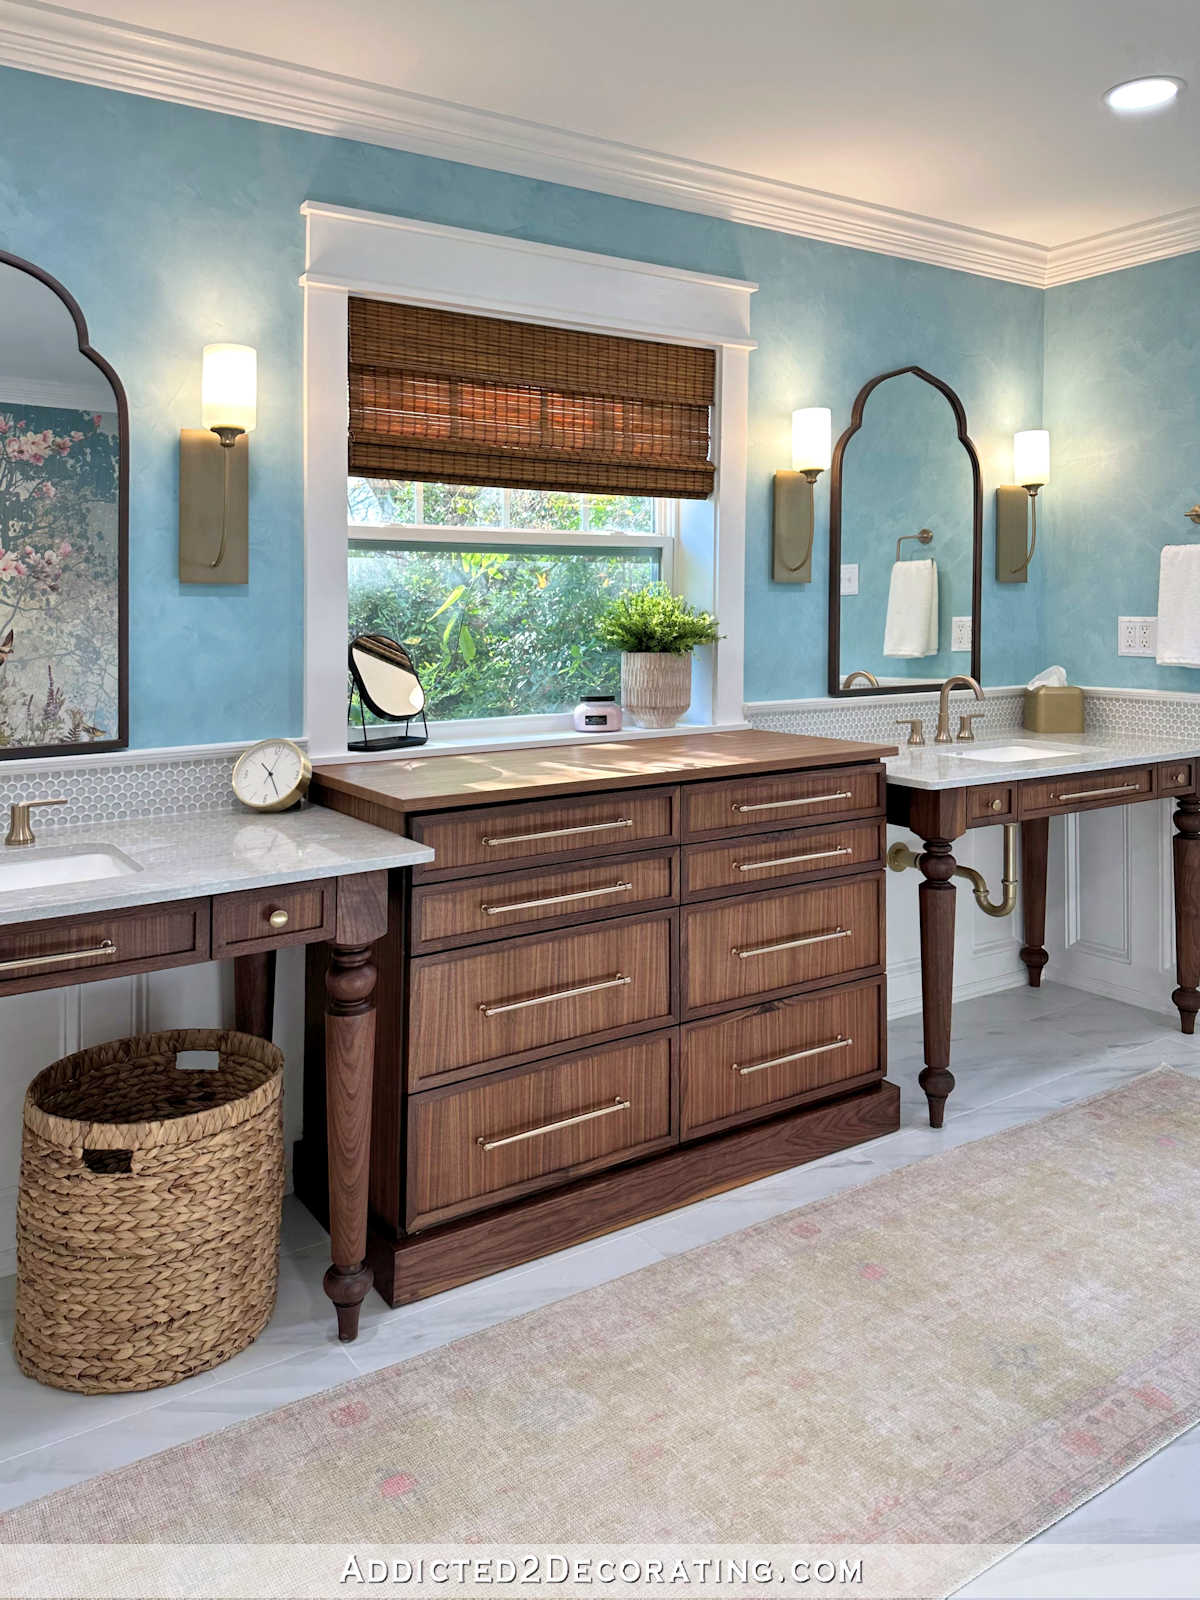
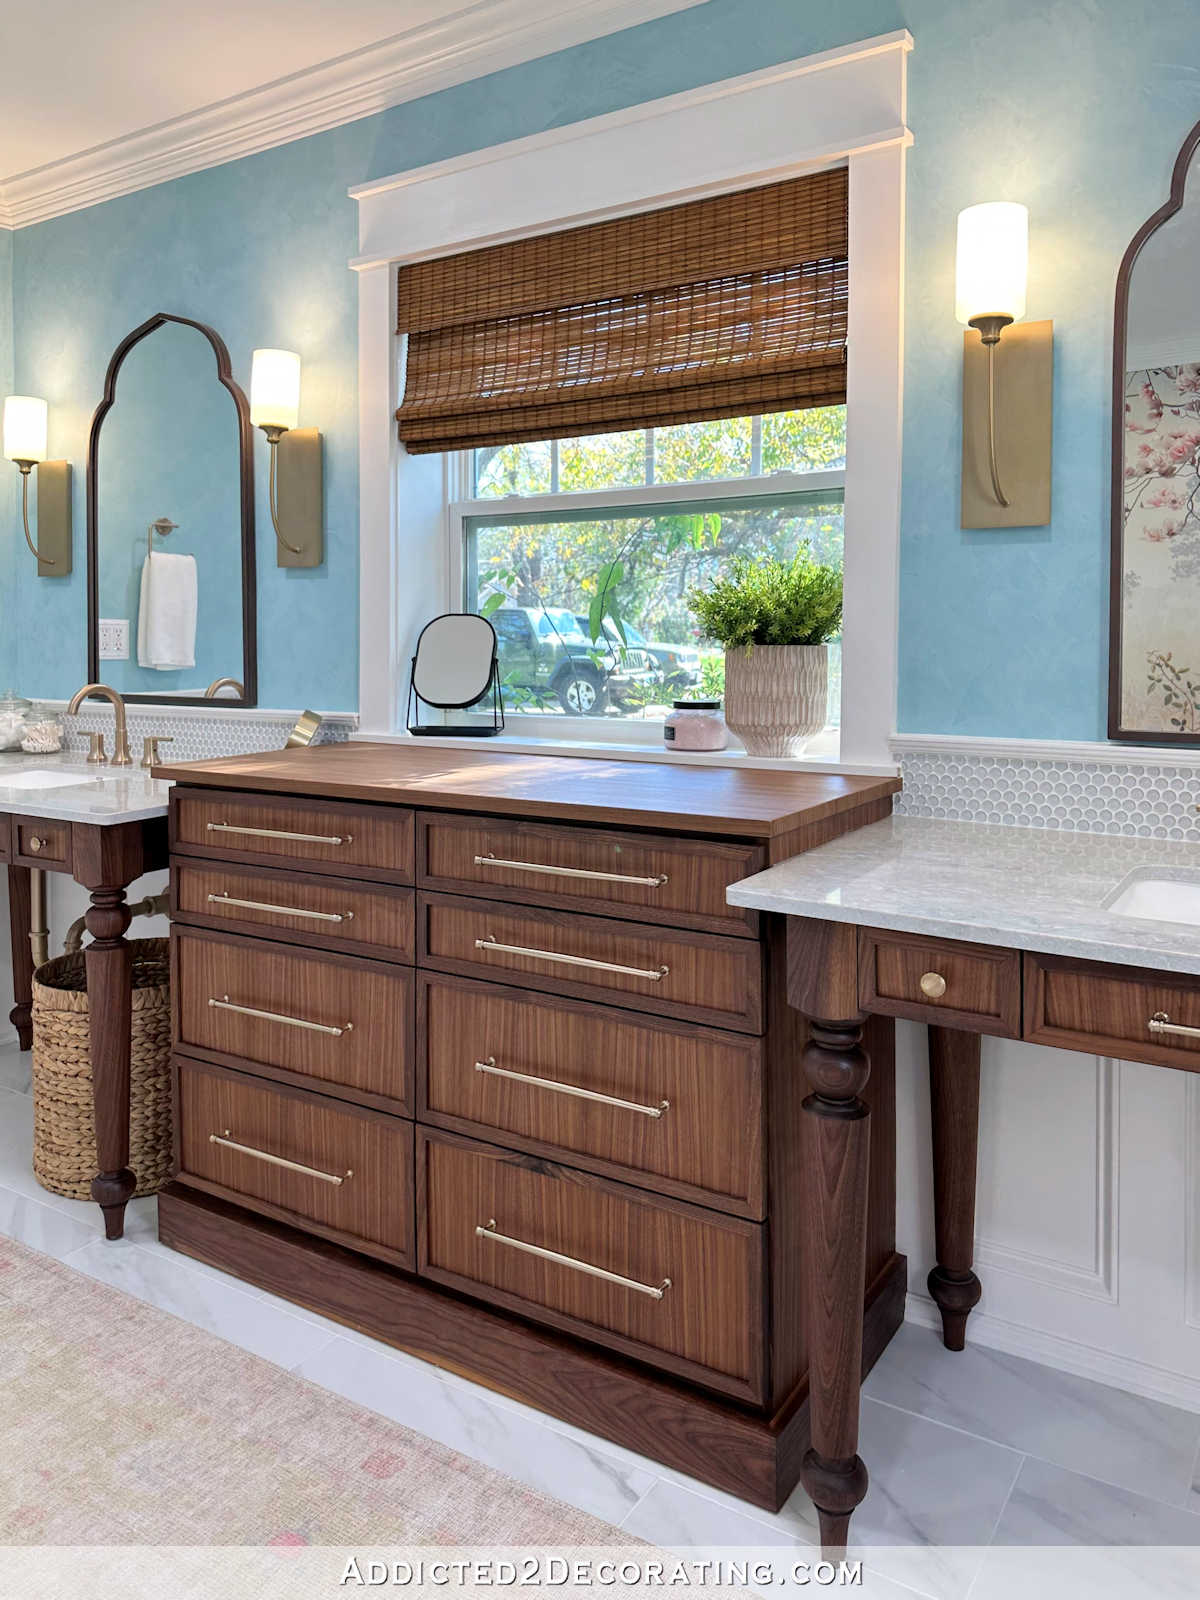
So for the majority of our storage wants, I constructed a big dresser-style cupboard to go below the window.
This was my first time constructing with walnut, and it was a bit scary! Not solely is walnut expensive, however I didn’t have my customary backups, like wooden filler and caulk, that I usually have when constructing issues which are going to be painted.
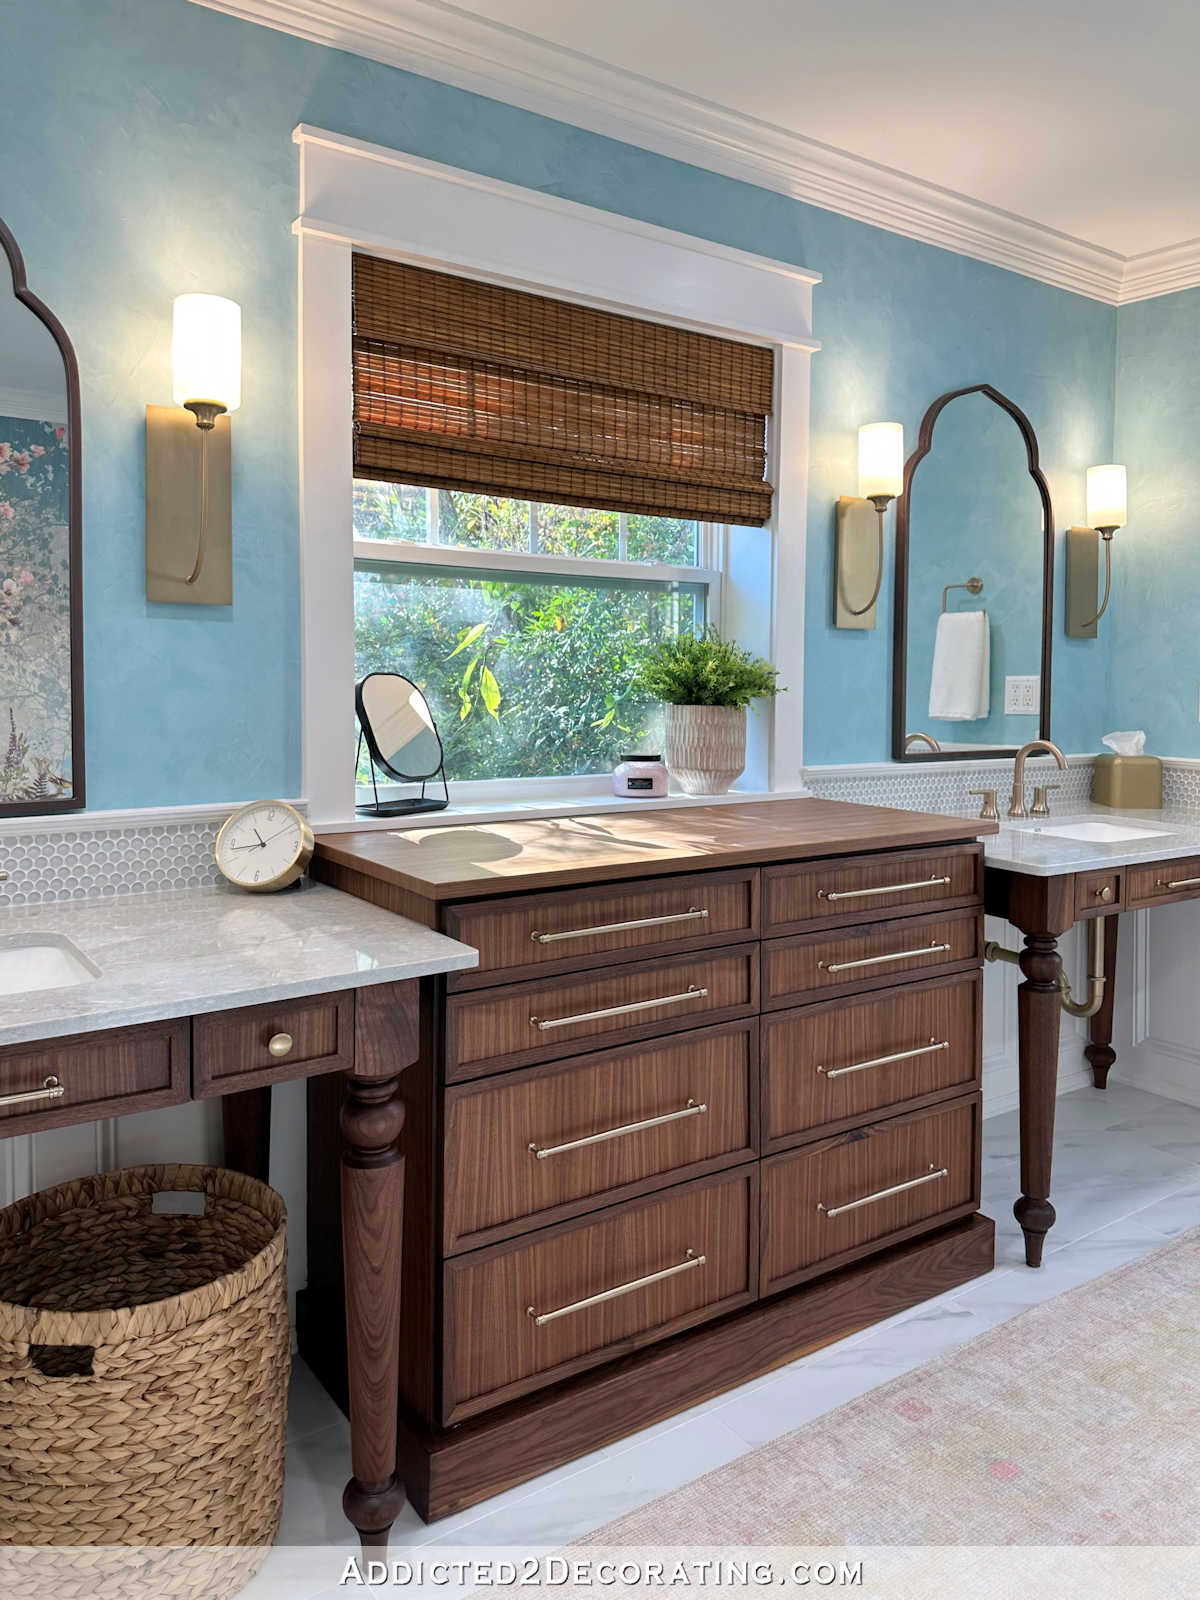
My one remorse is that I used a bit of walnut that had a knot in it for the body of the underside proper drawer. In hindsight, I want I’d have traded out that piece for one which didn’t have a swirly eye-catching knot in it, however hindsight is 20/20. It’s finished, and I’ll stay with it. However total, I’m so happy with how the vanities and storage cupboard turned out. You possibly can see the self-importance construct right here, and the storage cupboard construct right here.
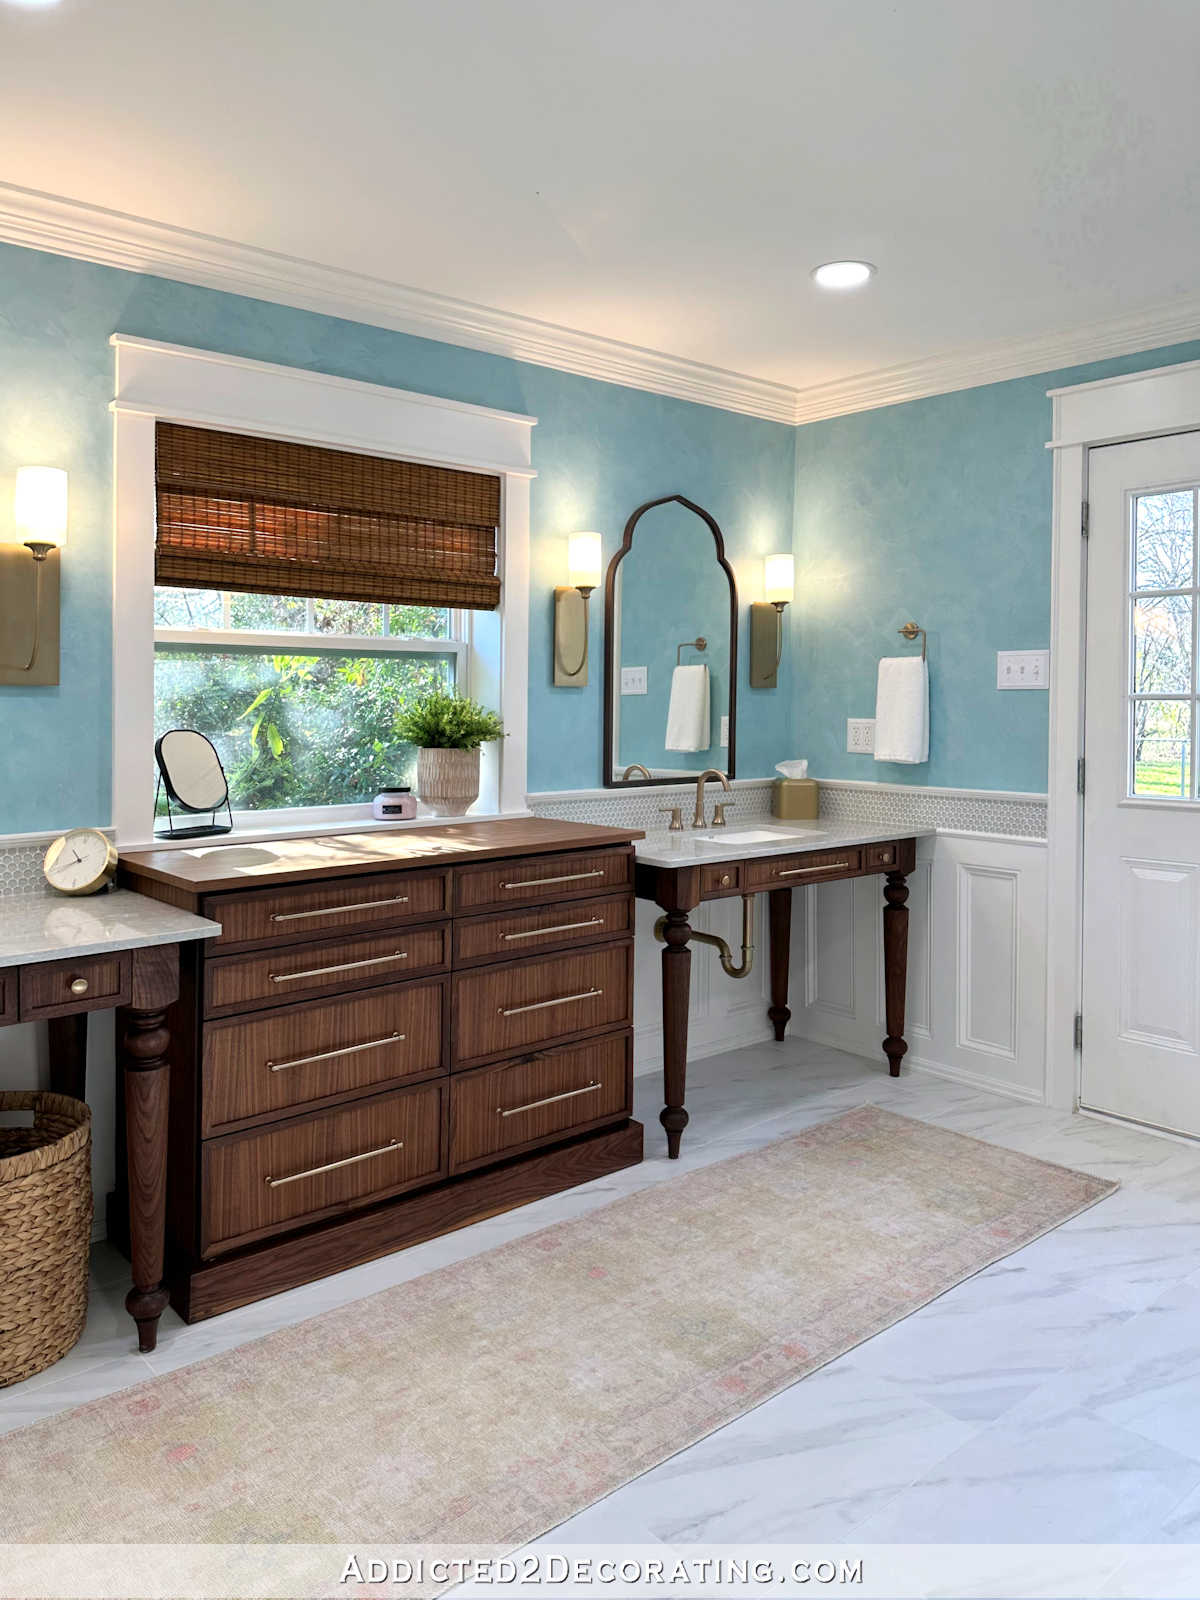
That is one other vast angle lens pic, so it’s a bit distorted, however no less than you may see the entire wall…
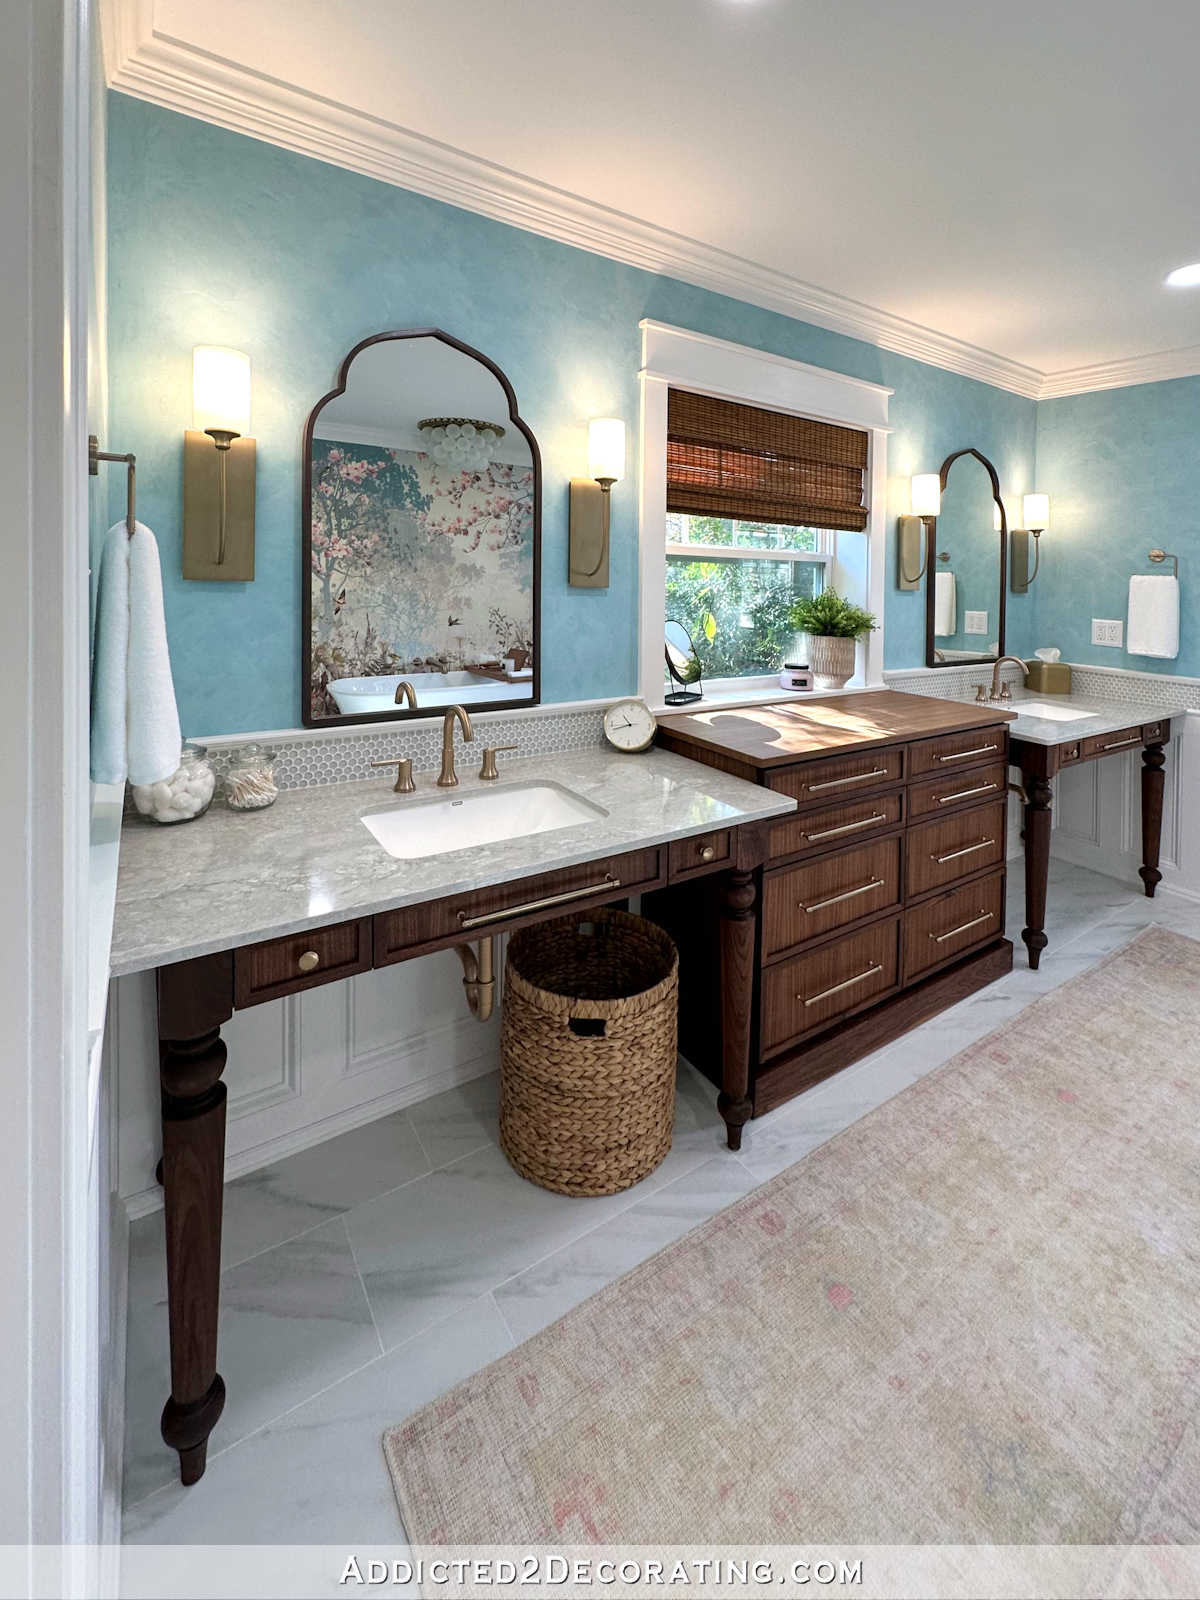
I can’t consider it’s completed. It’s truly completed! This room has consumed my ideas, my inventive power, and an excessive amount of my time for 18 months now, and it’s lastly finished! We will truly begin having fun with this room now.
And with that, I’ll depart you with a number of extra photos offered with out commentary…
Like I stated, I’ll observe up with one other submit to share the associated fee (together with a value breakdown of every factor) and sources. So should you’re keen on that information, it’s coming!

Addicted 2 Adorning is the place I share my DIY and adorning journey as I rework and beautify the 1948 fixer higher that my husband, Matt, and I purchased in 2013. Matt has M.S. and is unable to do bodily work, so I do nearly all of the work on the home on my own. You possibly can study extra about me right here.
I hope you’ll be part of me on my DIY and adorning journey! If you wish to observe my initiatives and progress, you may subscribe under and have every new submit delivered to your e mail inbox. That means you’ll by no means miss a factor!
[ad_2]
Source link
